This past weekend I attended a class to learn about taking photos with my DSLR camera which I bought a few weeks ago. It’s been a couple of decades since I used an SLR camera and wanted to take a class to refresh my memory and see what the main differences were between film SLR and digital SLR cameras.
I was amazed at the amount of information the instructor shared with us – and thought there were be some useful tips for anyone that takes digital photos, not just with a DSLR.
One of the things discussed was making your photos last.
1. It seems DVD and CD media are the best way to store your photos. While you can store your photos on your computer’s hard drive, or even an external hard drive, the life span of these hard drives is about 3-5 years – whereas the life span of a DVD gold disc can be up to 300 years and a silver CD can be up to 50 years. And it was interesting to learn that CD media has been around for several decades and probably will remain around for some time- – Check out your disc slot, you’ll see the sections allowing different sized CDs to sit in the slot. If you have an older CD (3”) your current CD drive should be able to play it.
2. Always store your CD/DVD media in archival sleeves – those plastic jewel boxes may be fine for simple day to day documents that you want to have readily available, but they contain an acid releasing component that will degrade the integrity of your CD/DVD media. Go to the photo store and purchase some archival sleeves. If you can print out an index sheet of all the photos on that CD/DVD and keep it with the media, you will know at first glance what it contains. Loading 50 CDs/DVDs to see where that special photo is can take a long time.
3. Use an ACID FREE pen to write on your media. Regular Sharpies or other markers will leak acid and start to burn away your CD/DVDs and the data that is on them in as short a time as 1-2 years. As evidence, several CDs were passed around the class and the “ghosting” from the writing was very evident. I purchased an acid free pen for about $3 after the class.
4. Once you burn your photos onto the CD/DVD, do not go back and continue to add photos to them. This too will degrade and/or possible corrupt your data – and who want to risk losing those precious family photos?
5. Burn two CDs each time – one can be for playing and the other for your “fire safe” as a kind of “negative.” If you only have one CD and it gets destroyed, scratched, etc. – the photos are gone for good.
6. This last point is also very important and deals with downloading your photos from your camera onto your computer. When you use your camera to connect to your PC and download the photos, you are using the camera itself which can cause premature wear on parts – something no normally covered under the warranty – as it is perceived to be overuse and not manufacturer’s defect. So it is best to either purchase a card reader for about $30 or (if your PC has the slots for SD cards), just insert the SD card directly into the computer.
7. The thing to remember with the direct SD card insertion is to:
a. Make sure your camera is turned off before you remove the SD card
b. After you have downloaded the photos from the card to your PC, make sure you “safely eject” the card, otherwise you are risking a chance to corrupt your SD card. There are different ways to do this: on my PC, I go to “my Computer” and right click on the drive holding my card. I choose “Eject” and then I select “safely remove media.” Other PCs will have an icon on the lower right hand side of the tool – if you hover over the icon, you will have the choice of “safely ejecting” the media.
I hope these tips have been as helpful to you as they were to me. As I learn more about my camera and take additional classes, I’ll be sure to share things that may be of interest to you.
I’d love to hear your comments. Please feel free to post then here.
{ 3 comments }
rutamurphy
Latest posts by rutamurphy (see all)
- Tips for keeping your digital photos a lifetime and beyond! - January 15, 2011
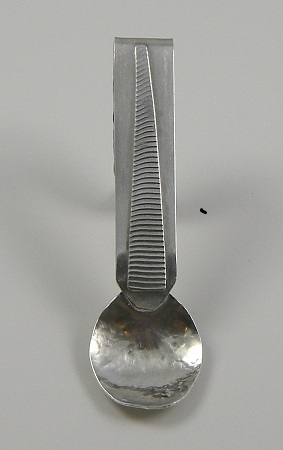
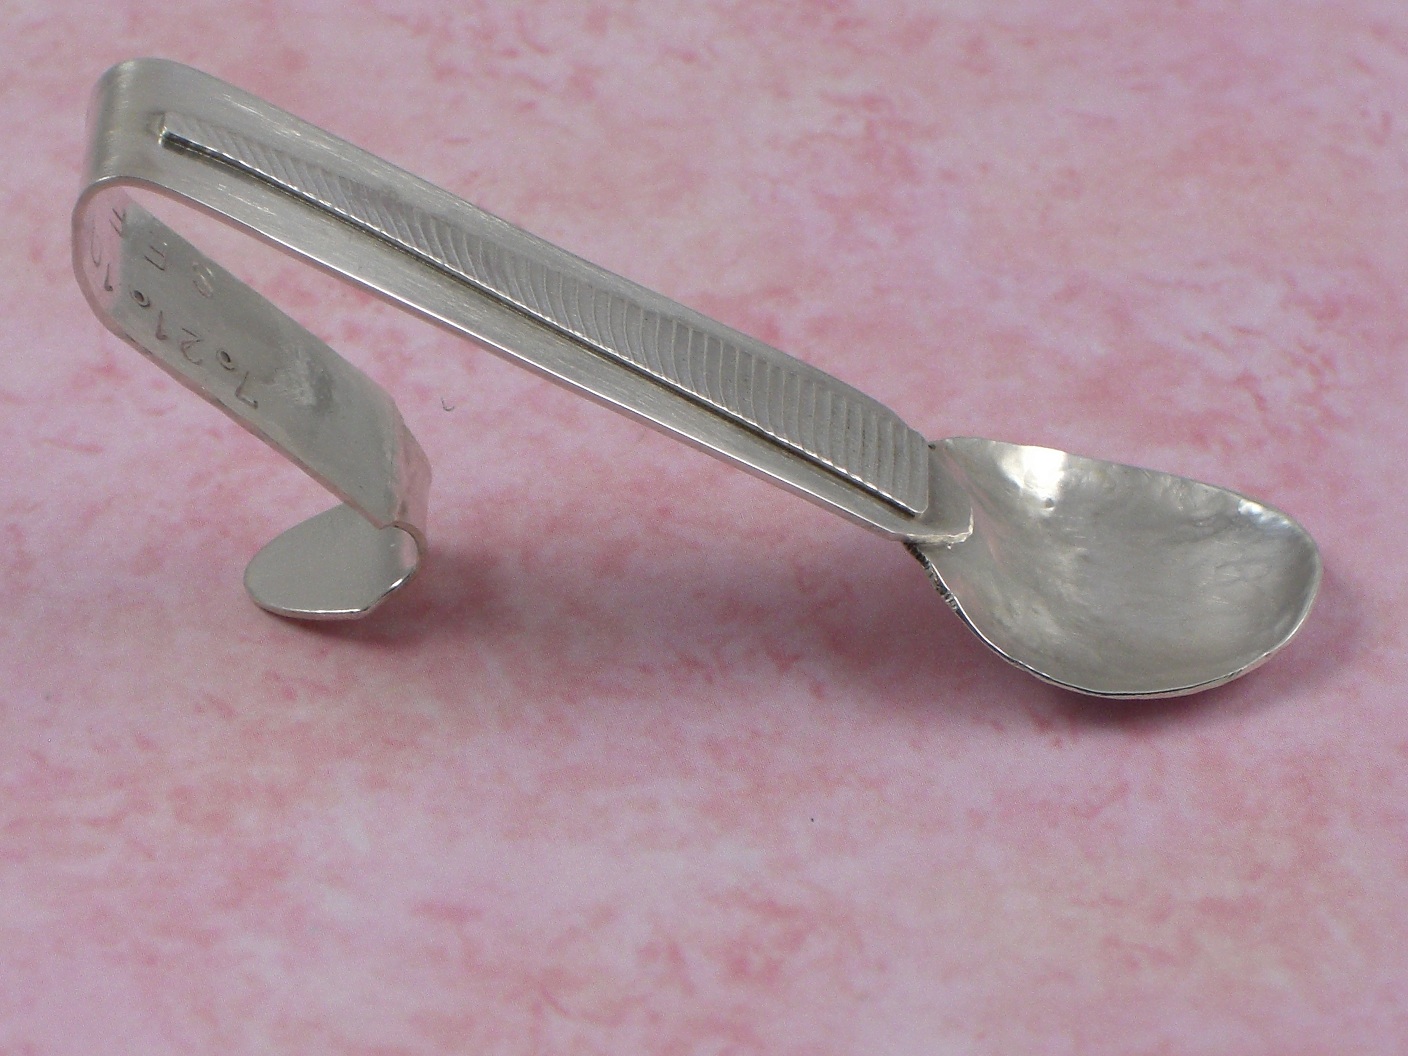
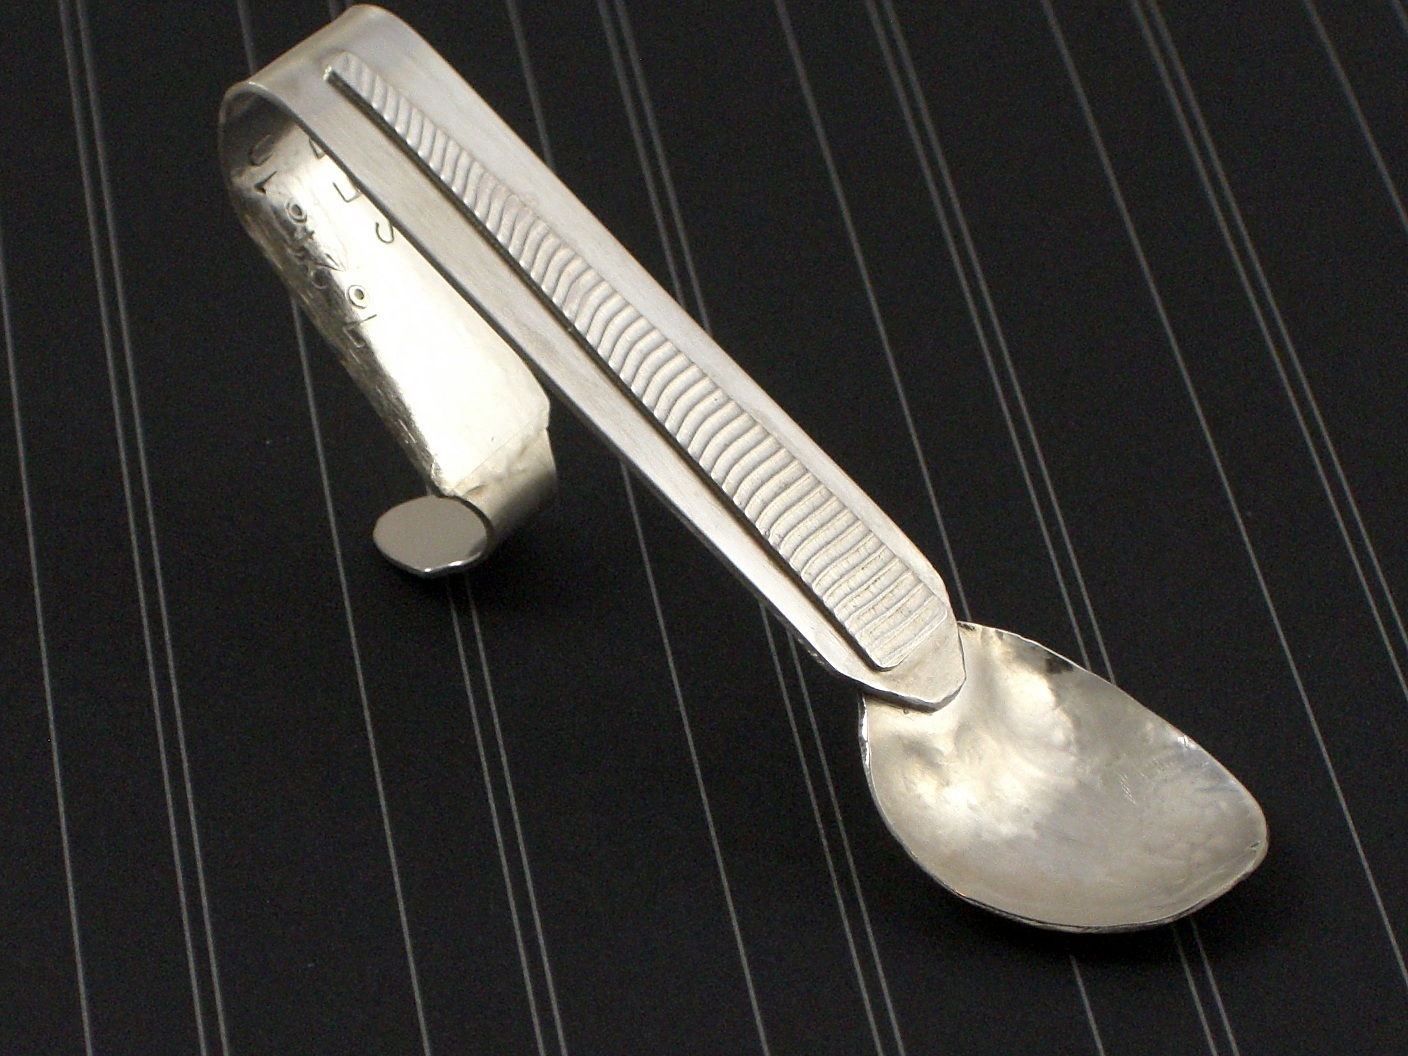
- My First Blog Post – making a silver baby spoon - September 7, 2010

