I was helping out at the Creative Metalworks open bench sessions in the fall, and I had forgotten to bring the project I was working on at the time. I wanted to come up with something relatively simple so I might knock it out in an afternoon or two, while helping out other students. I went to our pile of stones and was poking through it when I found this little beauty.
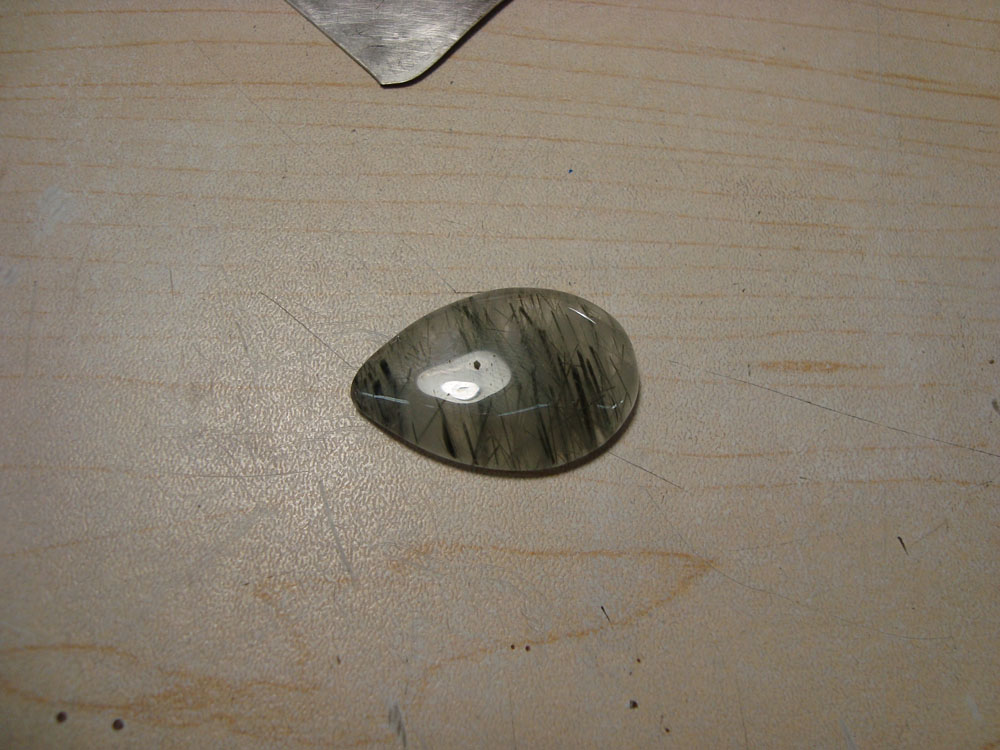
stone, front

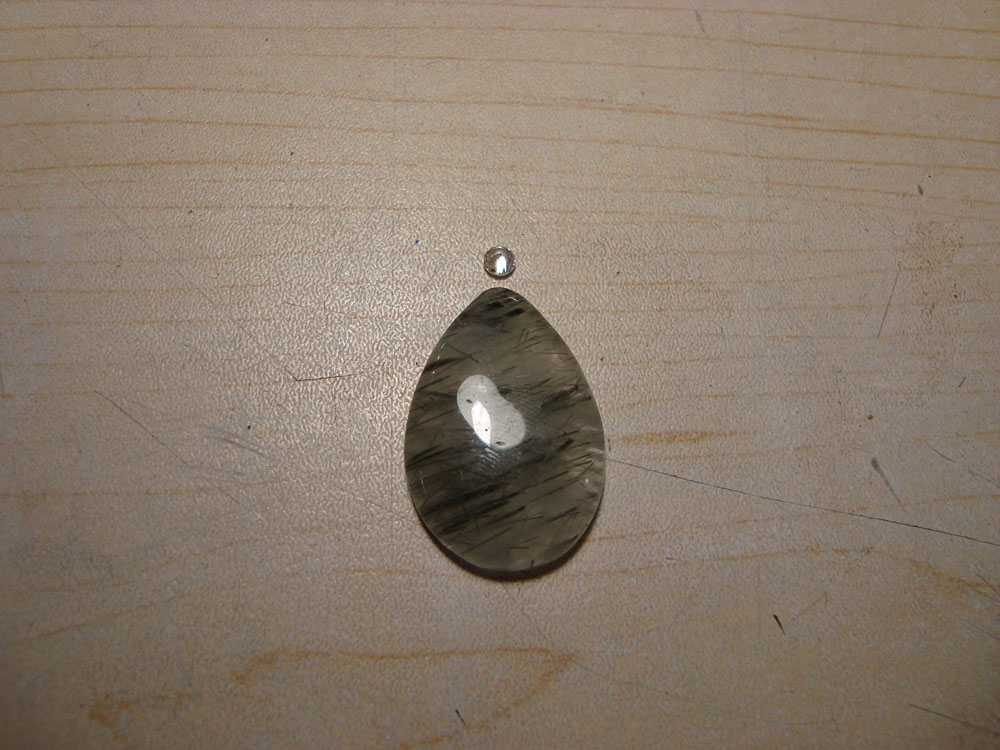
stone, back
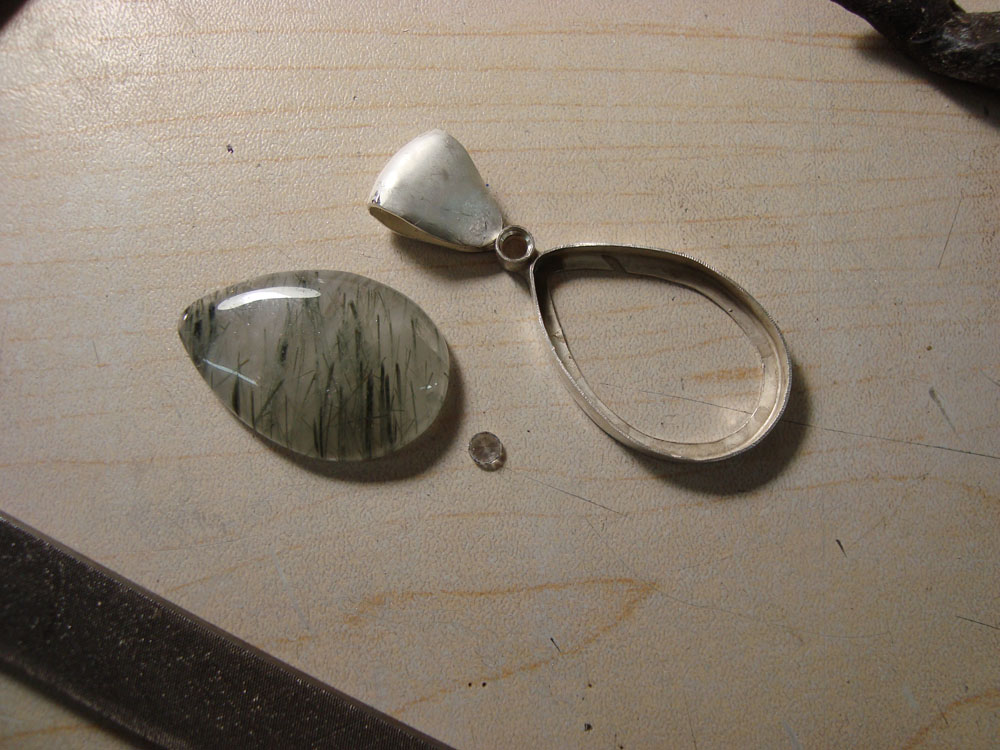
It looks like rutilated quartz, and has an oddly attractive cutting flaw on the back. I thought it would make a nice simple pendant with a thin bezel, and that should be pretty quick. Unfortunately I couldn’t leave well enough alone and the design advanced a bit, but it was still done in a reasonable amount of time.
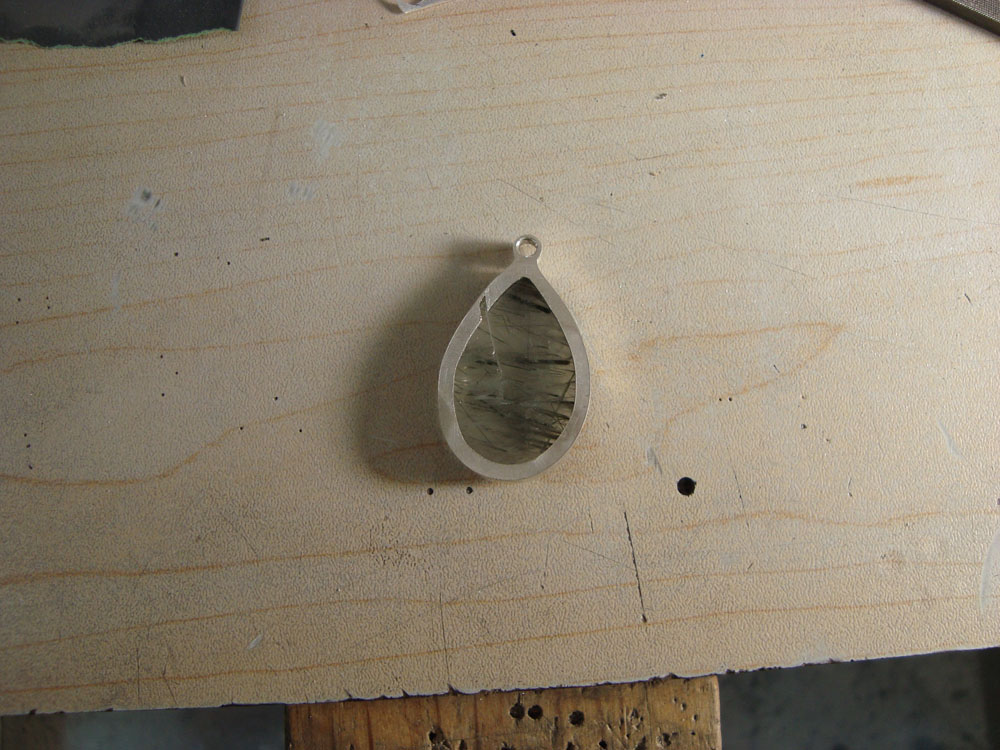
Overall the idea was to have the teardrop stone balanced against a similarly sized and shaped bail, and to highlight the groove on the back of the stone. I felt that a visual center would be nice to highlight the pseudo symmetry I was trying to set up between the stone and bail, and a CZ would fit the bill nicely.
stones
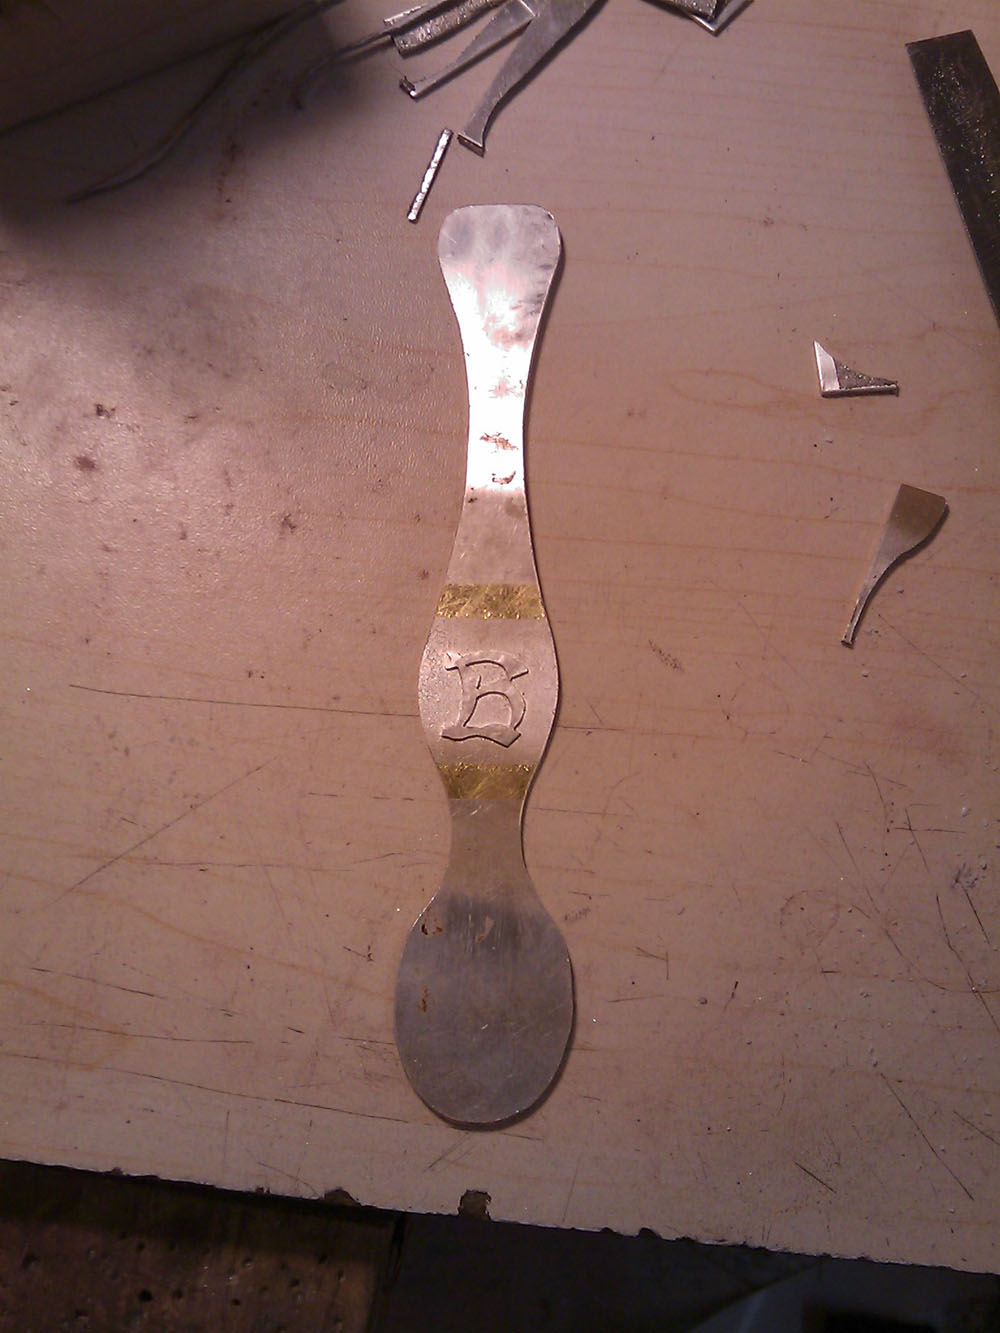
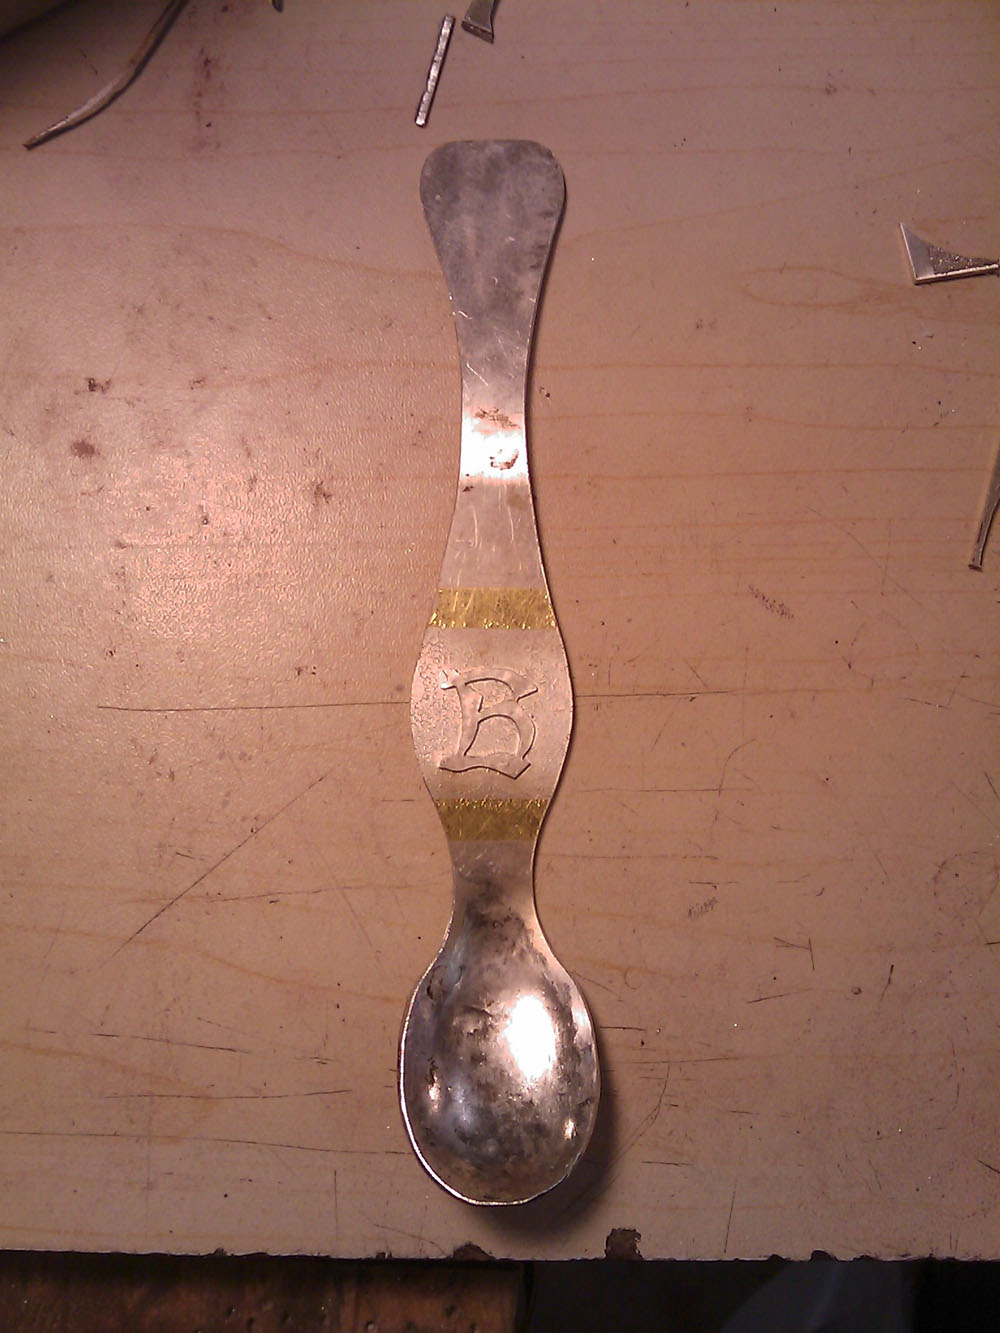
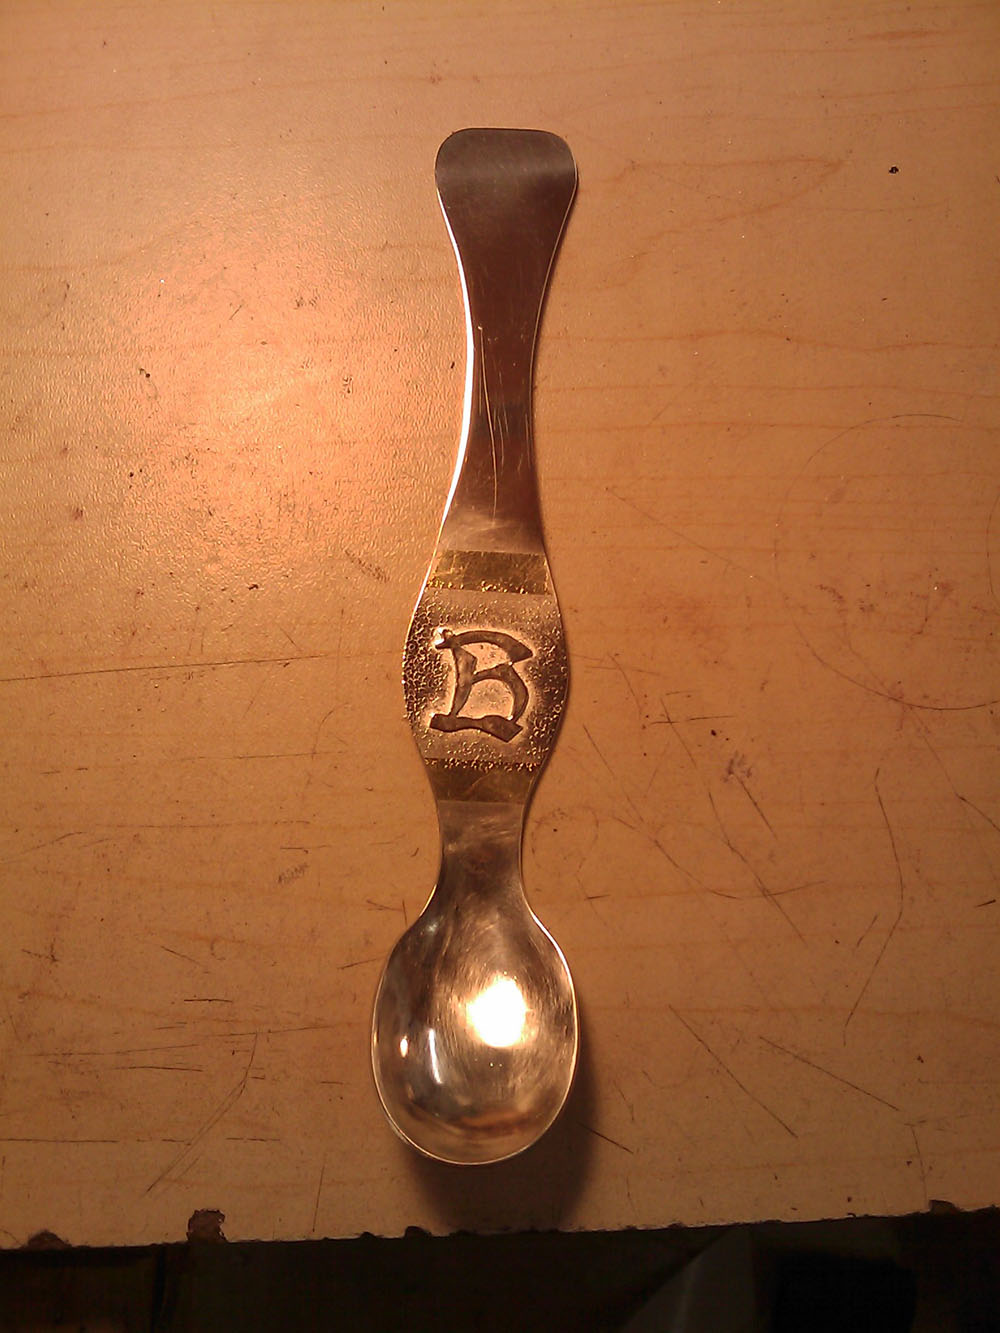
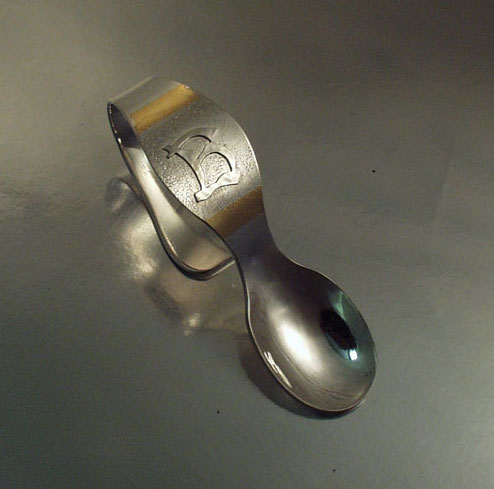
I’m fond of argentium, but contrary to what you might see here, I work with it relatively seldom. As it happens in forgetting the box with my current project, I had also left my sterling behind. I had some argentium on hand, so I decided to use it for this project and practice my fusing.
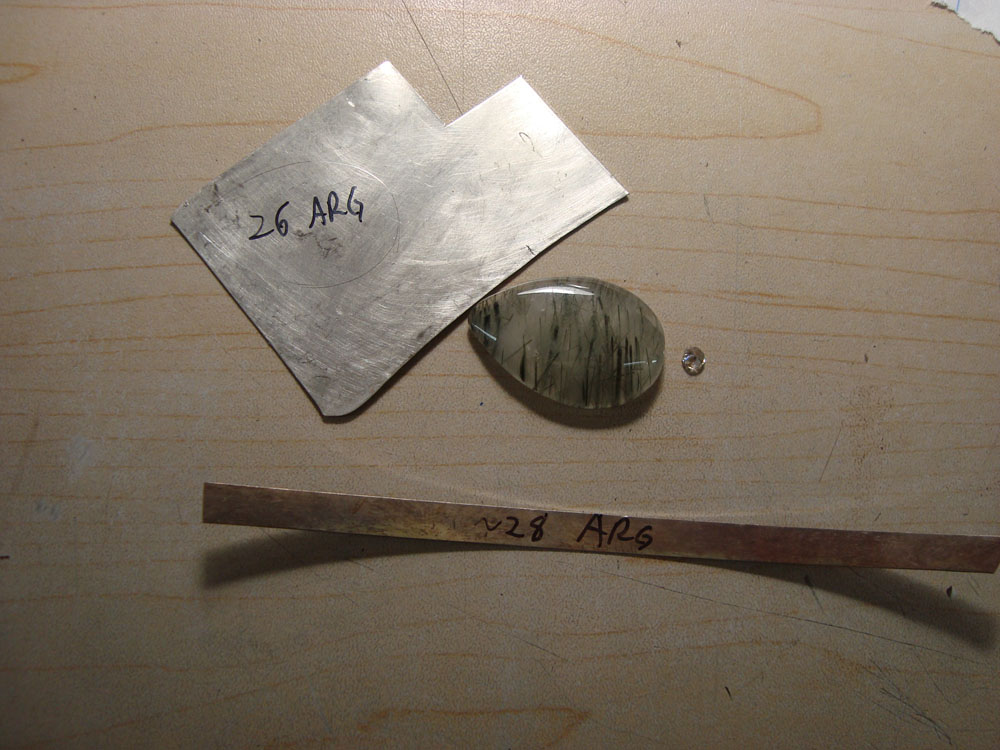
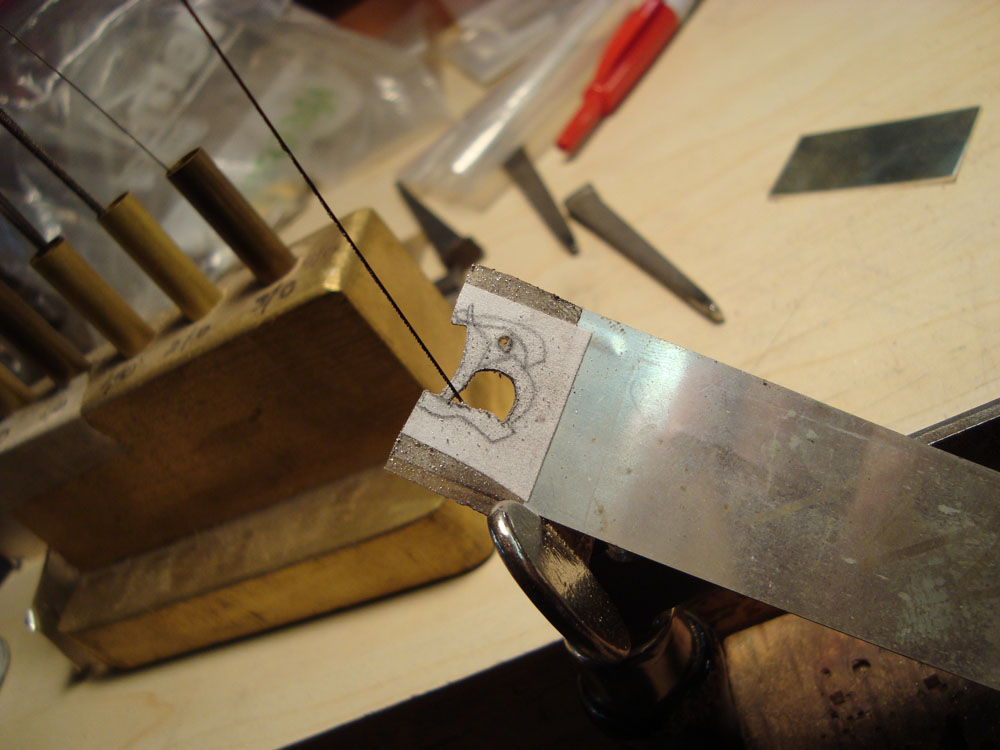
stock
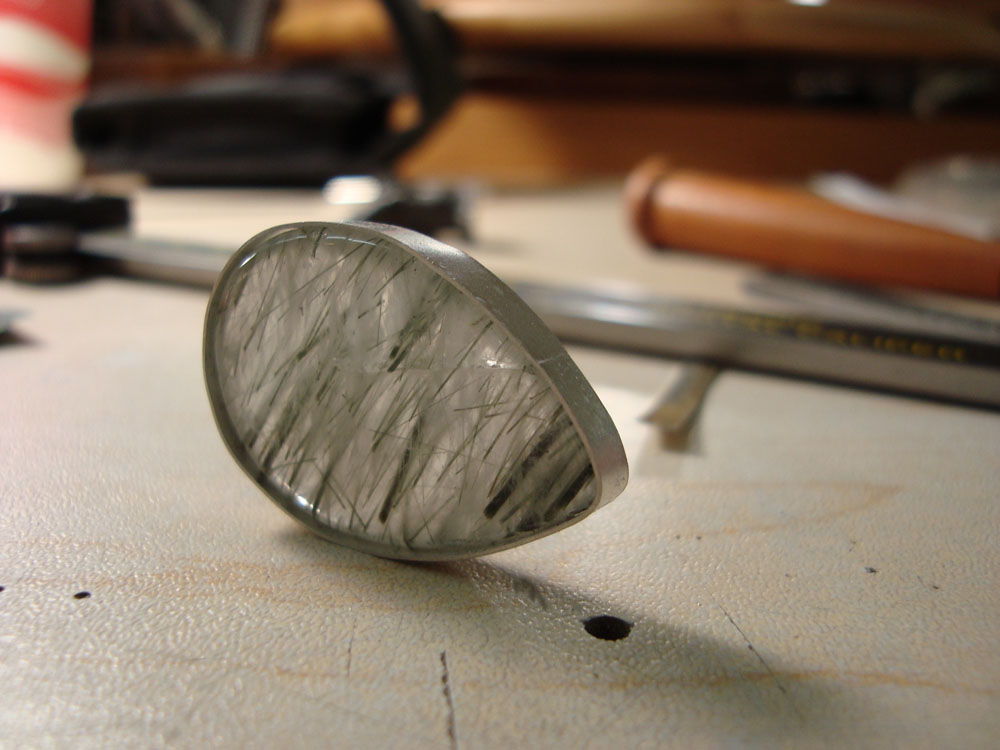
The seam of the bezel was placed where the flaw in the stone was to help draw the eye to it, and fused.

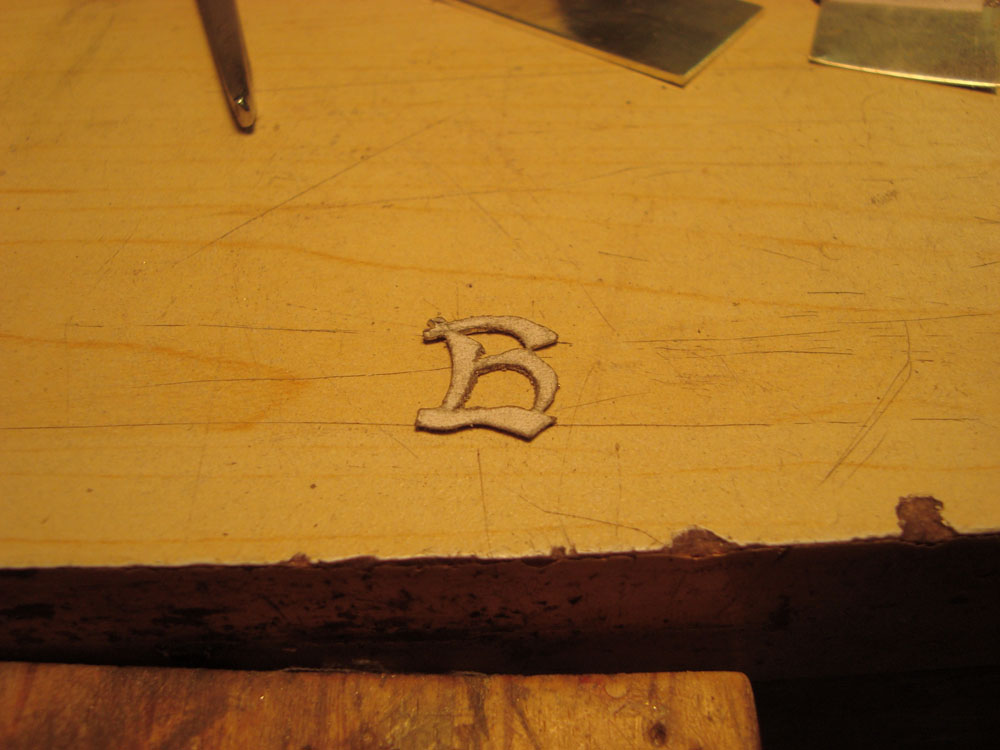
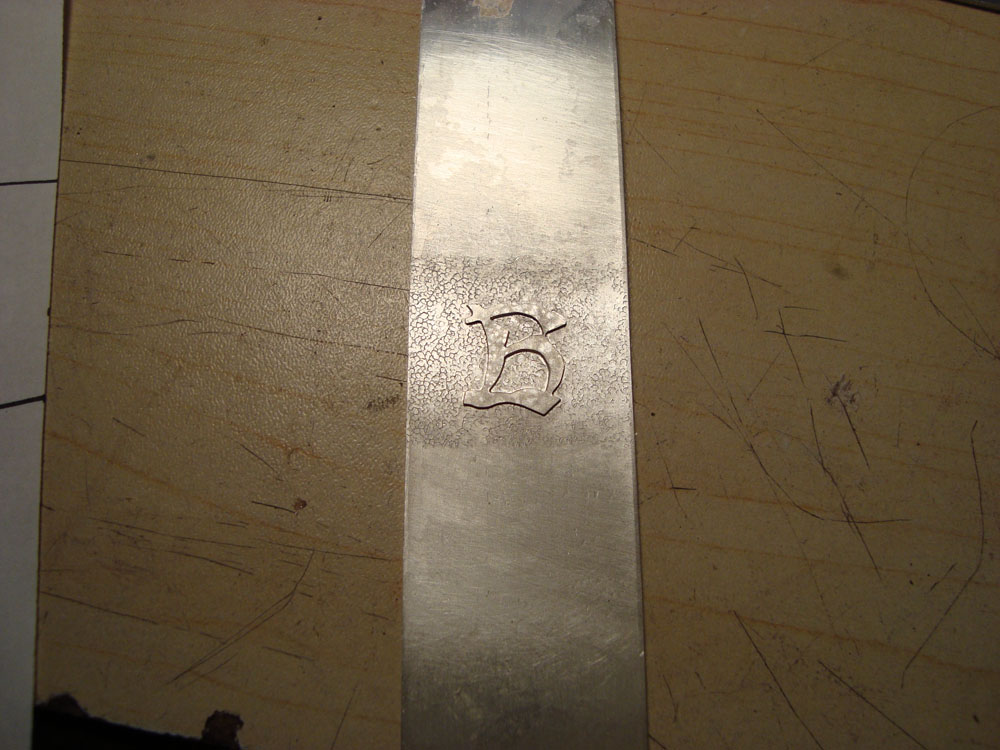
bezel

fused bezel, side
You can just see how the seam lines up with the flaw.
fused bezel, back
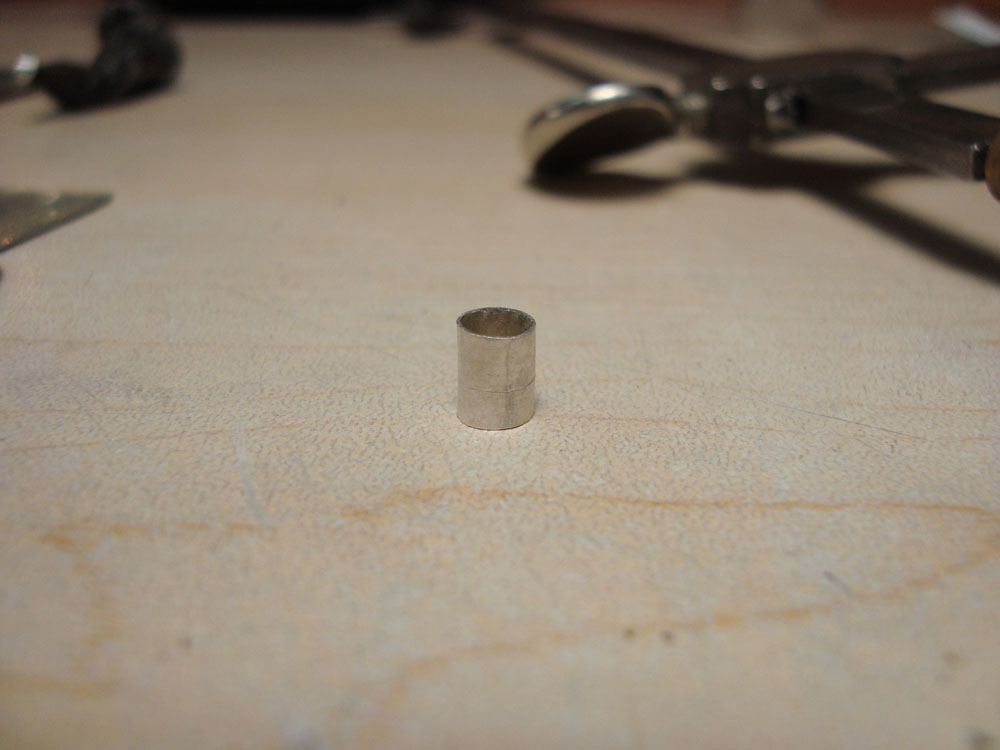
There was no argentium tube for the CZ tube setting, so some was fabricated.

tube ready for fusing
fused, rounded, scribed tube

tube cut to make a seat, that is one ugly cut, too
The shorter tube was cut with a jeweler’s saw, trimmed until it tube was a force fit in the larger tube, and then the entire assembly was fused.

tube with seat
The tube setting was fused down to the sheet, and then I tried to fuse the bezel down. After botching it, and melting the bezel twice, I soldered the bezel down. I do need to work on my fusing, but I also like to complete projects.

back, bezel, and tube
The back was pierced out, leaving the back plate wider than necessary, and a slice was placed over the stone’s flaw to further highlight it.
pierced, trial fit
With the basic piece done, an appropriately sized bail was fabricated.
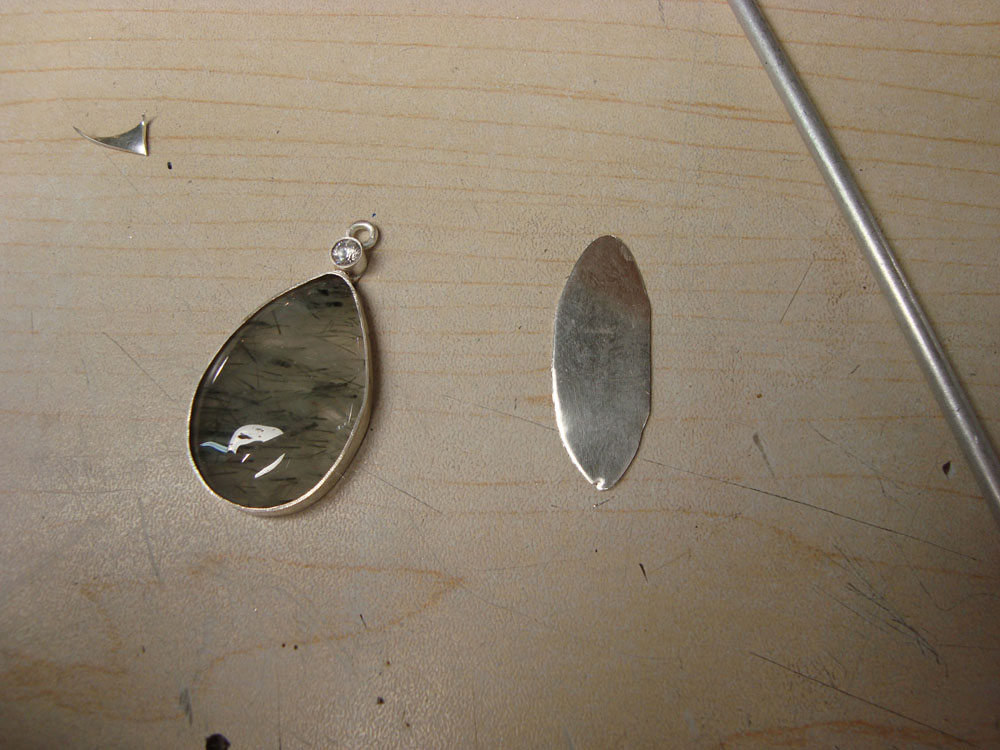
bail stock
Which was formed via forging.
rough bail
Solder was melted onto the ends of a short wire, the inside of the bail was divoted with a small ball bur, the assembly was aligned with some tension in the bail and heated to solder the bail on.
attached bail
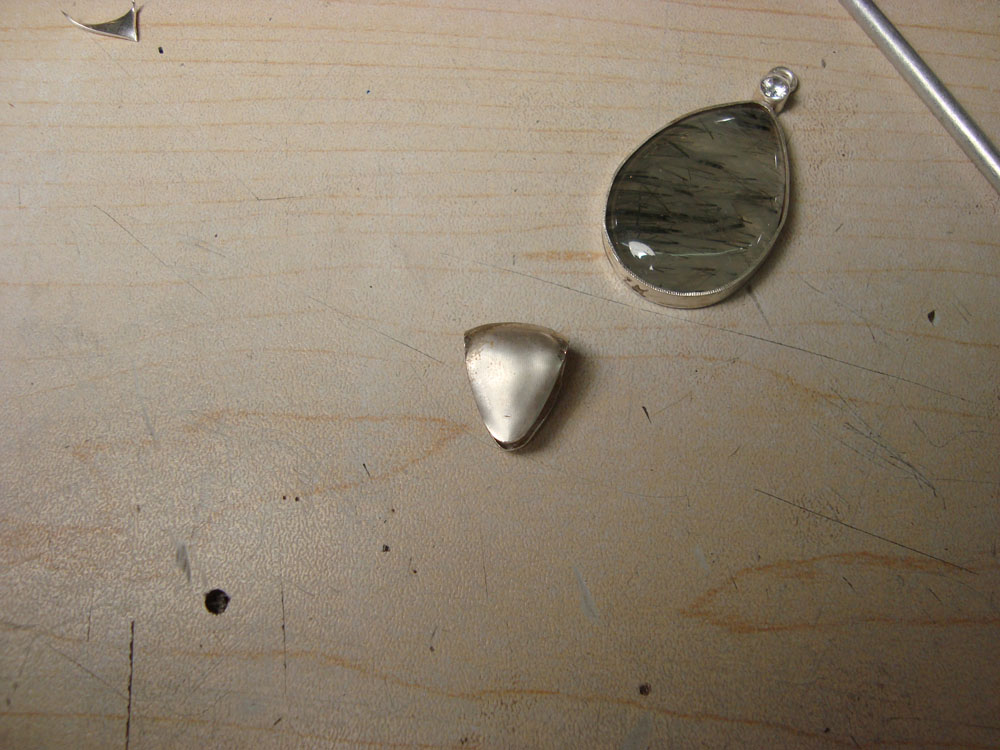
The bezel was trimmed to match the somewhat uneven height of the stone, and the inside of the bezel was given a light polish as this was the last time it would be accessible. I didn’t think it would make any difference in the final product, with the stone being translucent and not transparent. However, “I didn’t think … ” and “it will not … ” are not the same thing, so I polished it.

polished setting
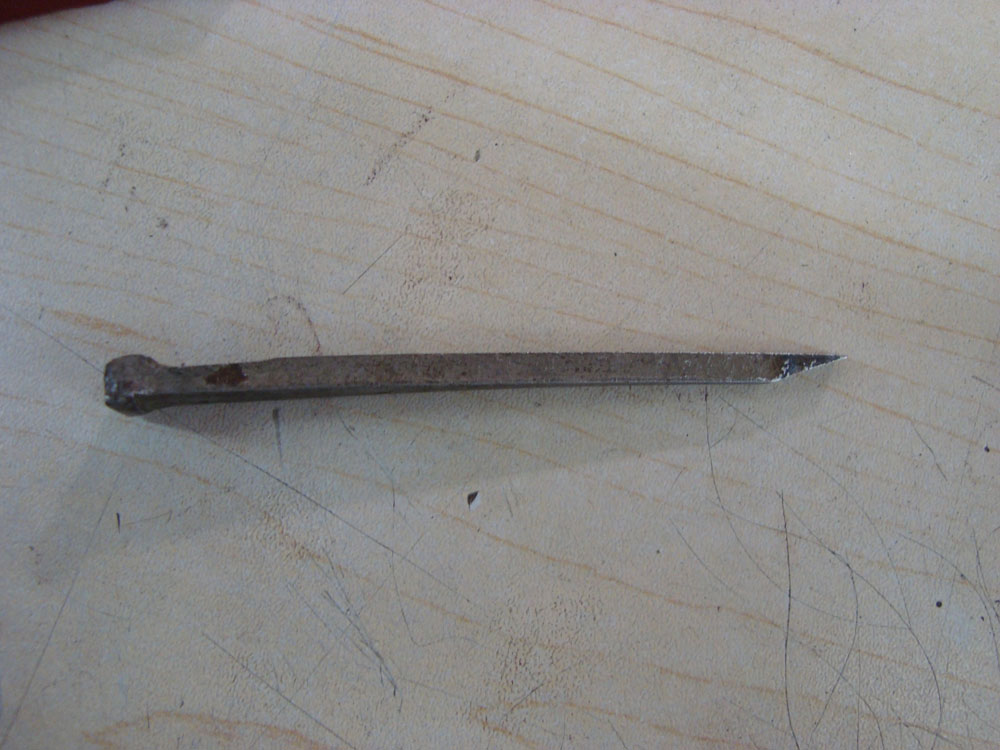
The point of the teardrop would have been difficult to reach with a standard bezel pusher, and even though the shop has a variety of different ones, there wasn’t a good one for this job. A cut nail, also known as a horseshoe nail, was ground down and sanded to about 400-600 grit to remove any corners or sharp edges while leaving enough tooth to lay the bezel down.
bezel tool
One of the other students who was there who cuts her own cabs, and sets them, said I should set the stone freehand instead of using thermoplastic and an engraver’s ball vise. Since I had never done it, and didn’t want to look like a wuss, I set it freehand, and as it turns out I am indeed a wuss. The setting went well, but my left shoulder was killing me at the end from holding the piece. The bulk of the bezel was pushed over with a standard bezel pusher, and the point was laid down using a combination of the standard bezel pusher and the nail held just as it is pictured above in a closed fist while pulling towards the bottom of the stone. I didn’t think to get someone to snap a pic because, as I said, I’m a wuss and was way too preoccupied with my wimpy arm.
Once the bezel was turned down there was plenty of room to set the CZ with a tube setting tool, after the seat had been cut, of course.
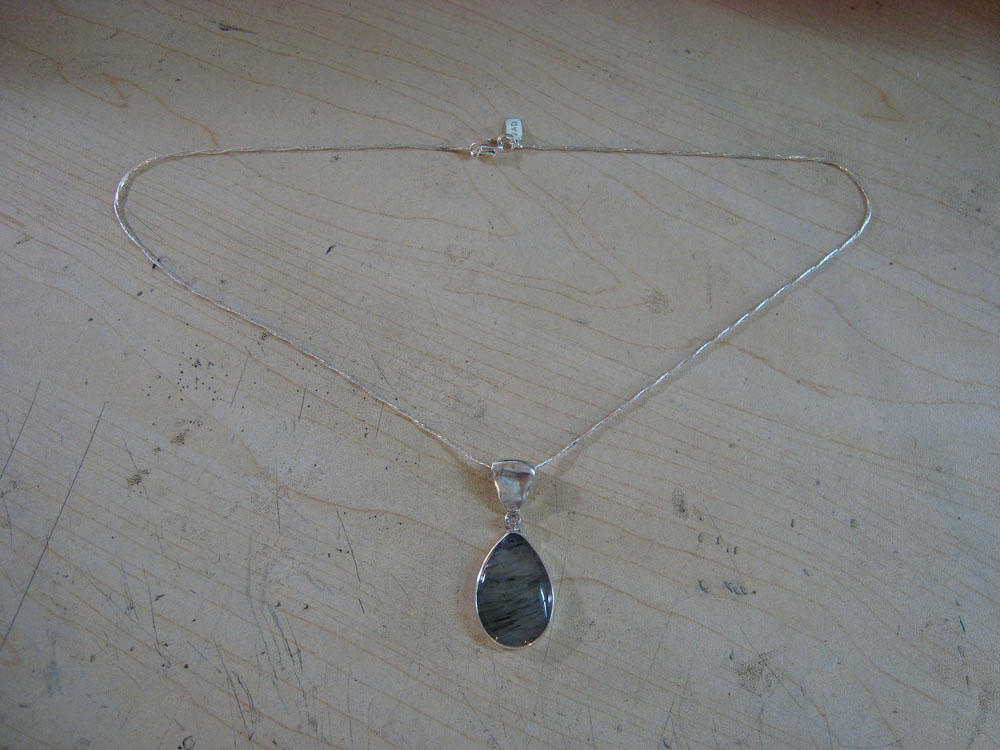
finished, with chain
The chain is an interesting thin sterling chain I got on closeout a while back. It looks nice, but isn’t very flexible or strong. For this necklace two strands were attached at one end by soldering them together to a jump ring, that end was carefully twisted while the free ends were kept separate by a friend’s outstretched hand. Then the free end was similarly soldered.
In this way the chain strands are twisted and also twisted around each other, like a hemp rope. If the chain is unclasped, and held dangling by one end, the chain will not unwind.

finished, with chain, close up
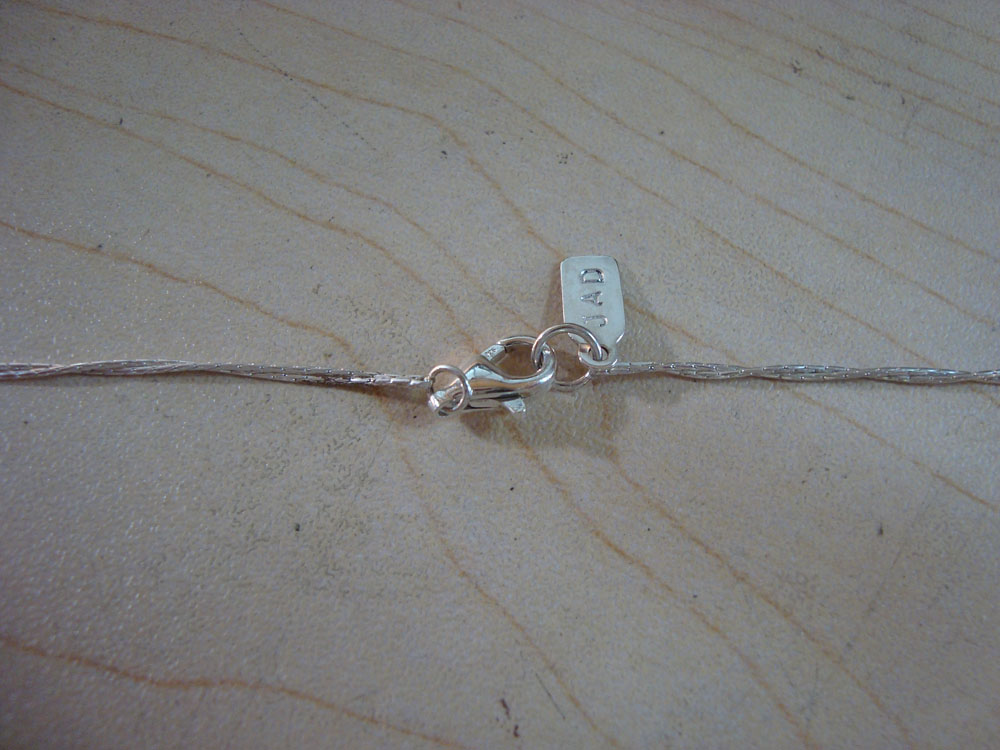
Some of the residue from the yellow ochre is still visible on the chain. This stuff takes solder just like soft solder wick, and if a solder stop isn’t used the ends of the chain are rigid and inflexible for as much as a half inch.
I like to hang a tag makers mark on chains with lobster clasps. If you put the tag along side the chain, and pinch the chain and tag between the thumb and finger, while pressing against the jump ring with the tip of the thumb and finger, it holds still and is pretty rigid making it a lot easier to put on behind the neck.
finished, with chain, detail
As an interesting side note, I’m an idiot.
The entire time I was designing and making this piece, it was destined for my girlfriend. After I was completely committed to the project, and had fabricated a good bit of it, I remembered that she is one of the few people who turns argentium black and purple when it is worn for only a short time. She wears it outside a shirt, however, and doesn’t seem to have any problems with it so far.
{ 4 comments }
jasondeck
Latest posts by jasondeck (see all)
- Rutilated Quartz Pendant in Argentium - February 10, 2010
- Argentium baby spoon, with Keum Boo - October 12, 2009
- Reclaiming Argentium - July 8, 2009