Skip to content

Simplifying Granulation

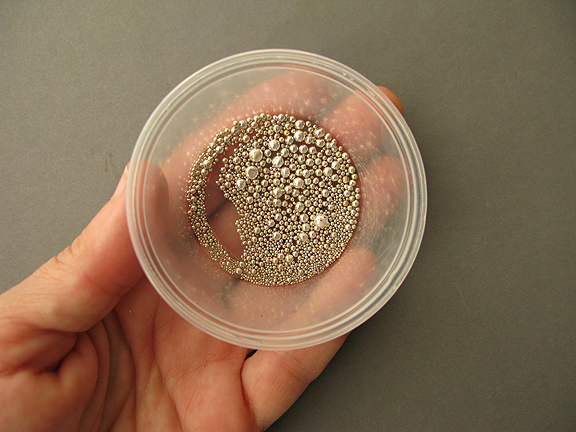
Lately I’ve been absorbed in making lots of earrings for the holiday season, using my new granulation skills. I’ve found fusing to be an easy and surprisingly speedy way to assemble things. Anyone who has experimented with granulation knows that the main problem is making the granules. My friend Iris solved this problem for me, with her ‘splash’ method, see this link for an explanation.

Using this method, you can make a nice tablespoon of shot quickly, using your fine silver scrap.

grade1

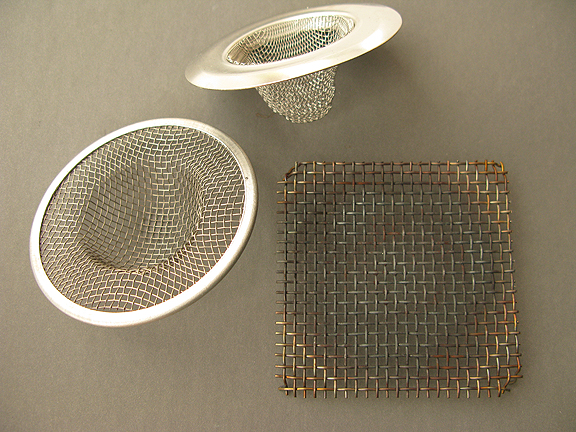
But to use the shot, you must sort it first. If you own a set of sieves, no problem, but what if you don’t? If you are trying this technique out, you probably want to be sure you like granulation before you buy a pricey diamond sieve. Well, here is a simple way to sort your pile of granules into graduated sizes using tools that you may have in your house. I’ll call it ‘Straw Grading’.

Backing up, you might have some sieves laying around that you didn’t notice. Here are two basin catch-thingys I got at the oriental food market yesterday, and a stainless screen I regularly use for soldering on a tripod.

grade2

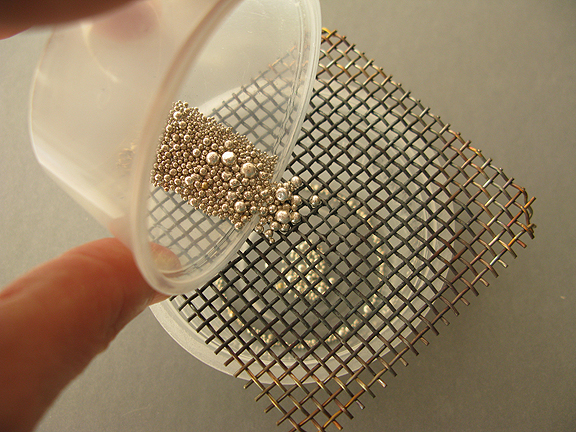
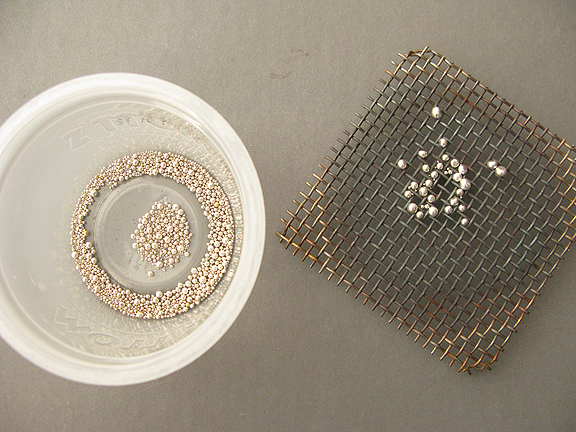
For the purposes of this demo, I am going to use the soldering screen to remove the largest of the shot, but you could just as easily pick out the largest balls with tweezers.

grade3


grade4Next, get an ordinary plastic drinking straw, and a couple of alligator clips.

grade5


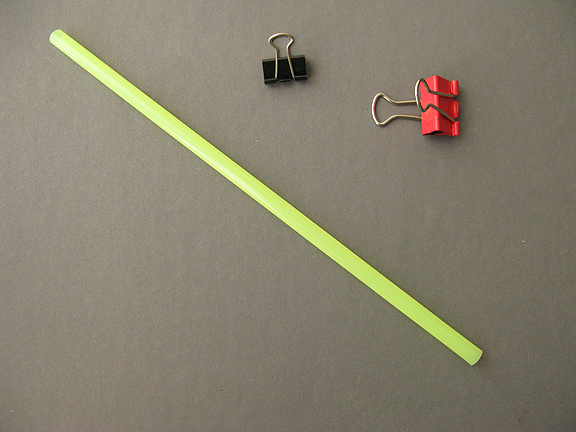
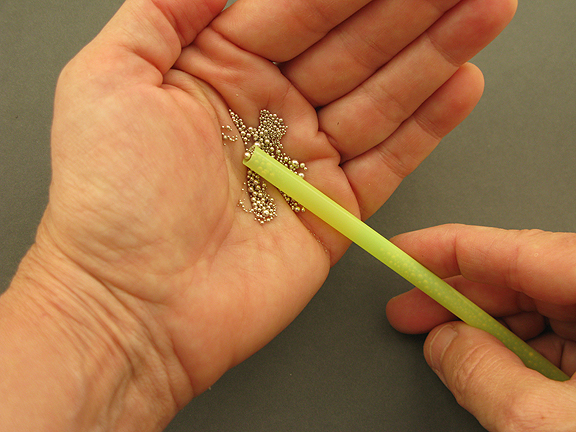
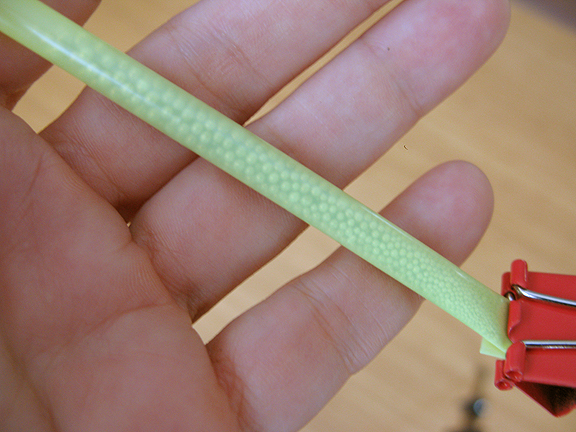
Fold and clip one end of the straw closed, and fill the straw with your shot.

grade6


grade7Trim the straw with scissors, leaving an inch or two of head-room, and clip the top closed.

grade8

Notice the shot loads into the straw mixed randomly.


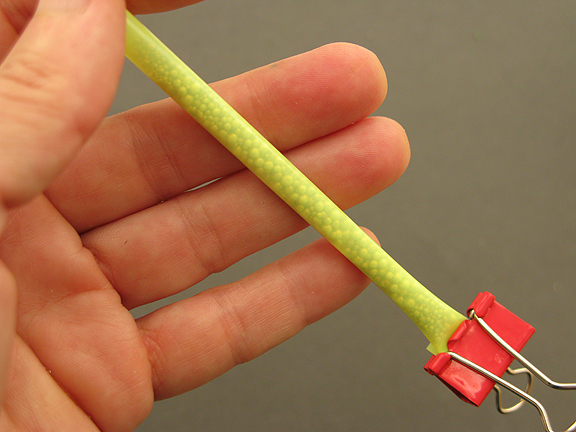
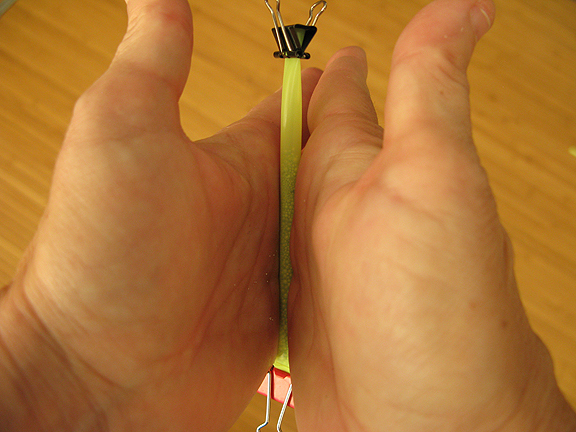
I remember in science class in 6th grade we added water to a jar of soil and shook it, and watched as the particles graded themselves into layers. I guessed that the same effect might happen with granules, and it does.

I give it a couple of shakes, and then roll it vigorously between my palms.

grade9

As it sorts itself, it will pack tighter and tighter, so I stop and pinch it to loosen it, and roll it some more. After about five or ten minutes, the granules will become sorted from large to small. The stacking pattern will look a little like corn on the cob.

grade10

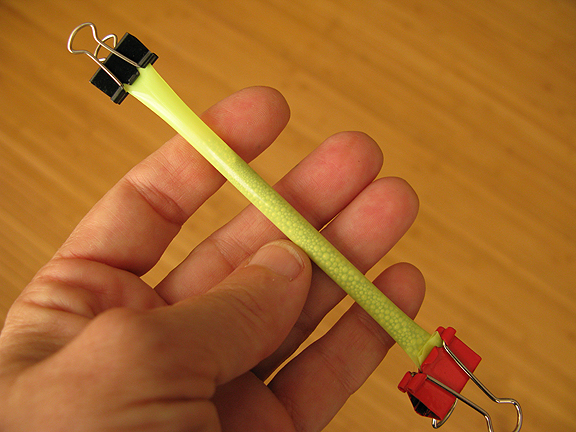
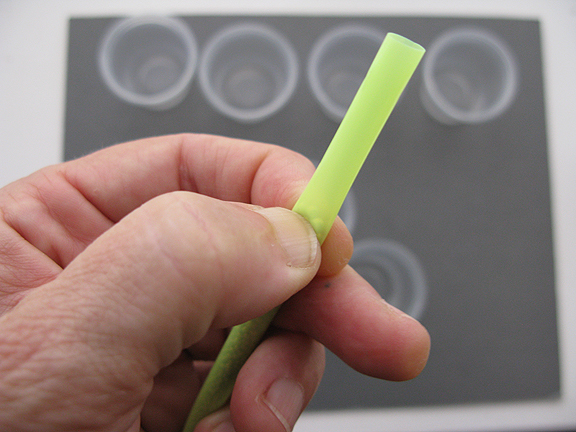
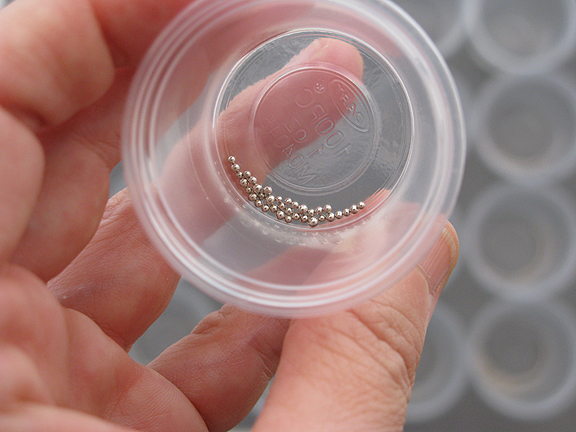
Now it is just a matter of pinching the straw at the top of the column of shot. This forces upward a few granules that are the same size, and stops the rest from rolling out. Pour these little balls in the first of a series of little cups, and they will be your largest shot. Pinch again, right at the top, and another dozen granules will be squeezed away from the column. Pour those into the next little cup.

grade11

Work your way down the straw, squeezing and pouring, until your reach the bottom. The last batch are dust-like , and too small to use anyway, unless you fuse like an Etruscan.

grade12

Now you have lots of sizes. There will be a few ‘odd balls’, that you can move to a better matching size with a pair of tweezers. This way of sorting isn’t as perfect as using the diamond sieve, but it is much easier, faster and cheaper. The resulting sets of granules will need a little correction, but are amazingly well matched given the simplicity of the method.

grade13

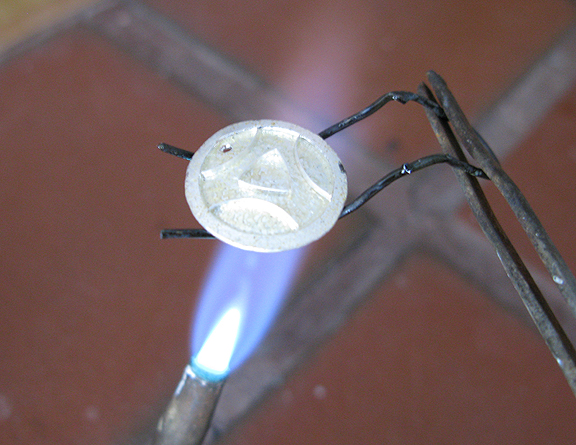
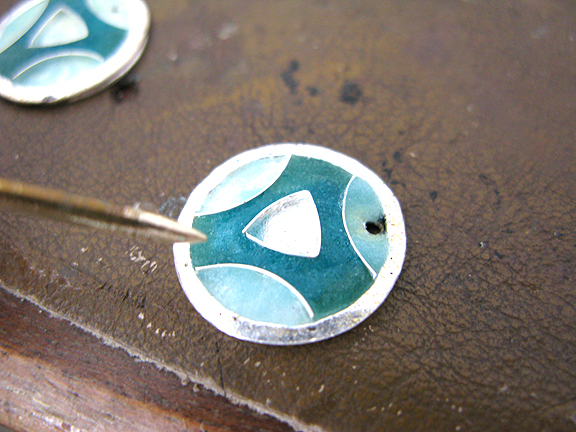
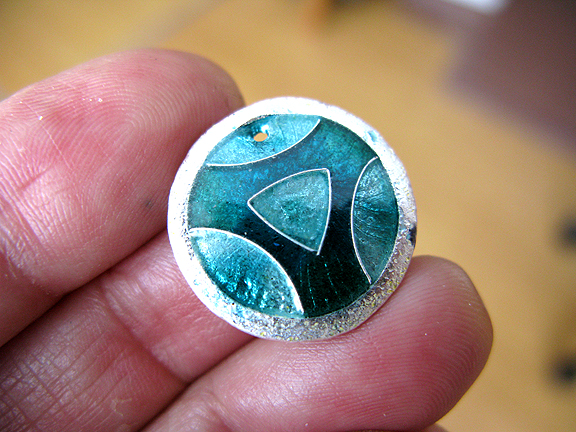
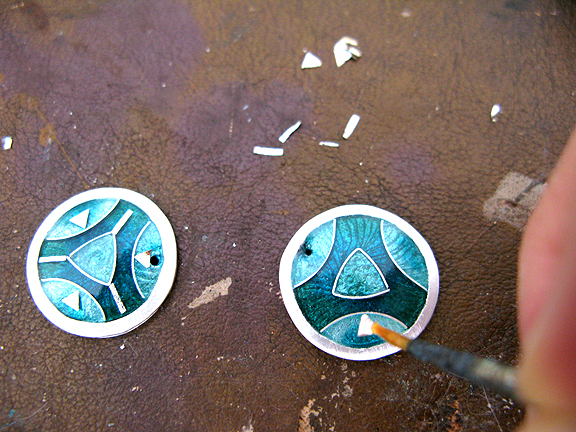
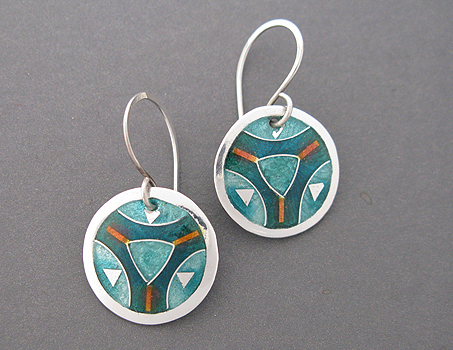
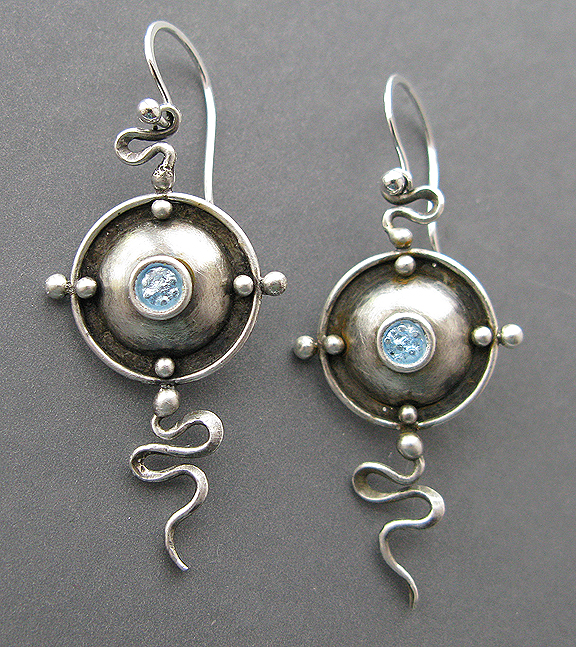
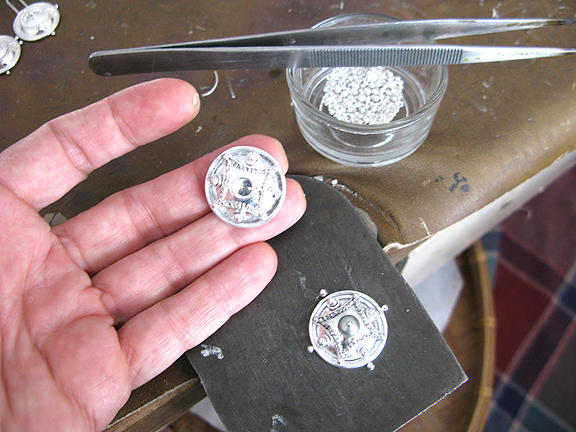
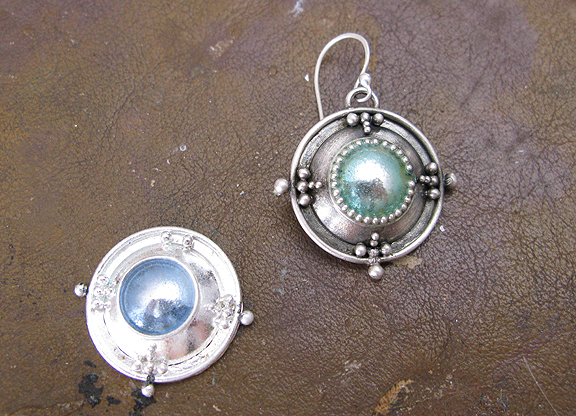
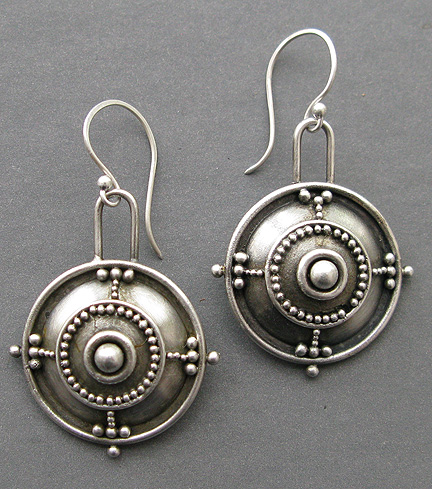
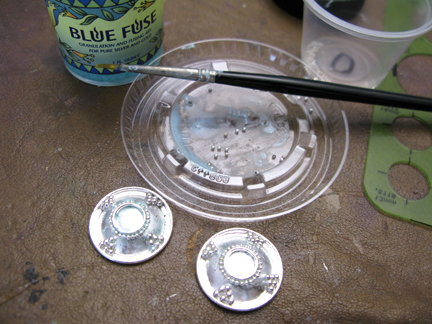
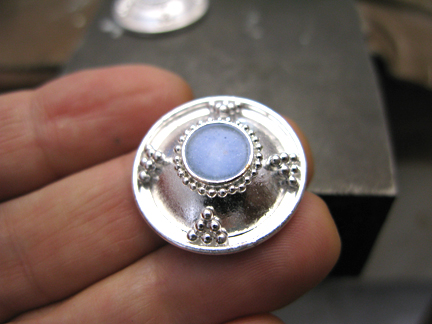
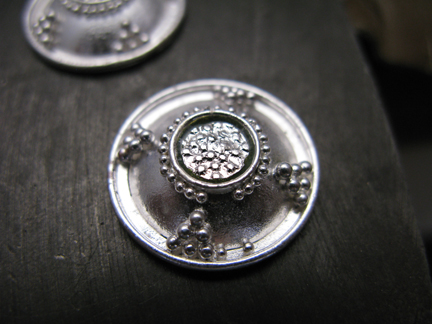
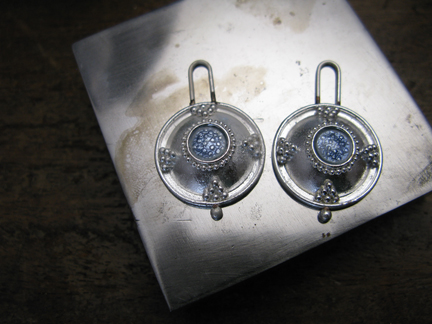
Now you can start the fun part of granulation, making the jewels. These are enameled earrings I made this week for the Betty McKim Earring Challenge.

grade14


The Beauty of Portability: Working at the Beach

My friend Iris was in town this week, to enjoy the hurricane in Wilmington, NC. After it blew over, I joined her down at the Carolina coast for a few days of jewelry talk, fancy food and beach.

Because this is our passion, we are both happiest while working. So she used her new technology to complete a distance learning lesson.

Iris Typing

Meanwhile I used my stone-age technology to make my earrings for the Betty McKim Earring Challenge. I just put a few tools on the table, and had everything I needed. Sometimes simplicity is a good thing.

The next pieces I made fusing wire and using a bit of old delrin as flat surface to true up things, as it is both light, tough and less likely to mar soft fine silver.Delrin block

Here is the dining room table with my stuff. It was a very simple setup, not even a whole toolbox full of stuff. Granted, I made the granules at home…

And another shot of things in progress. Here I am fusing on my little butane ‘chaffing dish’ burner. I made a wire holder support for the firing platform. It is light but squirrelly: I am contemplating a better design.

And after a hard day playing, we enjoyed the fruits of our labors. Here is Iris drinking a cocktail at the Oceanic Pier, and showing off earrings.

Enameling Again

Christmas is coming, and the elves are all doing production work, with the hope that someone, somewhere will have some money to spend. For the last week I’ve been making granulated earrings that all look alike. Not very entertaining…so this week I worked on a pair of enamel earrings for a sample for a class at Ornamentea.

In this design, I start out with fine silver rings and disks, and fuse them with BlueFuse. (Excuse the focus)

tril1tril2tril3
This forms a ‘champleve’ style silver base for the enamel. Next I’ll use a scribe to make some lines in the soft silver.

tril4

Dome the base to control the warping that can occur due to the different COE of silver and glass.

tril5
tril7

And this is my helpful assistant Zack, who is very interested in everything.
I’ve decided to try to completely torch-fire this project, just to see if I can. Torch firing is nice because you don’t need specialized equipment, but is tricky if you have to have both sides turn out presentable. Here is the first layer of clear enamel being melted on with an acetylene torch. Propane works fine, too. Butane will work but needs to be a bigger flame, as butane is a cooler gas.

tril8

And the wires that will make the design.

tril9

I add the enamel, called ‘wetpacking’, in four or five layers to get the final colors.

tril10


tril11Once it is finished, I am adding some bits of silver foil to add to the composition. They will fire into the surface as a permanent feature. I also added some orange onto the top at the end to spice up the color combination.

tril12

tril13


Granulation meets Biology

Design is the final frontier of any technique. Making a personal statement with granulation is difficult, because granulation has definite character. This week’s earrings for the Betty McKim Earring Challenge uses multiple techniques, and begins to explore the nexus between geometry and biology. On my bench I have these bases to start with.

alive1

Being a creature of habit, I start as I have been, with fusing some balls and a ring onto the base. Granulation has the unexpected benefit of being really fast and easy compared to soldering. No fuss, no flux, no jumping chips and fiddling with your solder pick to get everything put back where it was. Just position with BlueFuse and heat.

alive2

Now things begin to get strange. I once read a quote from John Paul Miller which I paraphrase: If you master one technique in your work, everyone can copy you. If you master two techniques, a few people can copy you. If you master three techniques no one will be able to copy you. I have skills in forging and enamel, and now I am adding granulation, but can I mix these things effectively?

alive3

Looks biological, all right.

alive4

And now for the enamel. There is not much space to get fancy, so just a little color and sparkle.

alive5

alive6

They are small, light and very lively.

alive7


From Geometry to Jellyfish

The past few years I have struggled with my affinity for the circle. It just seemed too easy, but recently I have decided to just go with it. After all, there are lots of interesting things that are circular: planets, hubcaps and hurricanes.

This is one of a series of triskele enamels, with tri-fold symmetry.

enamel triskele pendant

Now that I have given myself permission, I find that I want to tweak my circles a little. This week’s project is beginning to remind me of a favorite artist and scientist, Ernst Haeckel. Something about the combination of forms is looking alive.

circle1

Granulation is a great tool for tiny detail, and has a kind of ‘building block’ quality that seems biomorphic.

circle2

I think I’ll call it “Narcomedusa”.

circle3

Share on Facebook


Turning a Sow’s Ear into a Silk Purse

Gone are the days when I tossed my mistakes into the little box on my bench. Silver is just too expensive to treat without the proper respect, and perhaps that is as it should be. Even though anything that could go wrong did, I decided to fix the meltdown to use for my Betty McKim Earring Challenge project. They are not very presentable viewed with the pitiless magnification of my little camera, but look fine on me.

earrings

But more encouragingly, I taught my first class in this technique at Ornamentea this week, and it was successful. I’ve been fascinated with circular forms for years, and found the Strickland Brooch at the British Museum.

strickland brooch

Inspired, I designed a class project that a non-jeweler could complete in a few hours. I wanted to use more cable and less granules, as they are difficult to produce without a lot of scrap on hand for the Sandkuhler Splash. Melting little balls one at a time, and needing several hundred is not doable in a day length workshop.

notebook drawings

This is the beginning project that we did. They had no problems, and were even able to do their own designs, which turned out great.

granulation class project

Share on Facebook


Share on Facebook

Sad Day in Granulationland

Just when I was feeling pretty good, like, this is great! I have it under control! comes the cosmic reminder that pride goes before a fall.

The last pair of green earrings had a great enamel effect, one that I had never seen before. I had heated the piece so hot that the enamel had leveled itself like water in the bezel. This is pretty hot, maybe up around 1750 F, much hotter than you normally go with enamel. And the index of refraction of the glass caused a nice distortion, and made the earrings look like they had pearls or those antique convex mirrors in them.

sad2


Naturally I want to try this again, see if I can reproduce the magic. It all went pretty well until the Very Last Thing (isn’t that always the way), and I torched it a moment too long. Uh Oh………….

sad1

I should have known better, the light was full westering sun, and you should always do this type of work in semi-darkness. Ahh well, lesson learned.

On another more interesting note, metal clay artist and teacher Priscilla Aliberti pointed out that you can granulate on fired metal clay silver. Although I am not very competent in metal clay, I like it. This is my first trial of granulation on metal clay. It was already fired, and the granules are regular fine silver.

sad3

If metal clay was within my budget, I’d be all over it. As it is, I may take a class in the copper clay, which is a really lovely color.

Here is a piece I didn’t melt, just to make me feel better.

ScullEarrings
Share on Facebook


Share on Facebook

Granulation using Plating

When fusing things together, I have realized that there are several approaches, that have their place. There is straight-up fusing, using just the torch. This is the best when you are trying to flow the metal across a gap. It requires a lot of heat control, because you are working mainly at melting temperature, and counting on the surface tension of molten metal to keep the object intact. I use this with wire, mostly.

Next is using a fusing aid, which lowers the melting temperature of the surface enough to allow things to tack where they are touching, a diffusion bond. This is great for lots of things, but you don’t want to get it all over everything. Then there is copper plating the bits.

Here is what I had on my bench today:

plate1

I want to add elements to the shiny silver domes, and keep the shine so I can add enamel. So I will copper plate the granules.

plate2

Ever screwed up and dropped your steel tweezers in the pickle? Same principle. The copper, acid and steel make a battery, and plate silver with a thin layer of copper. I use a little copper cap, like the plumbers use to cap copper pipe, some pickle and a coil of steel wire. Just add granules, and stir.

plate3

And rinse.

plate4

Arrange and fire. The copper turns black, and if I could read in German, I could tell you what was happening.

plate5

Then you say “One Ring to rule them all, One Ring to find them, One Ring to bring them all and in the darkness bind them,” etc. It helps create the proper mood.

fuse9


Fusing for Granulation

Granulation, as anyone reading blogs on Ganoksin already knows, is about fusing. Fusing is a solderless way of joining, in my case, silver. If I was an Etruscan, it might be gold or gold and silver alloys. It works great, within a limited range, and is a really fast way to assemble things. No fiddling around with solder chips, no pickling, just heat and go. Almost.

You can fuse pure silver without any ‘fusing aid’, in the case of Jean Stark’s fused link chains, or in Iris Sandkuhler’s projects in her book, but if you want to fuse other more complex things, you need to help nature a little.

Turns out, you can lower the melting temperature of the silver just on the surface with a fusing solution. It is not solder, just helps the metal surfaces join, in what Oppi Untracht calls a ‘diffusion bond’. I use a product called ‘BlueFuse’ to do this.

fuse1

Here is how it works. Use the liquid to place the granules. It is fairly sticky, and will hold things in place.

fuse2

fuse3

And heat. I mostly use a torch above and below, but in this example, I am just using a little butane from above (I love butane).

fuse4

fuse4a

fuse5

Until you see a red flash (meaning it is all about to melt). Where the BlueFuse is melts first, giving you a chance to back off before it all melts.

fuse6

And so it fuses. We now have a nice little bond right where things touch. No contact, no bond. It is both the beauty and the bane of this type of work.

fuse8

So I use it for construction, because of it’s speed and delicacy.

You can buy the BlueFuse at Ornamentea.

fuse9


Yes, but can you Enamel on it?

Now that I have granules and made lots of round granulated objects, I need to figure out how to enamel on these things. Mainly because I committed myself to teach a class in this, so I guess I better figure it out. It is all fine silver, so what could go wrong? (Famous Last Words) So, I will start with this:

Enamel1 copy

Everything is fused, including an empty circle in the center, where I hope to put the enamel.

enamel2 copy

So I carefully fill the little circle and torch fire it from below.

enamel3 copy

And it turns green. It isn’t supposed to be green. Ah, well, I like green, even though I am trying to match my eye color, always a winning strategy with earrings. Which is blue, by the way.


One solution would be to get green contact lenses, but I can also change the enamel color using silver foil.  Here are textured foils fired onto the surface.

enamel4 copy
Drat.  A couple of the little balls came off.  This is how granulation always goes.  I wonder if I can fuse them back on and not destroy the enamel…more BlueFuse.


Looks like it worked.
And there they are all finished. Not exactly my eye color, but close enough. They look great on.

enamel7 copy

Lillian’sBlog