
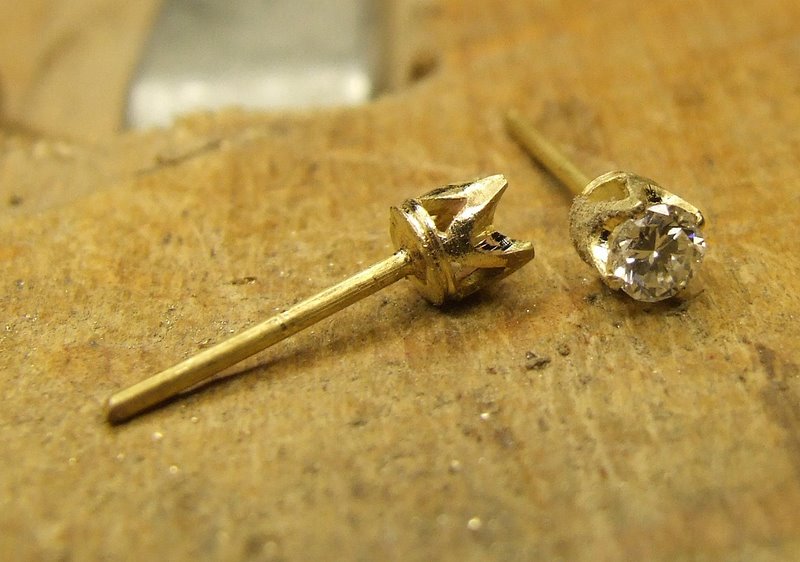
The earrings, polished just too much, lost some crispness
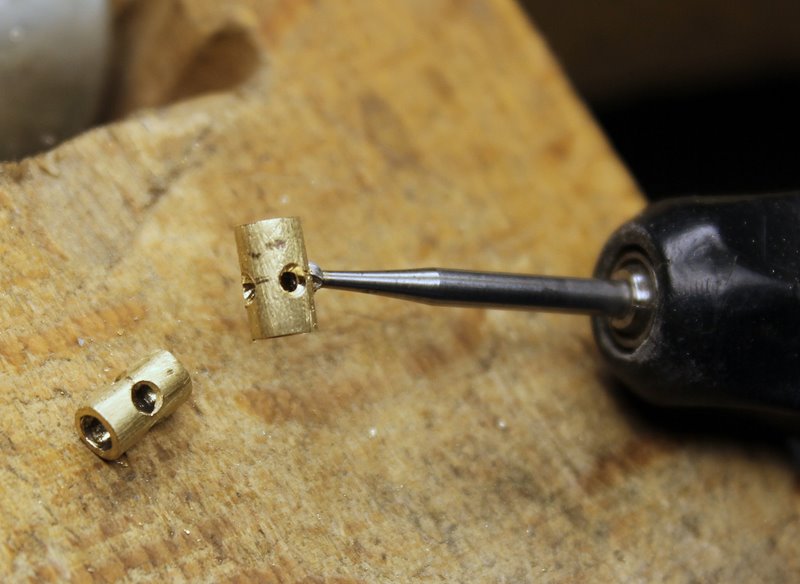
Made two tubes of the right diameter (the crown of the stone rests in the thickness of the tube), made four holes in the circumference at middle height.
Now I’m enlarging the holes, leaving between them the thickness of a prong
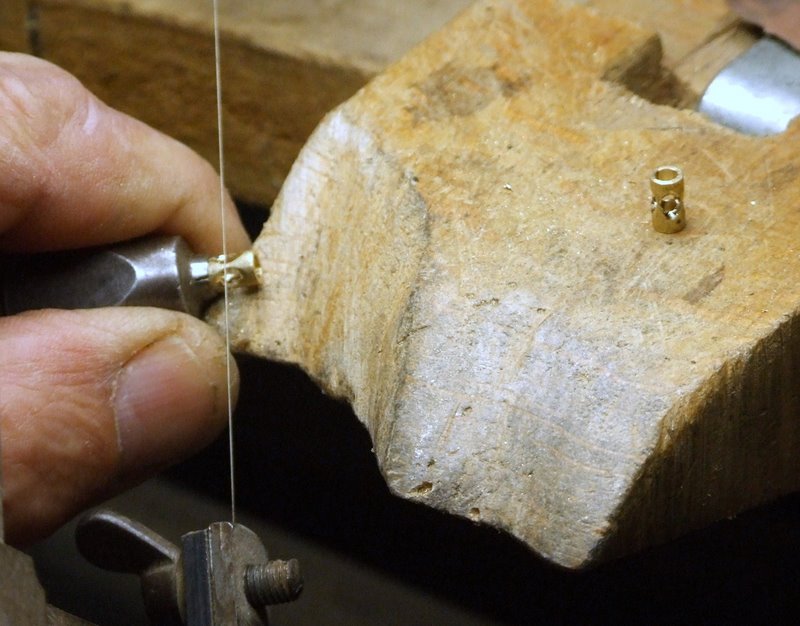 cut in half the tube
 to get two pronged bezels
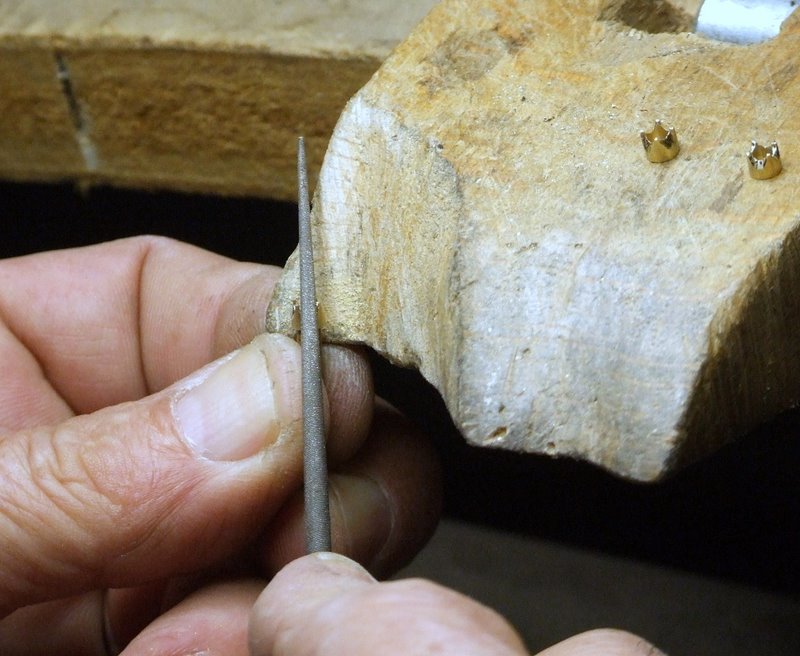 some filing with the round file to set the inclination and regularize the prongs
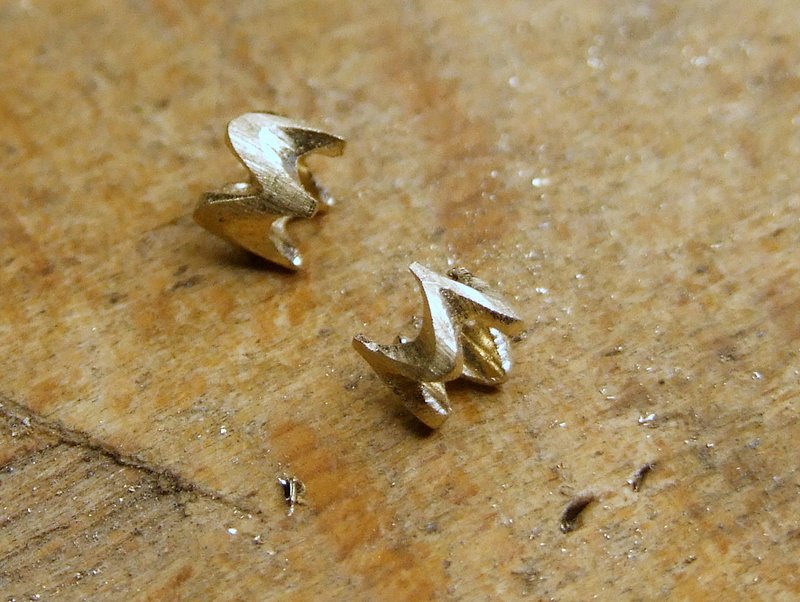
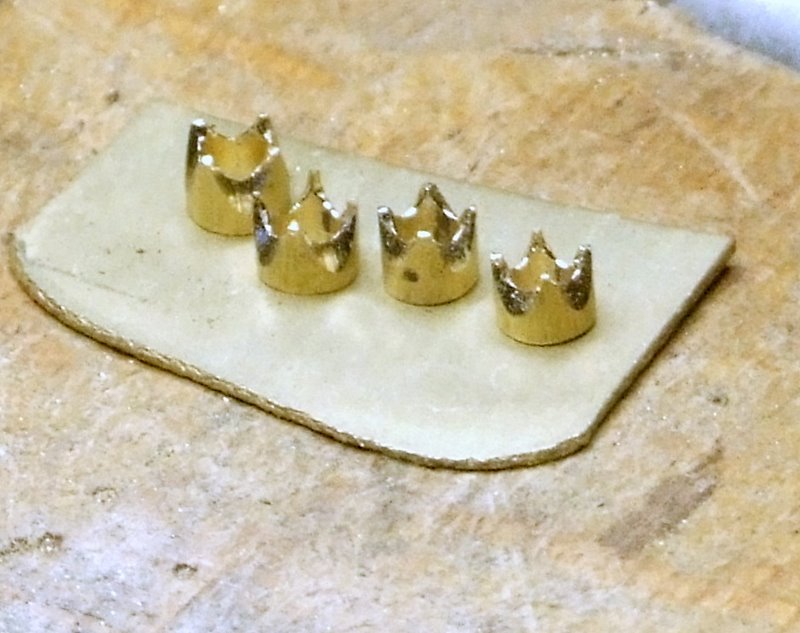 here are the four (I’ making two pair of earrings) bezels, the prongs are ok
 a nick with the saw just under the prongs
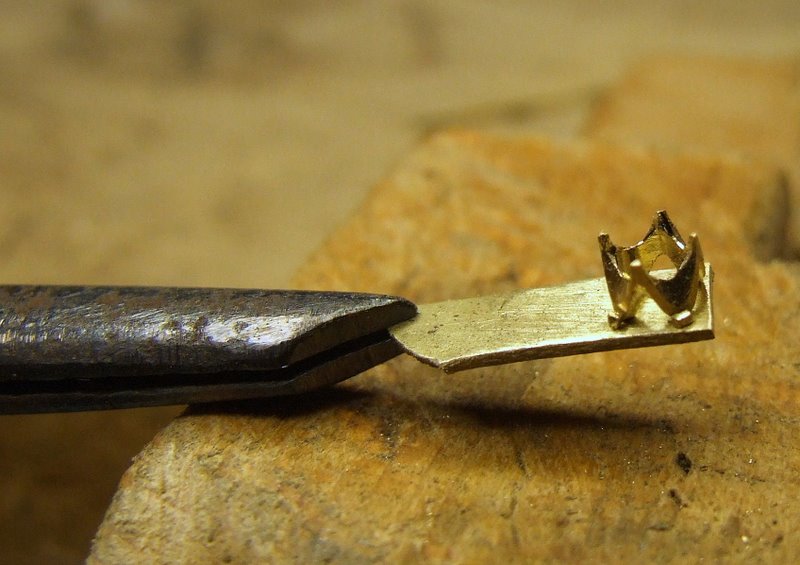
 with a square file the nick is enlarged and deepened, the bezel is held in a piece of wood
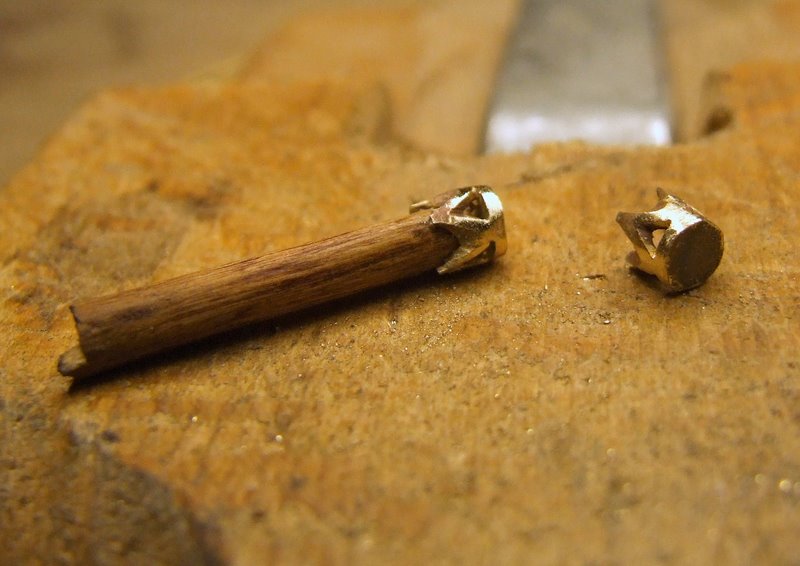
 ready for the back
 the paillons are in place
 the bottom has been soldered and cut in circle
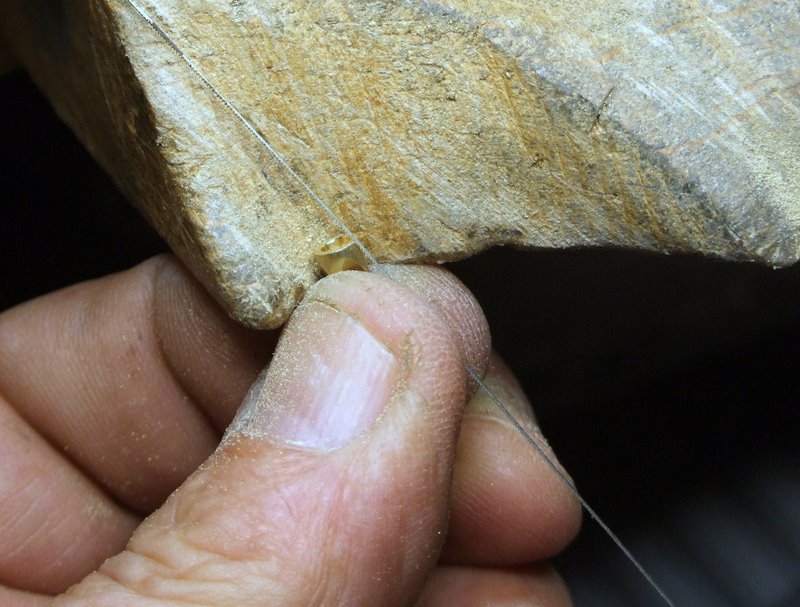
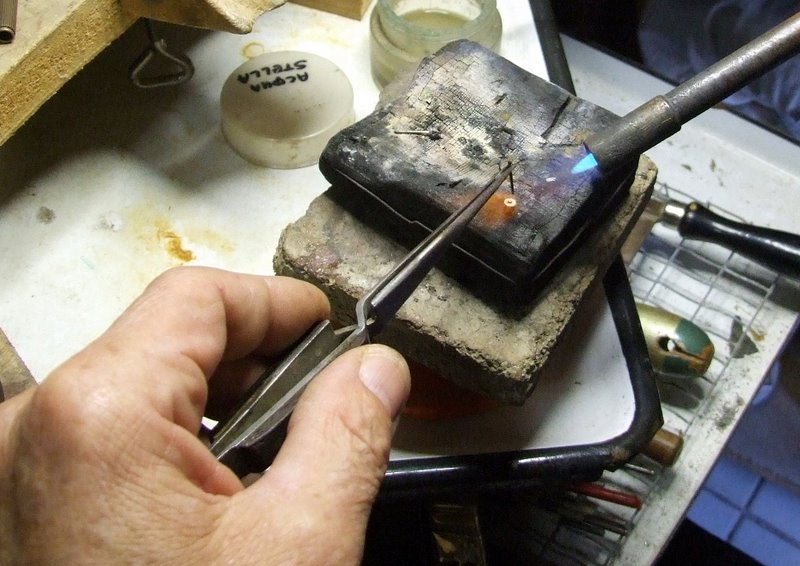 to solder the stem, I heat the bottom of the bezel on which a paillon is placed, and keep the stem near the flame. When the paillon starts melting I rest the stem on it, wait till the solder wets bezel and stem, take away the flame and wait for the solder to set before opening the tweezers.
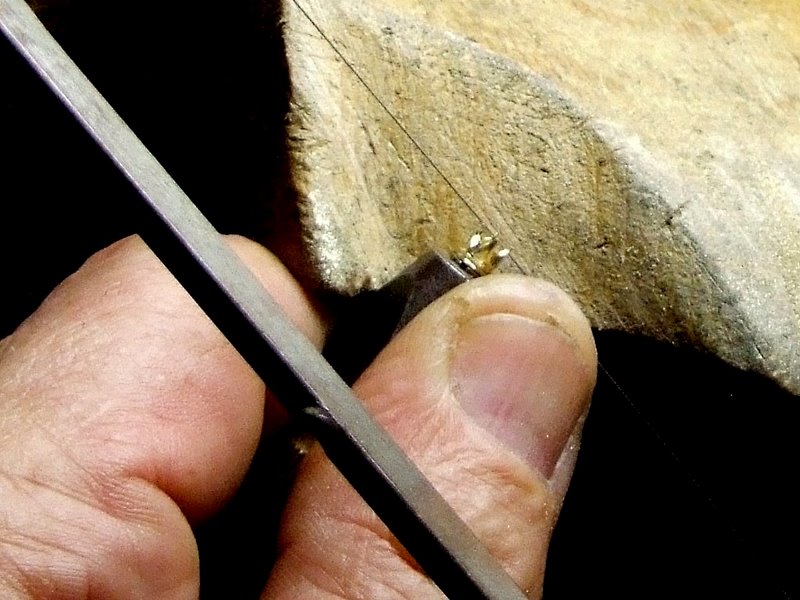 I nick the inside of each prong with the saw, a little filing with a triangular file will perfect the notch.

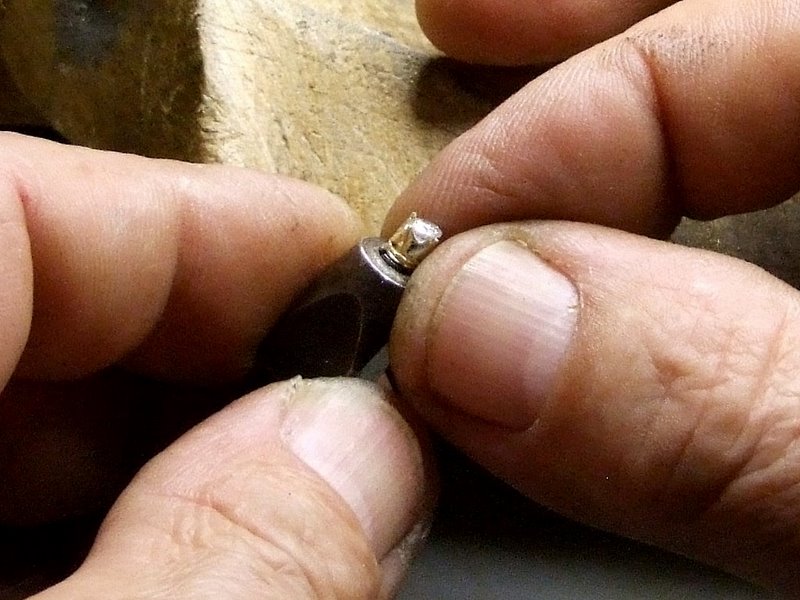 the stone enters with a click
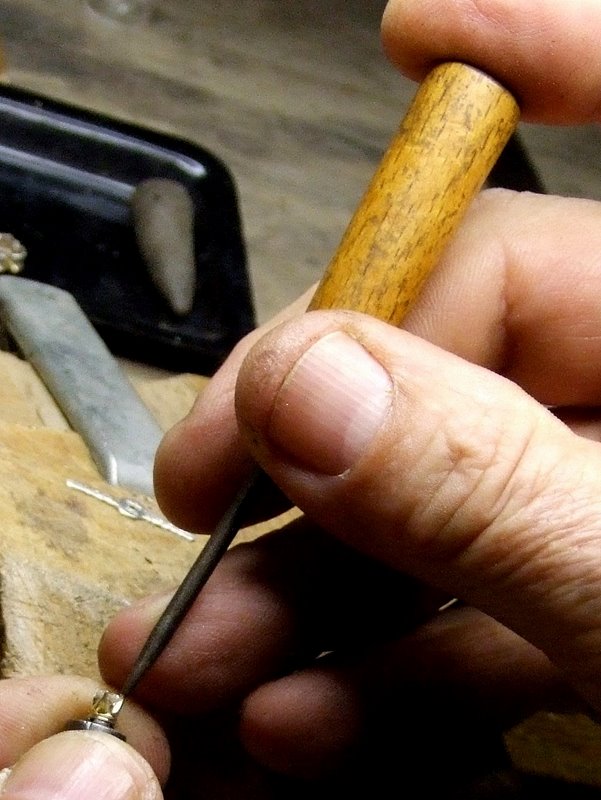 some beading over the tip of the prongs
 forgot to say that I made a groove at the bottom of the bezels
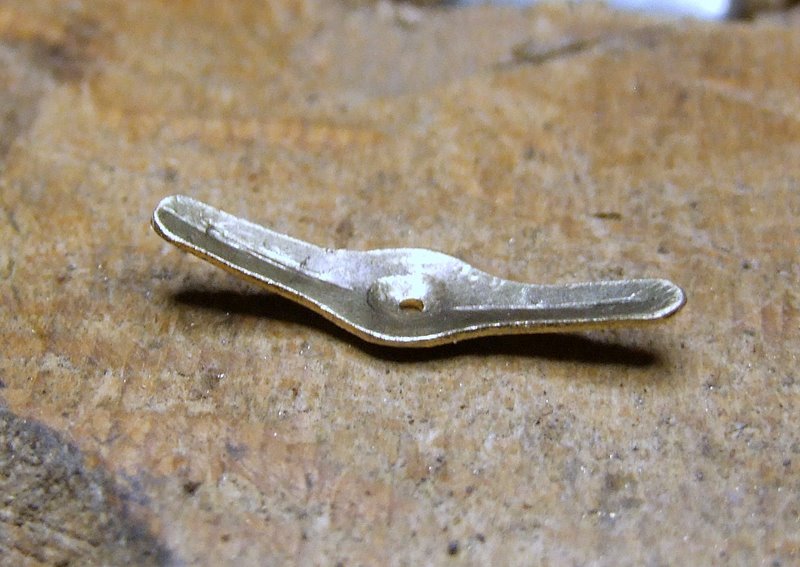 The butterfly nuts are 0.6 mm thick, somewhere between gauge 24 and 22. First I cut the shape, with a round punch I deepen the center and bore a hole. With a tracer punch I make a groove in the middle of the wings
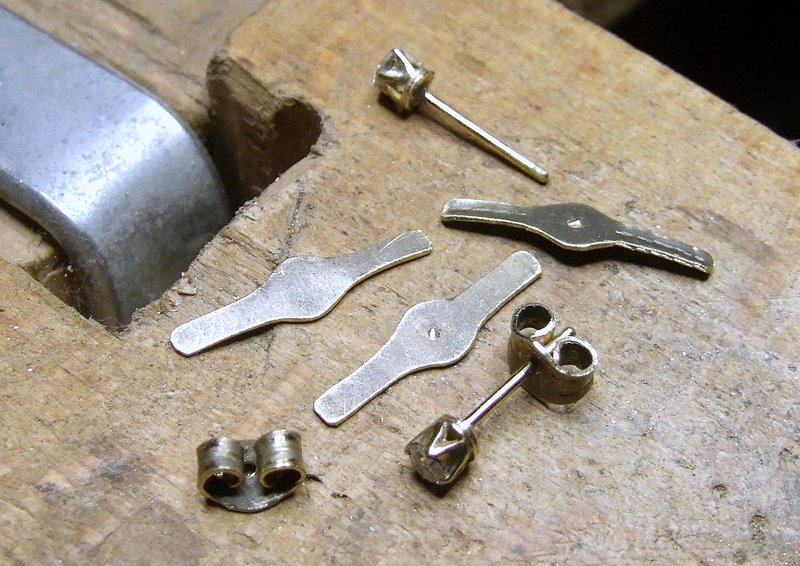 Then I roll up the wings until they will let the stem pass through with a little effort. Just a little under the end of the stem I made a circular groove with round nosed pliers: the butterfly nut clicks in the groove and stays secure.
I JUST SAW THAT I’VE USED UP 94% OF THE SPACE GANOKSIN ALLOWS ME TO USE.
ANY SUGGESTION ON HOW TO GO ON?
I was planning to post an article on the unconventional use of the wire rolling mills.
Goodbye, Mario
Latest posts by Mario Cesari (see all)
- earrings, gold and brilliants - January 24, 2012
- ballpoint pen, silver and gold - October 30, 2011
- cages necklace - October 23, 2011

{ 7 comments… read them below or add one }
Great sequence of photos. A really clear tutorial showing exactly how much work is involved!
Thanks for the question, I did’nt know how to name these small pieces, that is why there’s no caption yet on the photos.
The butterfly nuts are 0.6 mm thick, somewhere between gauge 24 and 22.
I was curious as to what Gauge you used for the butterfly nut,
very impressive im going to do some tube work soon(my first attempt) this demo helped greatly great photography
Great Demo!
This was amazing and perfect in its detail, thank you so much for sharing.
this is the best demonstration i have ever seen. the photos show exactly what you are explaining.