In an effort to be better organized (hence The Projects Project) I needed a bulletin board, but I had NO idea how expensive they can be. Aside from the price, I never really saw any I really liked. Then one day while at Target, I found this roll of cork for $2.00 sitting next to the $22 bulletin boards. No brainer, right?
I took the roll of cork and a piece of plywood, some ribbon, and then in no time, I had a bulletin board that fit my décor.
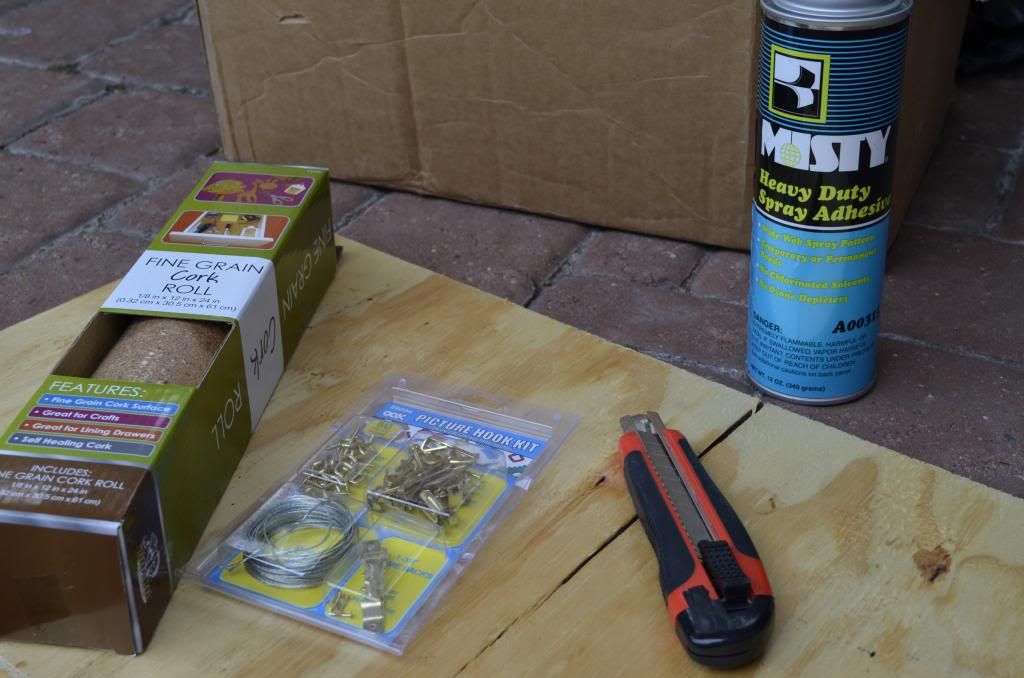
All you need is the roll of cork, plywood, utility knife, spray adhesive, glue gun, and picture hangers.
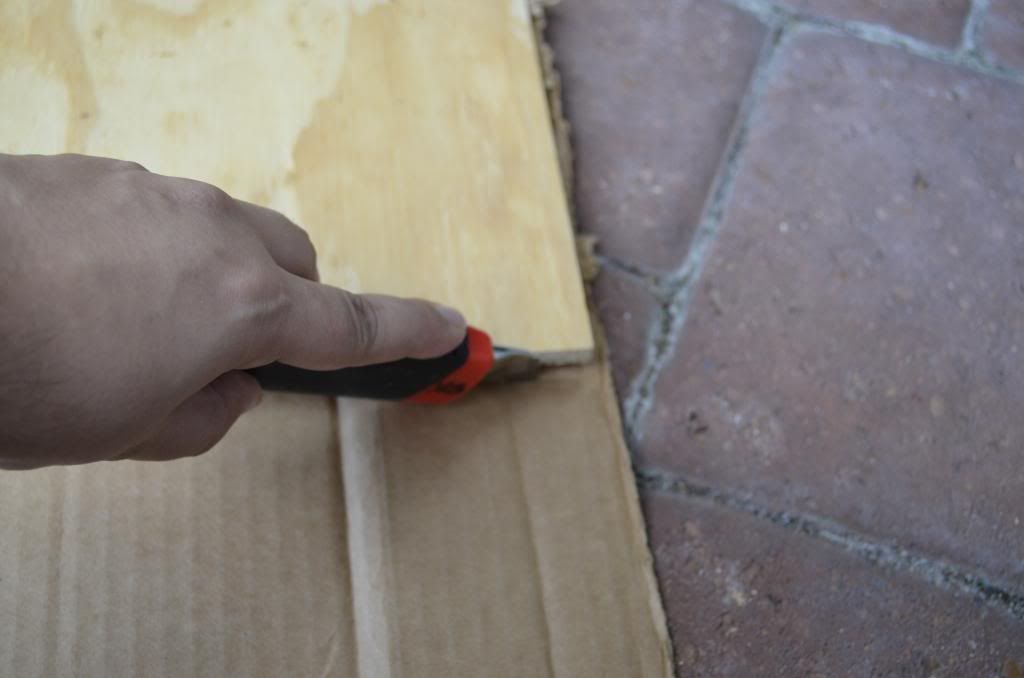
For some extra padding, I put a piece of cardboard behind the cork.
Step 1: Measure and cut the cardboard to the size of the plywood (not the cork). Apply spray adhesive to both the cardboard and plywood. Simply line them up and press down.
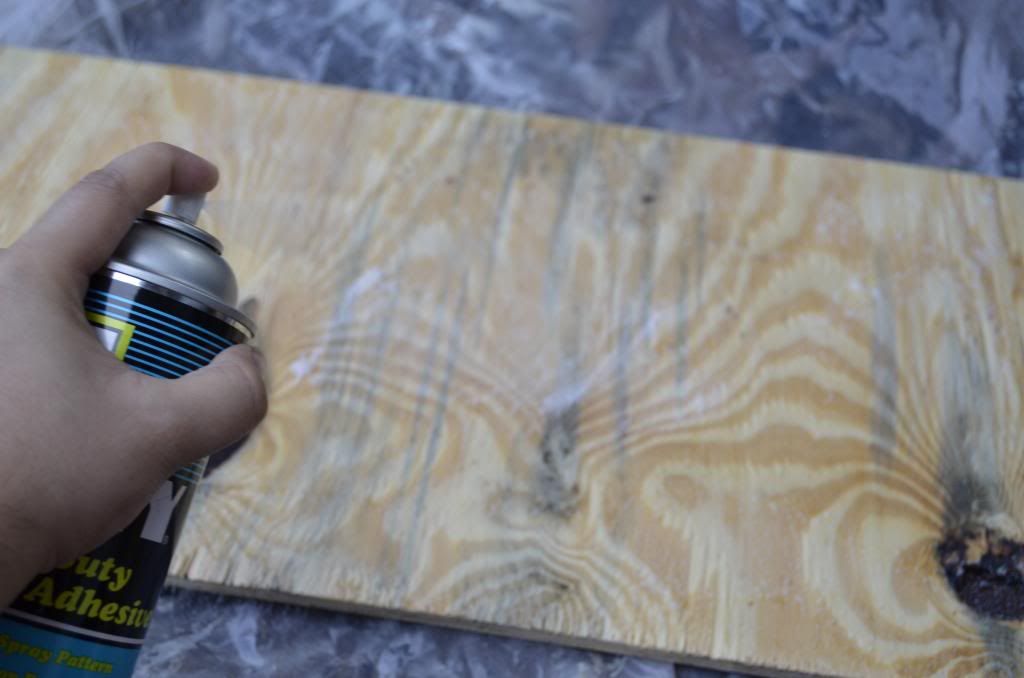
Step 2: Apply the spray adhesive to the cork (mine was rolled tights, so I had to let it sit overnight unrolled under some heavy books).
Step 3: Center the cork over the cardboard covered plywood and press down firmly.
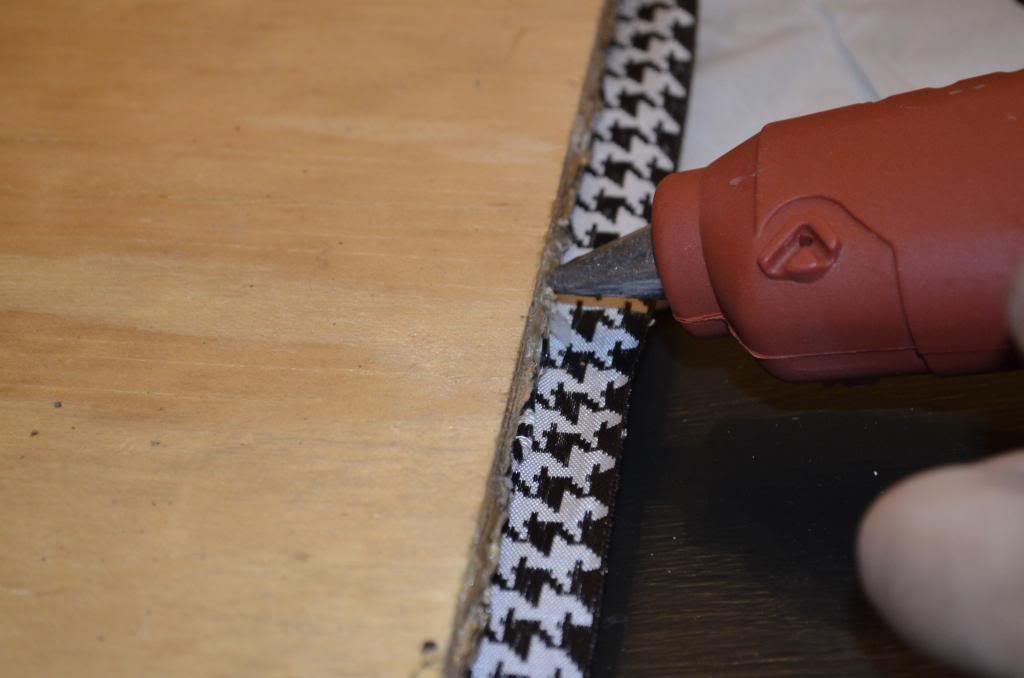
Step 4: I bought some ribbon that I liked, and with a little hot glue, I applied it to the edge to cover the raw pieces of the cardboard and wood. Besides, it makes it look nicer.
Step 5: Attach the hangers. I chose these for no particular reason, they were just what I had.

Step 6: Hang and enjoy!

Latest posts by Tahira Designs (see all)
- Year End Review - January 2, 2013
- “Just The Right Shoe” Risers - December 27, 2012
- Custom Bulletin Board - December 25, 2012
