Lee Epperson
leessilver@aol.com
The bear will be carved out of Blue Ferris carving wax. The photographs of this paper were taken during the construction of several bears. The design in the photos may vary from photo to photo.
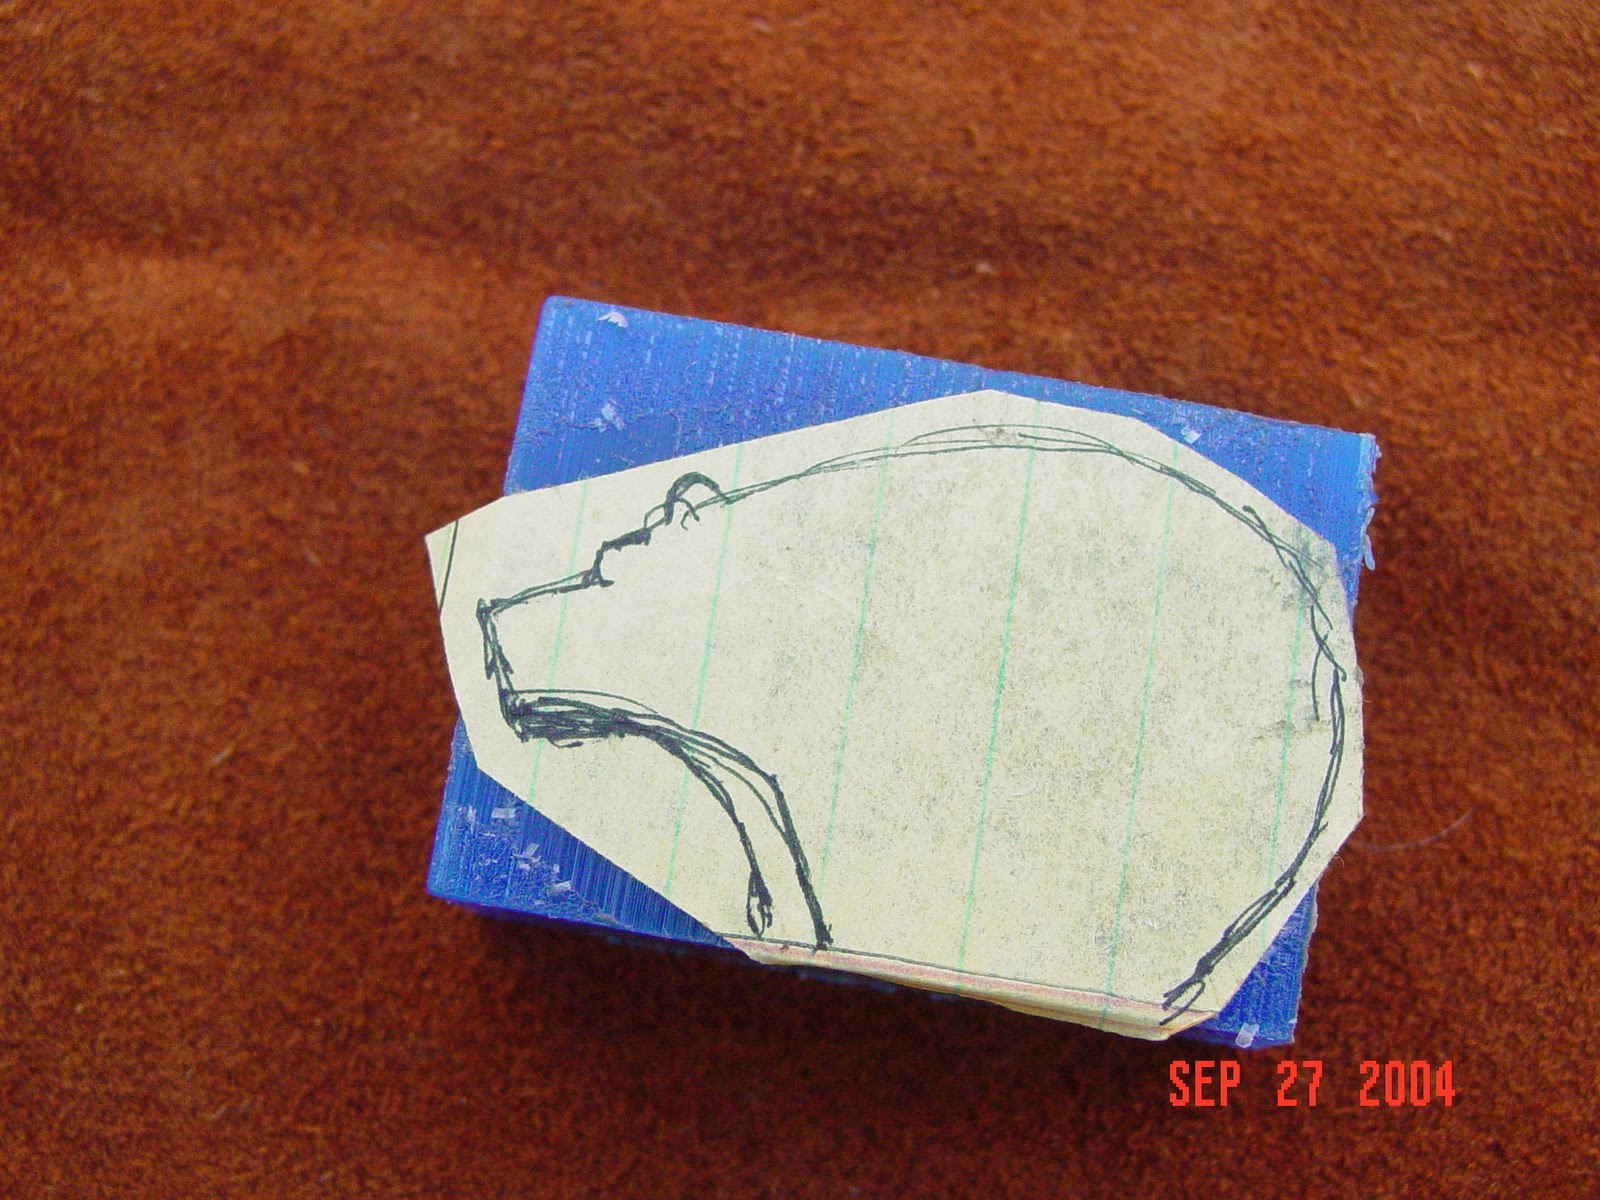
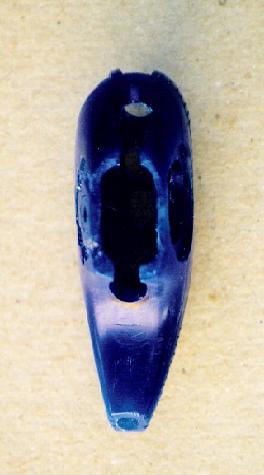
This is what the engraved bear looks like. The engraved lines were highlighted by painting wet talcum powder on the wax. The excess powder was rubbed off the wax once it dried.

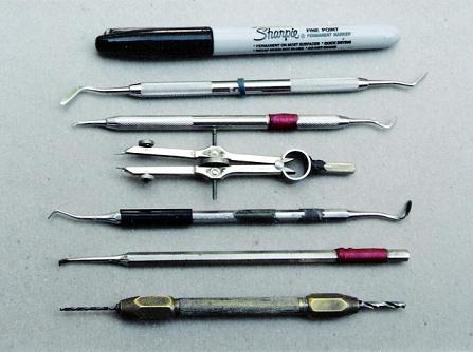
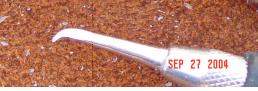
This photo shows the tools that will be used to engrave wax.
Tools described from top to bottom:
Sharpie pen. This pen is used to draw a rough design on the wax.
Dental tool. This is an unmodified Woodson dental tool. The attached paper will describe how to modify into a wax engraving tool.
Modified dental used for engraving wax.
Compass with metal points. This tool will be used to inscribe circles or to mark parallel lines.
Modified dental tool used to scrape wax from the background of the design.
Dental tool used to scrape wax from the background of the design.
Drill used to drill holes in the design of the wax.
1. The wax should be as large as the planned carving will be. There are several ways to cut wax down to size. The simplest way to size the wax is to cut it with band saw. A hand held carpentry wood cutting saw can also be used. There is also a wax cutting saw blade that can be used in a jewelers saw frame.
2. The shape of the bear is drawn on a sheet of paper and bonded by rubber cement to a block of wax.
3. The outline of the bear can be cut on a band saw or with the wax cutting jewelers saw.
The shape can also be formed by grinding the unwanted wax away with a large burr mounted in a flexible shaft handpiece. It is best to wear a glove on the hand holding the wax. The burr has a tendency to run out and can do some damage to an unprotected hand.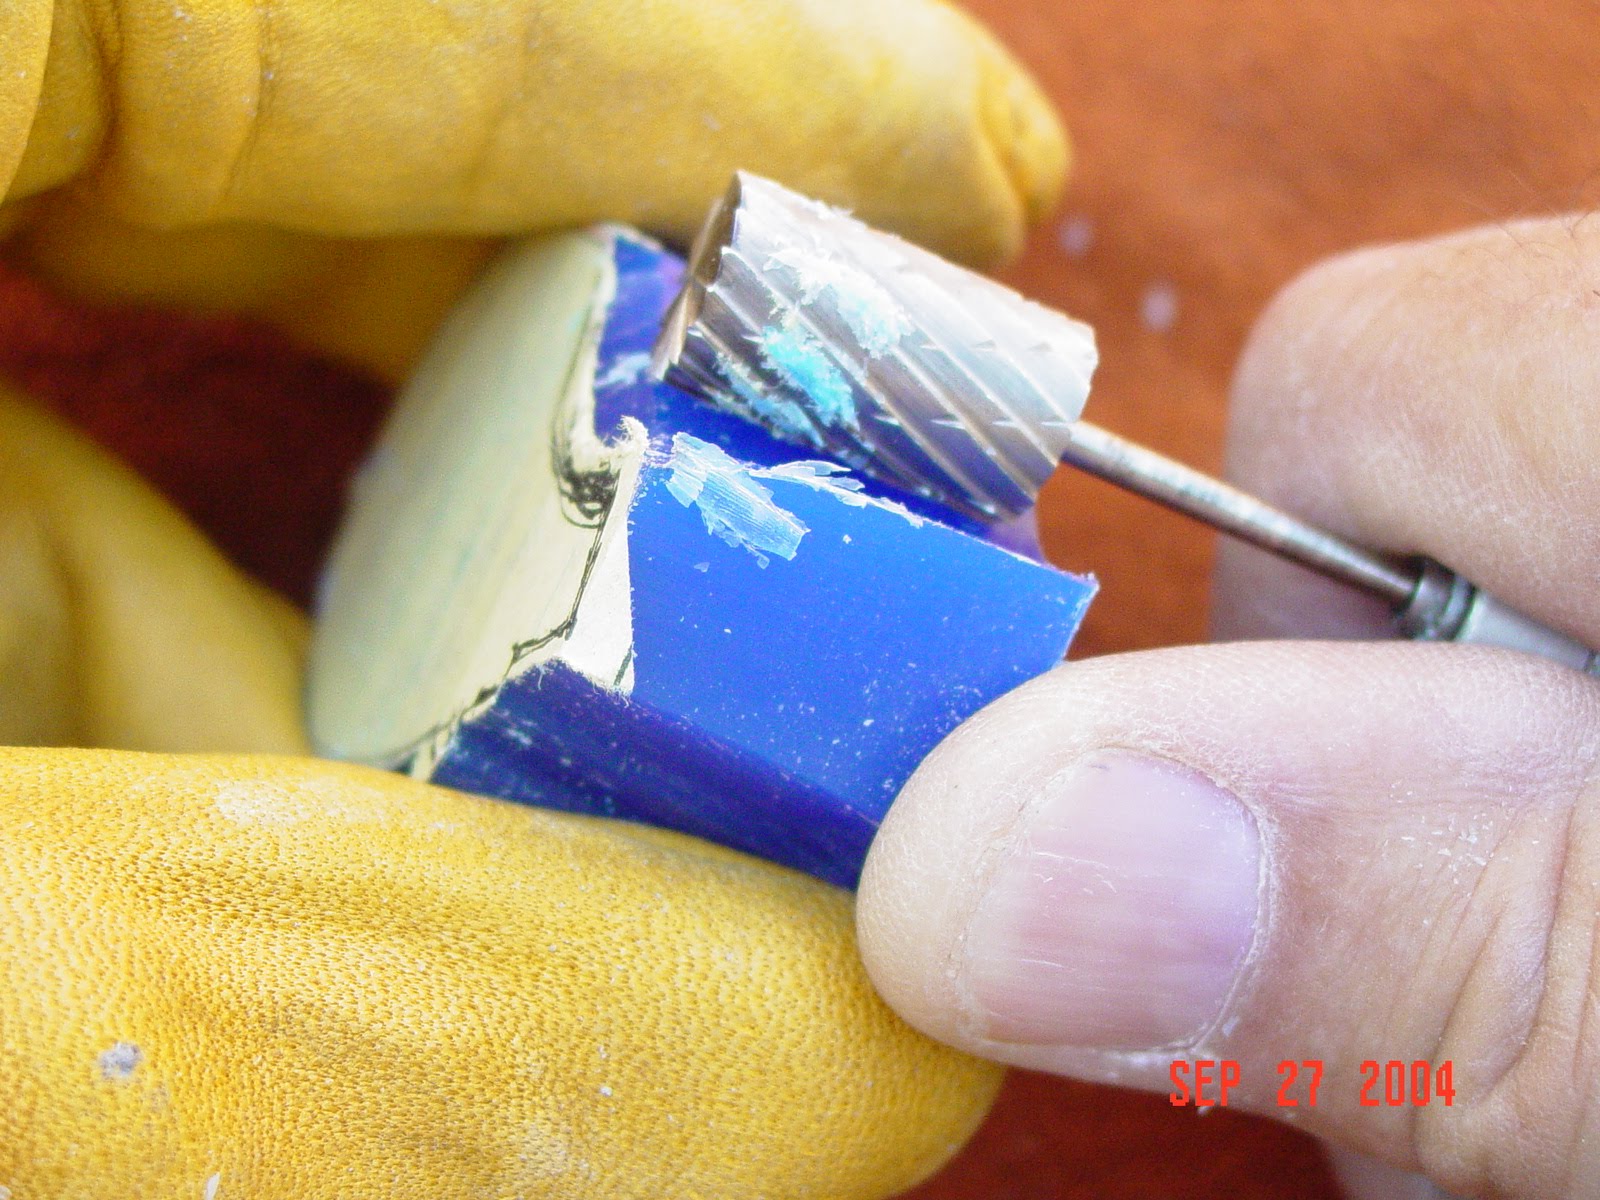
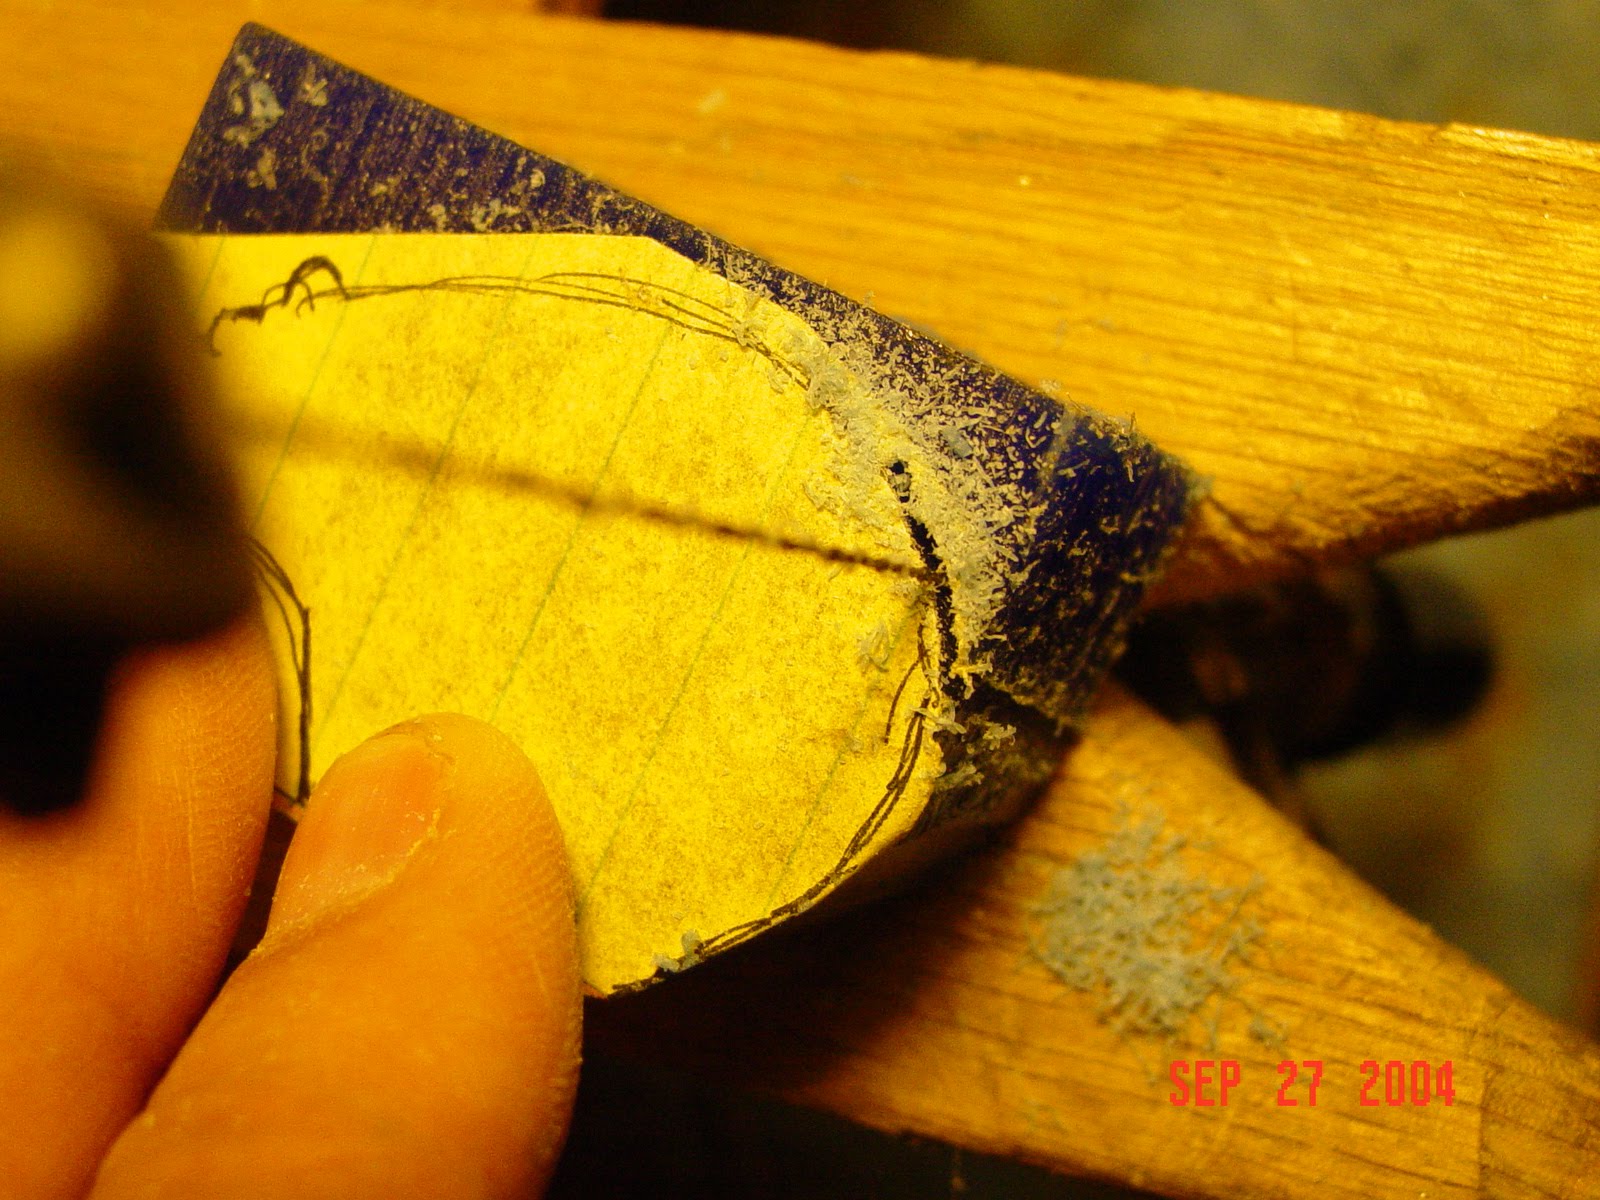
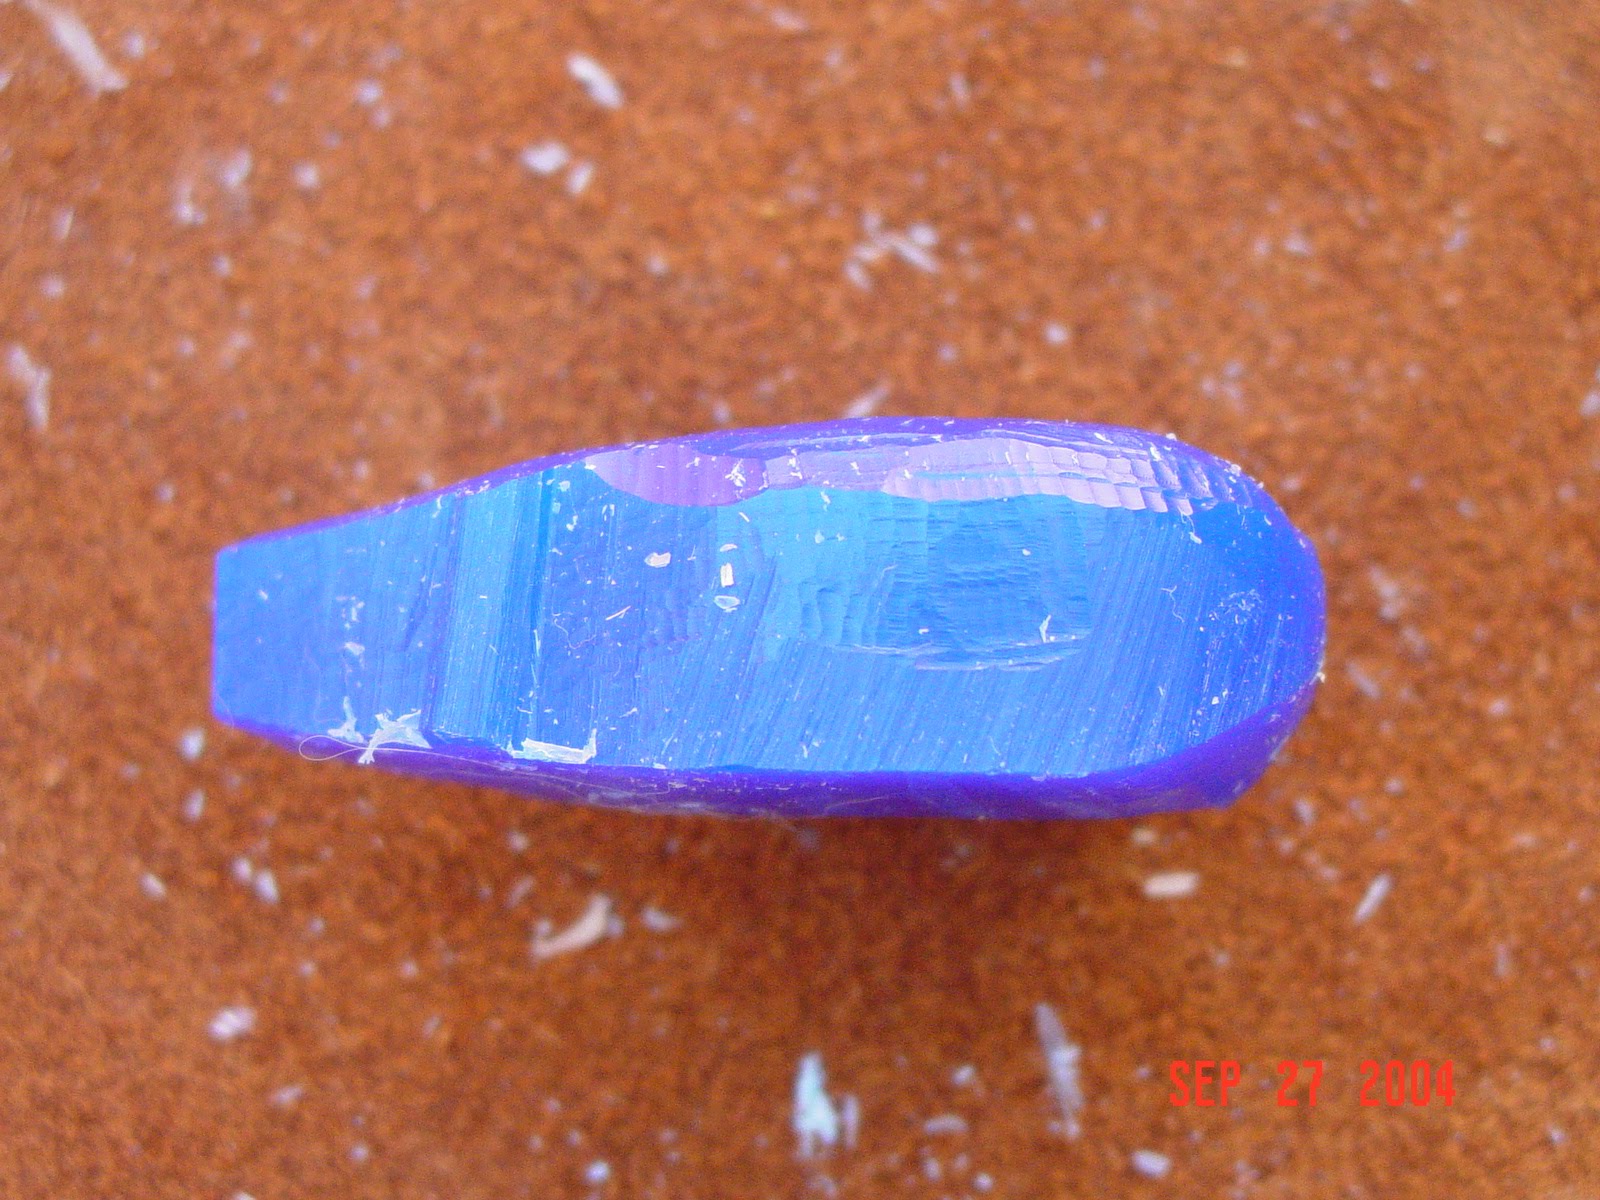
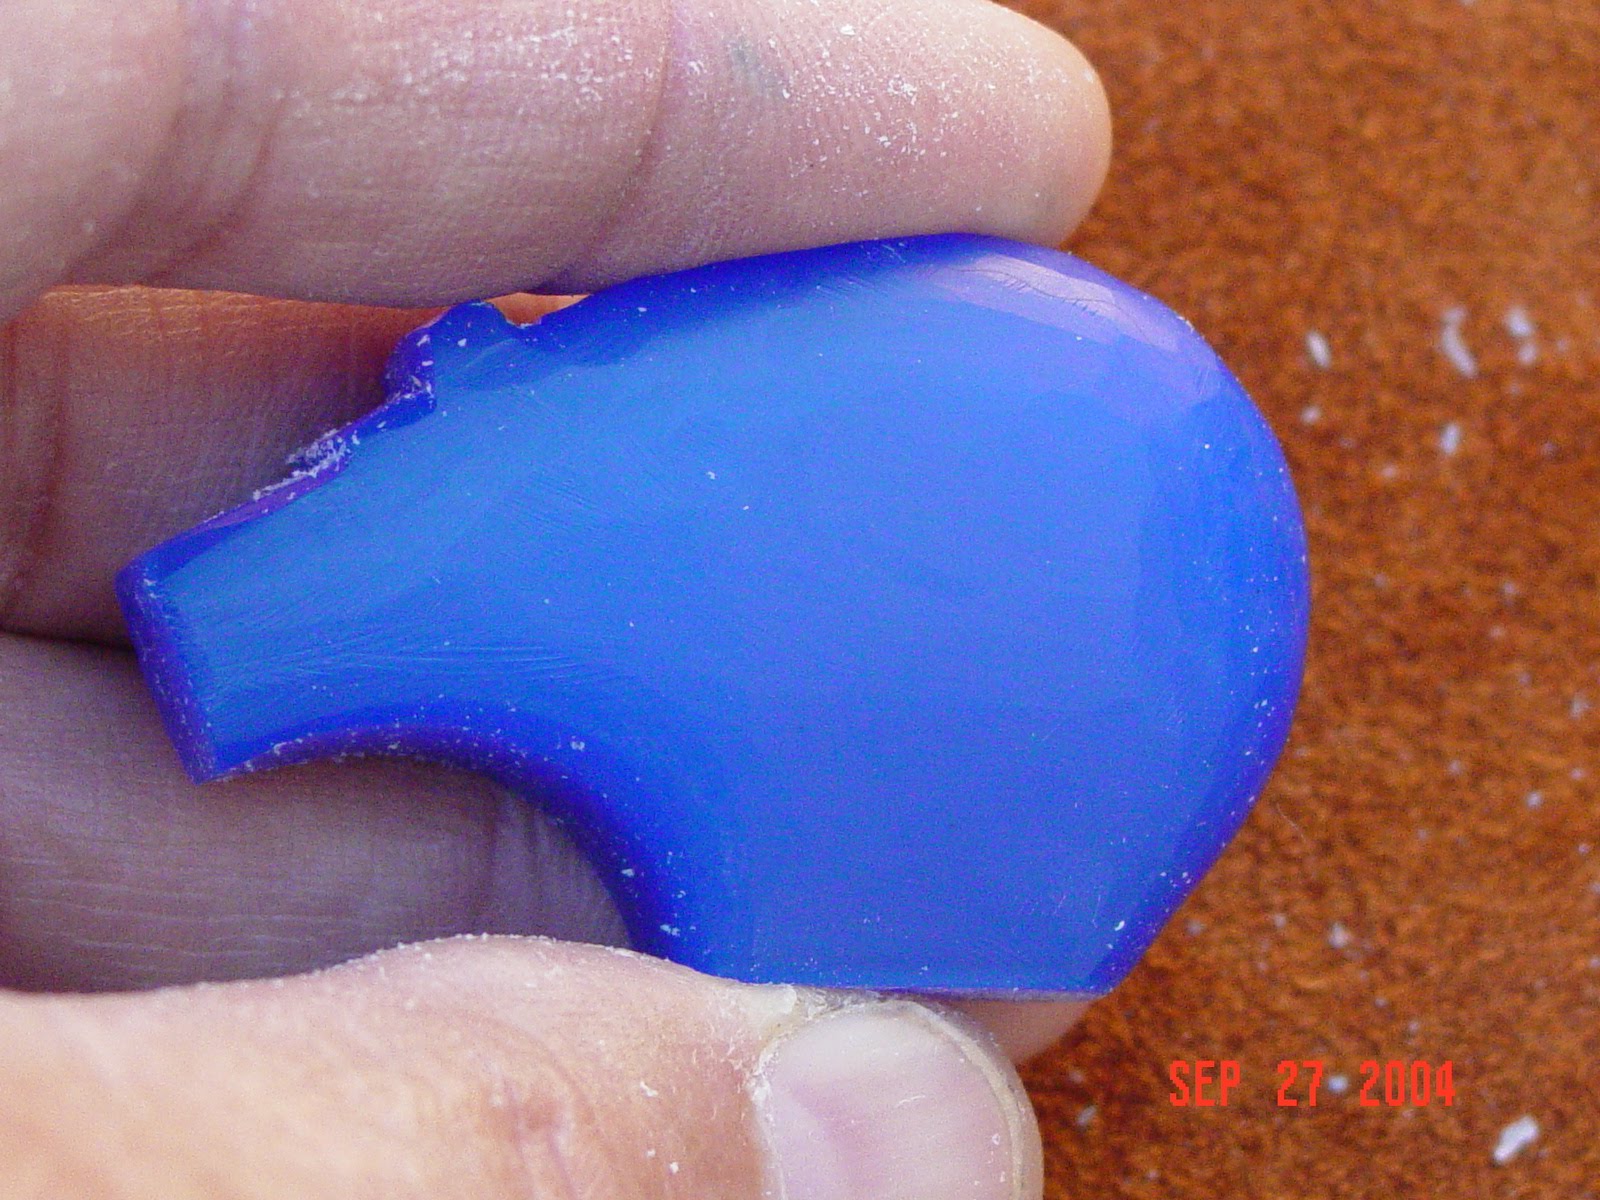
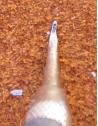
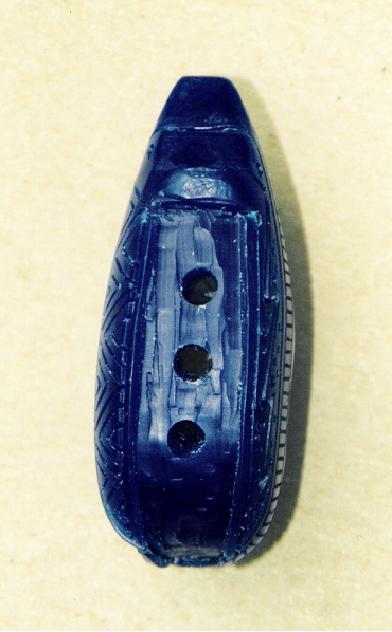
These photos show the side and top view of the shaped wax.

4. The wax may be thinned by milling it with a large burr mounted in a handpiece mounted in a Foredom drill press.

5. The outline of the top view is shaped using the large burr mounted in the flexible shaft handpiece. The shape can also by formed a coarse file.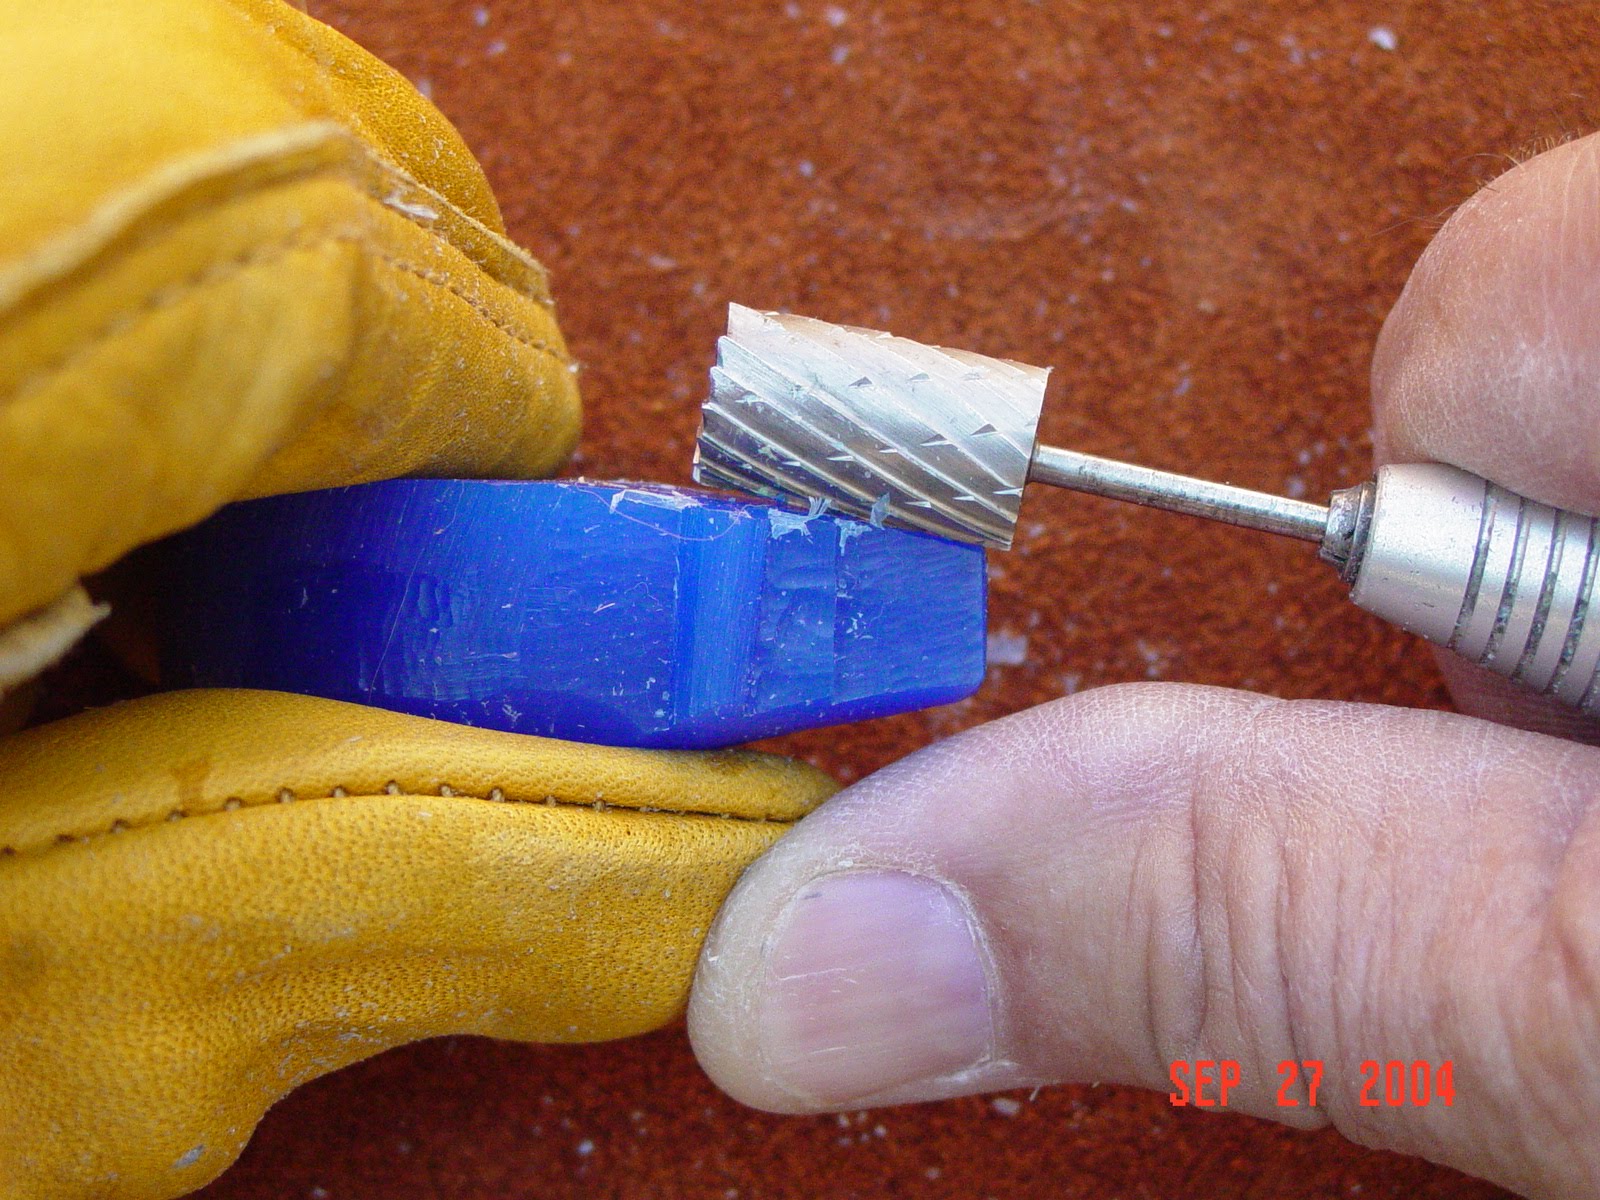
6. The rough rounded shape is formed by using the burr or a file to grind away the unwanted wax.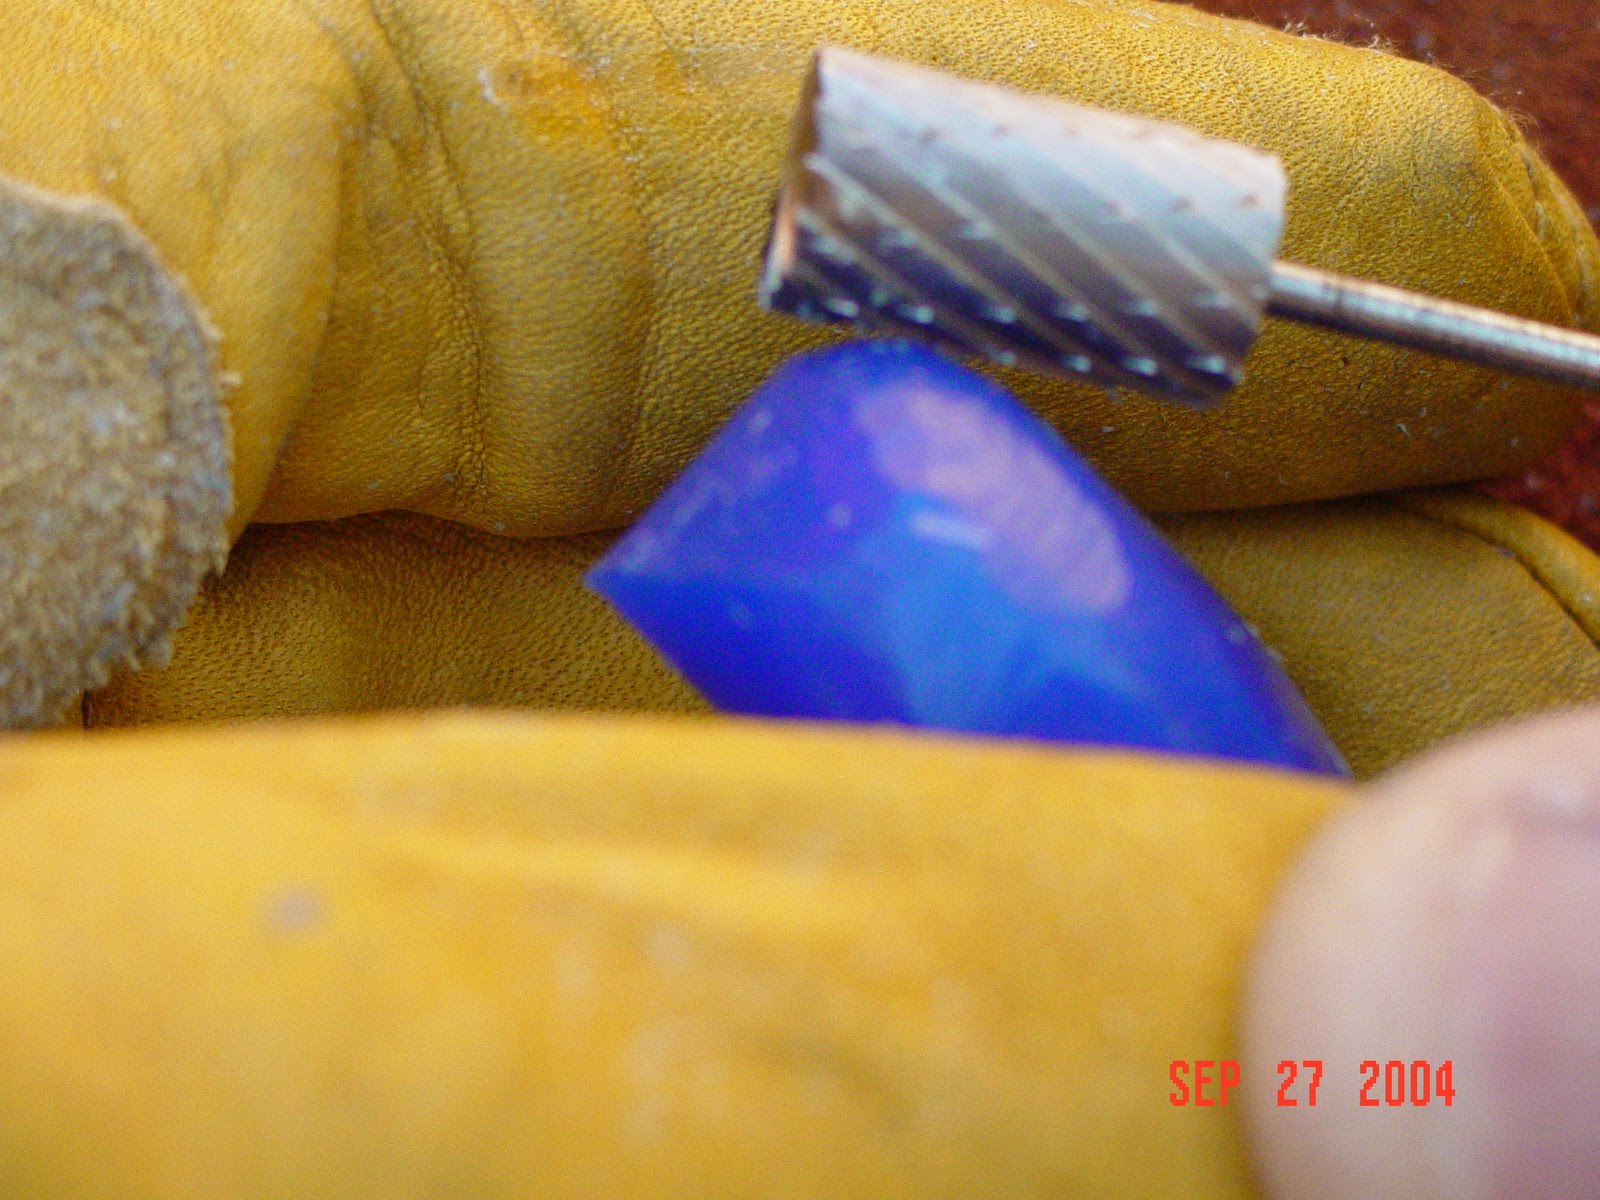
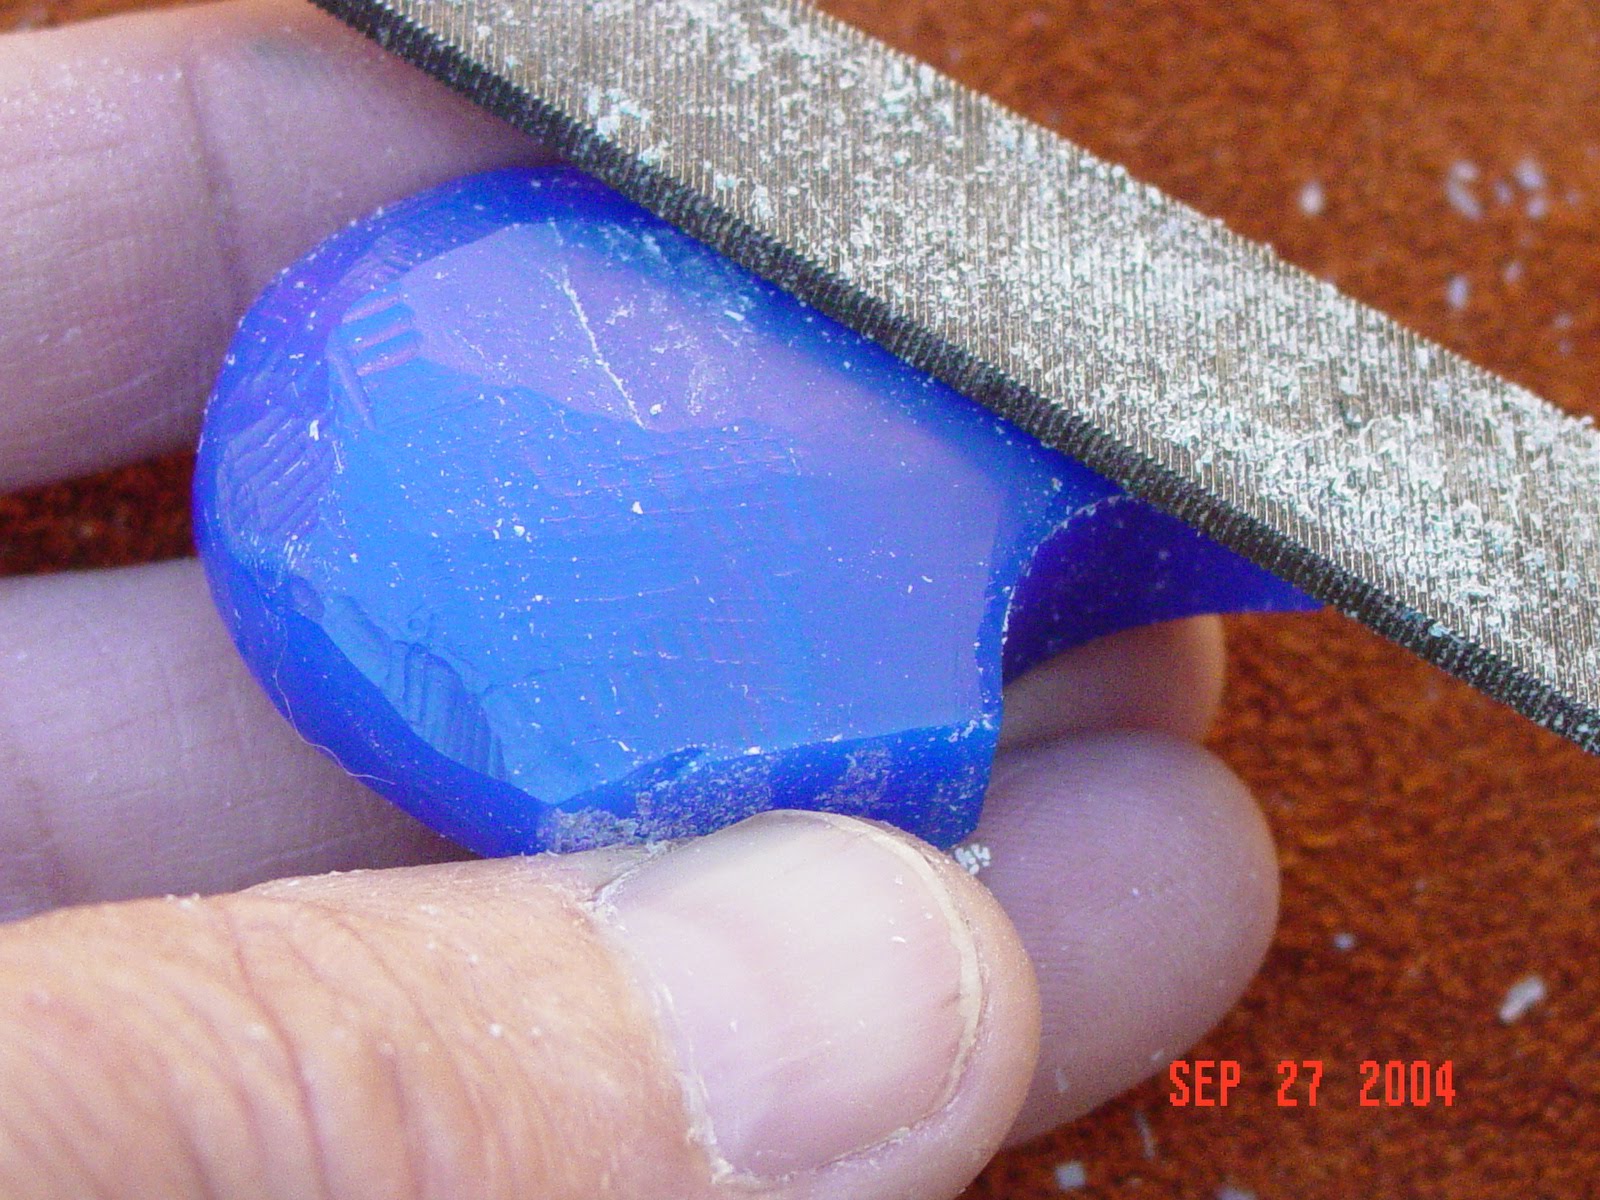
7. A file should be used to smooth the wax after it is ground with a burr.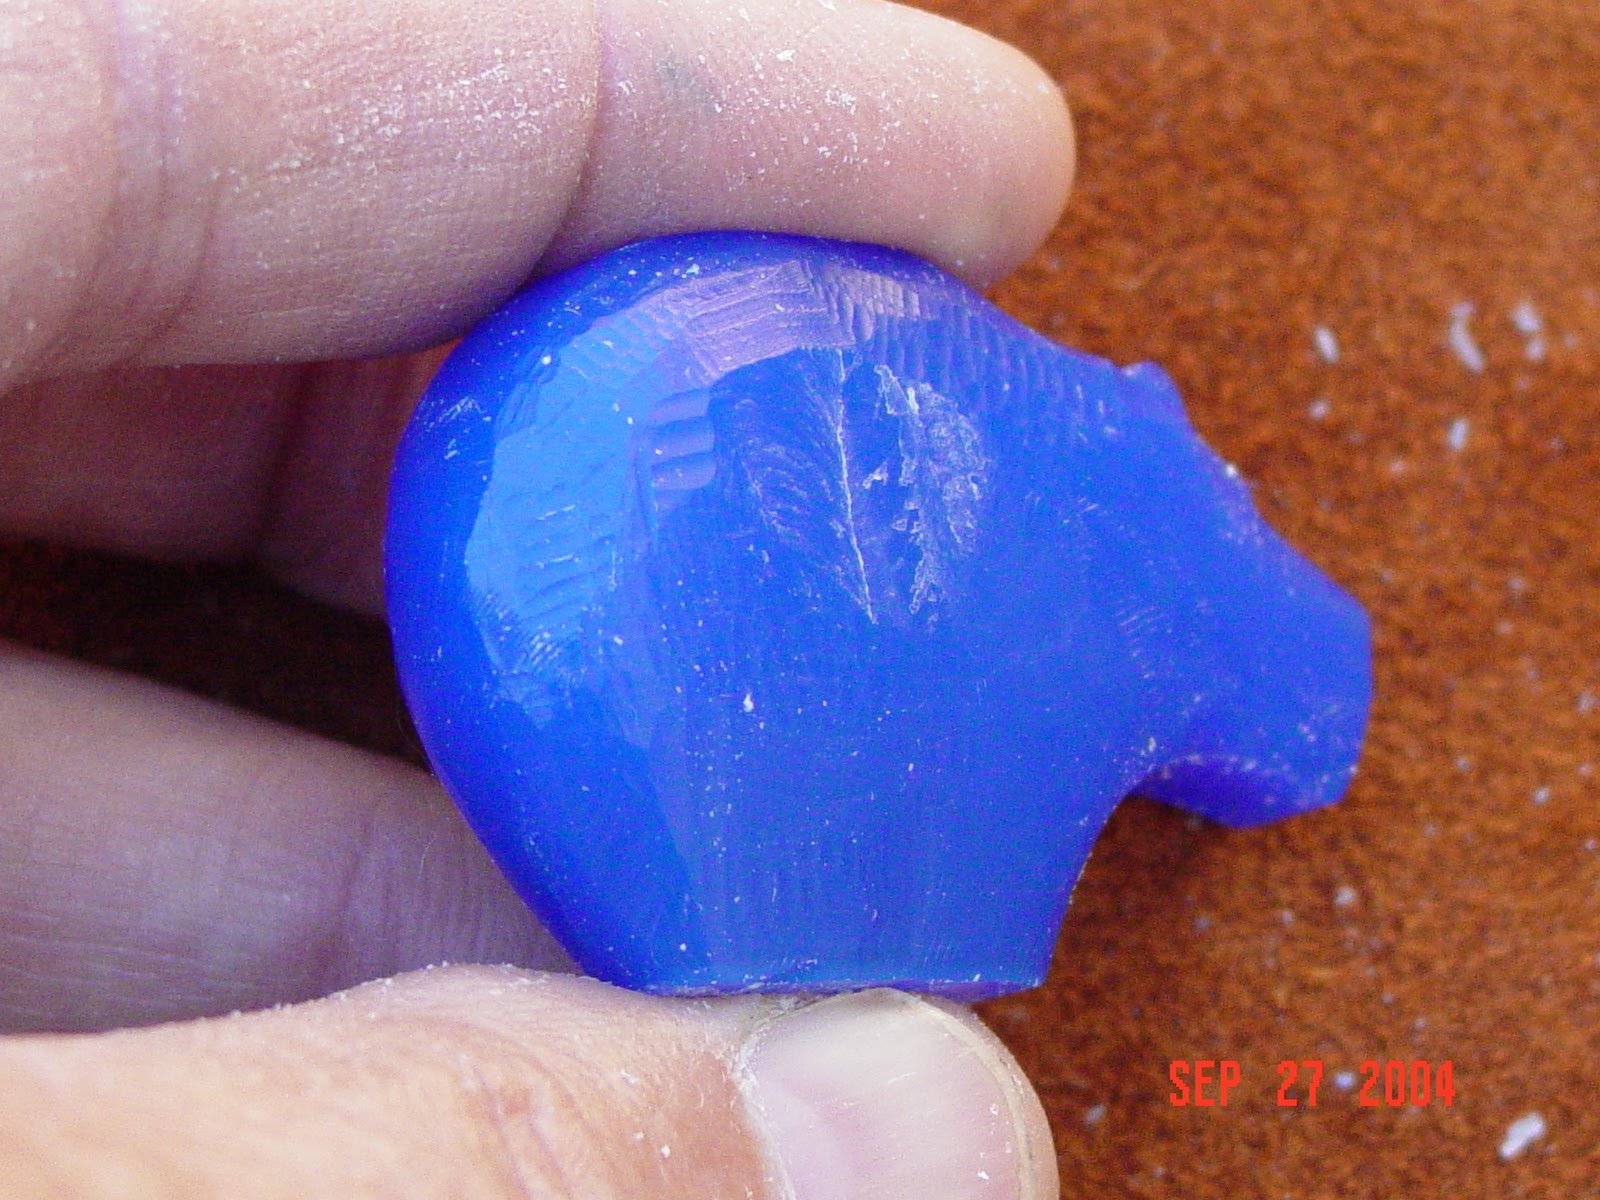
8. The wax is sanded with 600 grit wet sandpaper until the surface if free form all scratches.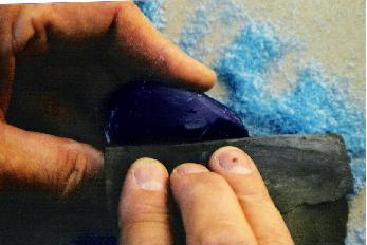
9. A Sharpie pen is used to draw the design on the wax.
10. The engraving is done with dental tools that have been modified as shown in the attached paper:
LINE DRAWING TOOL. This is what the modified Woodson dental tool looks line. It will be used to incise the design in the wax.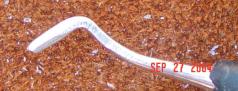
ENGRAVING TOOL. The other end of the tool is shaped as shown. The tool will be used to engrave a line that is as wide as the tool tip.
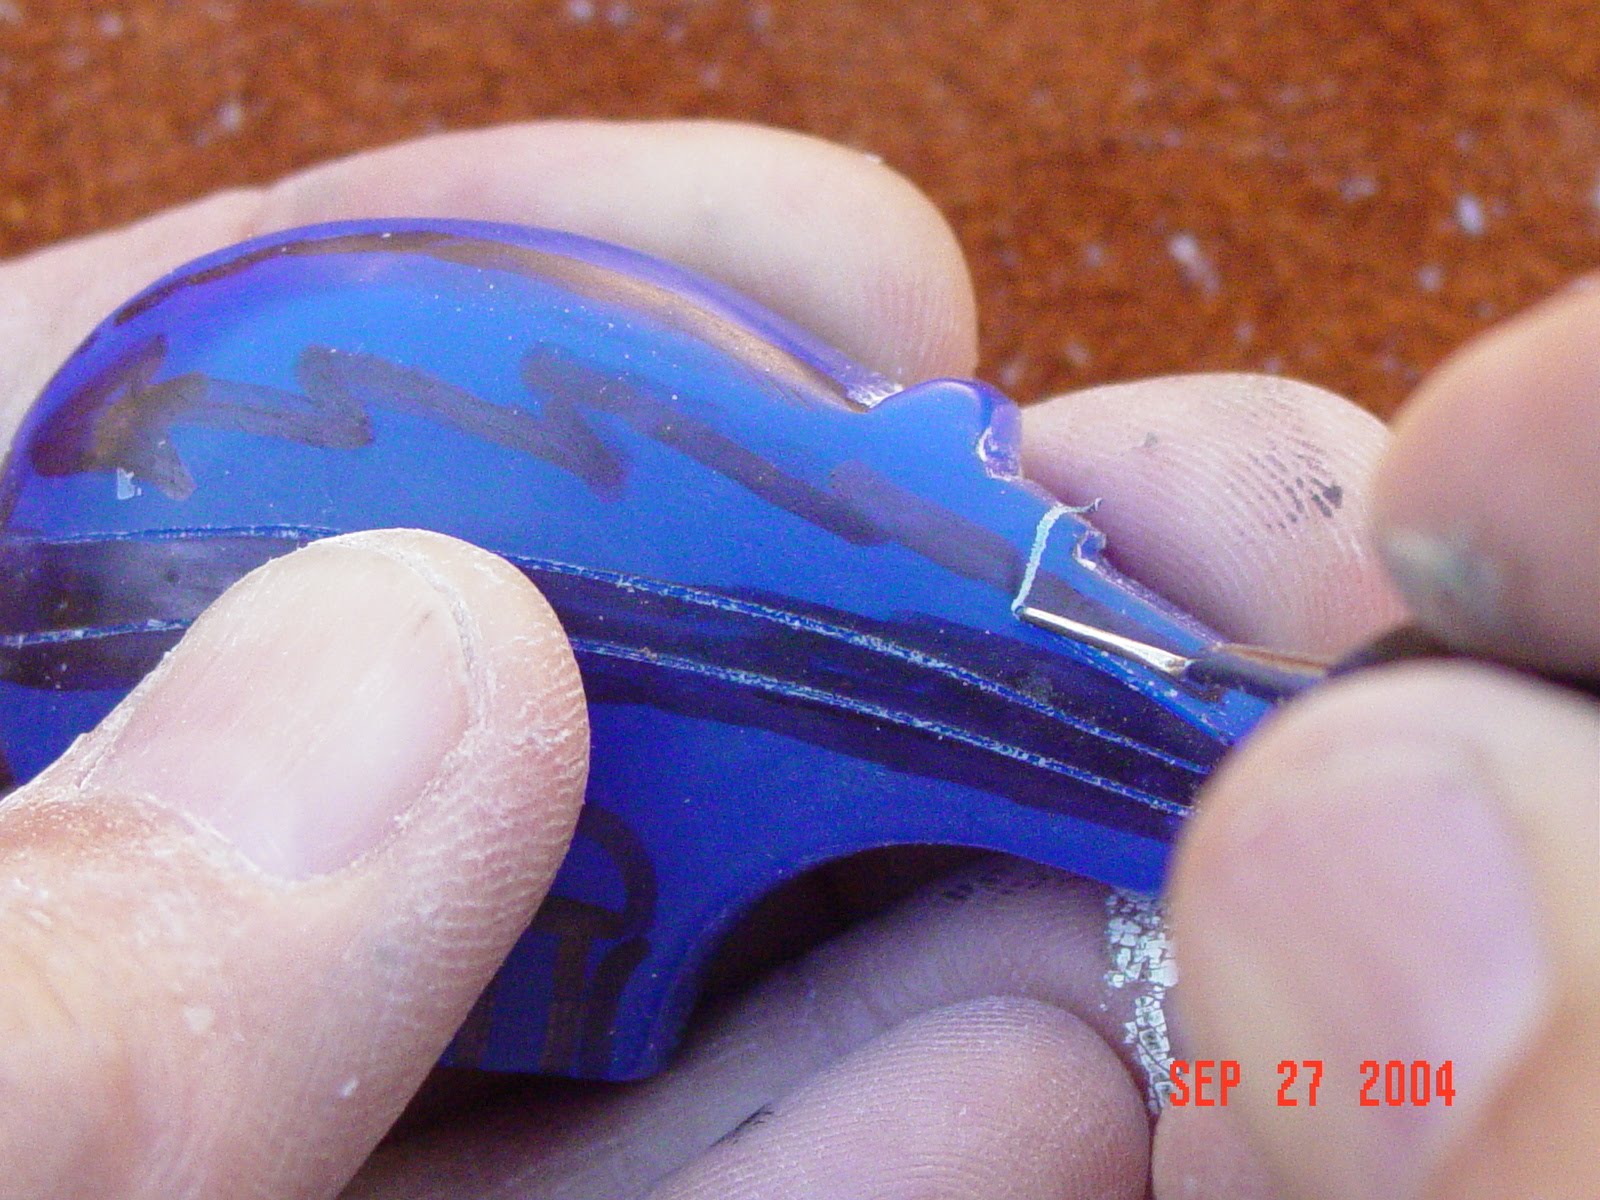
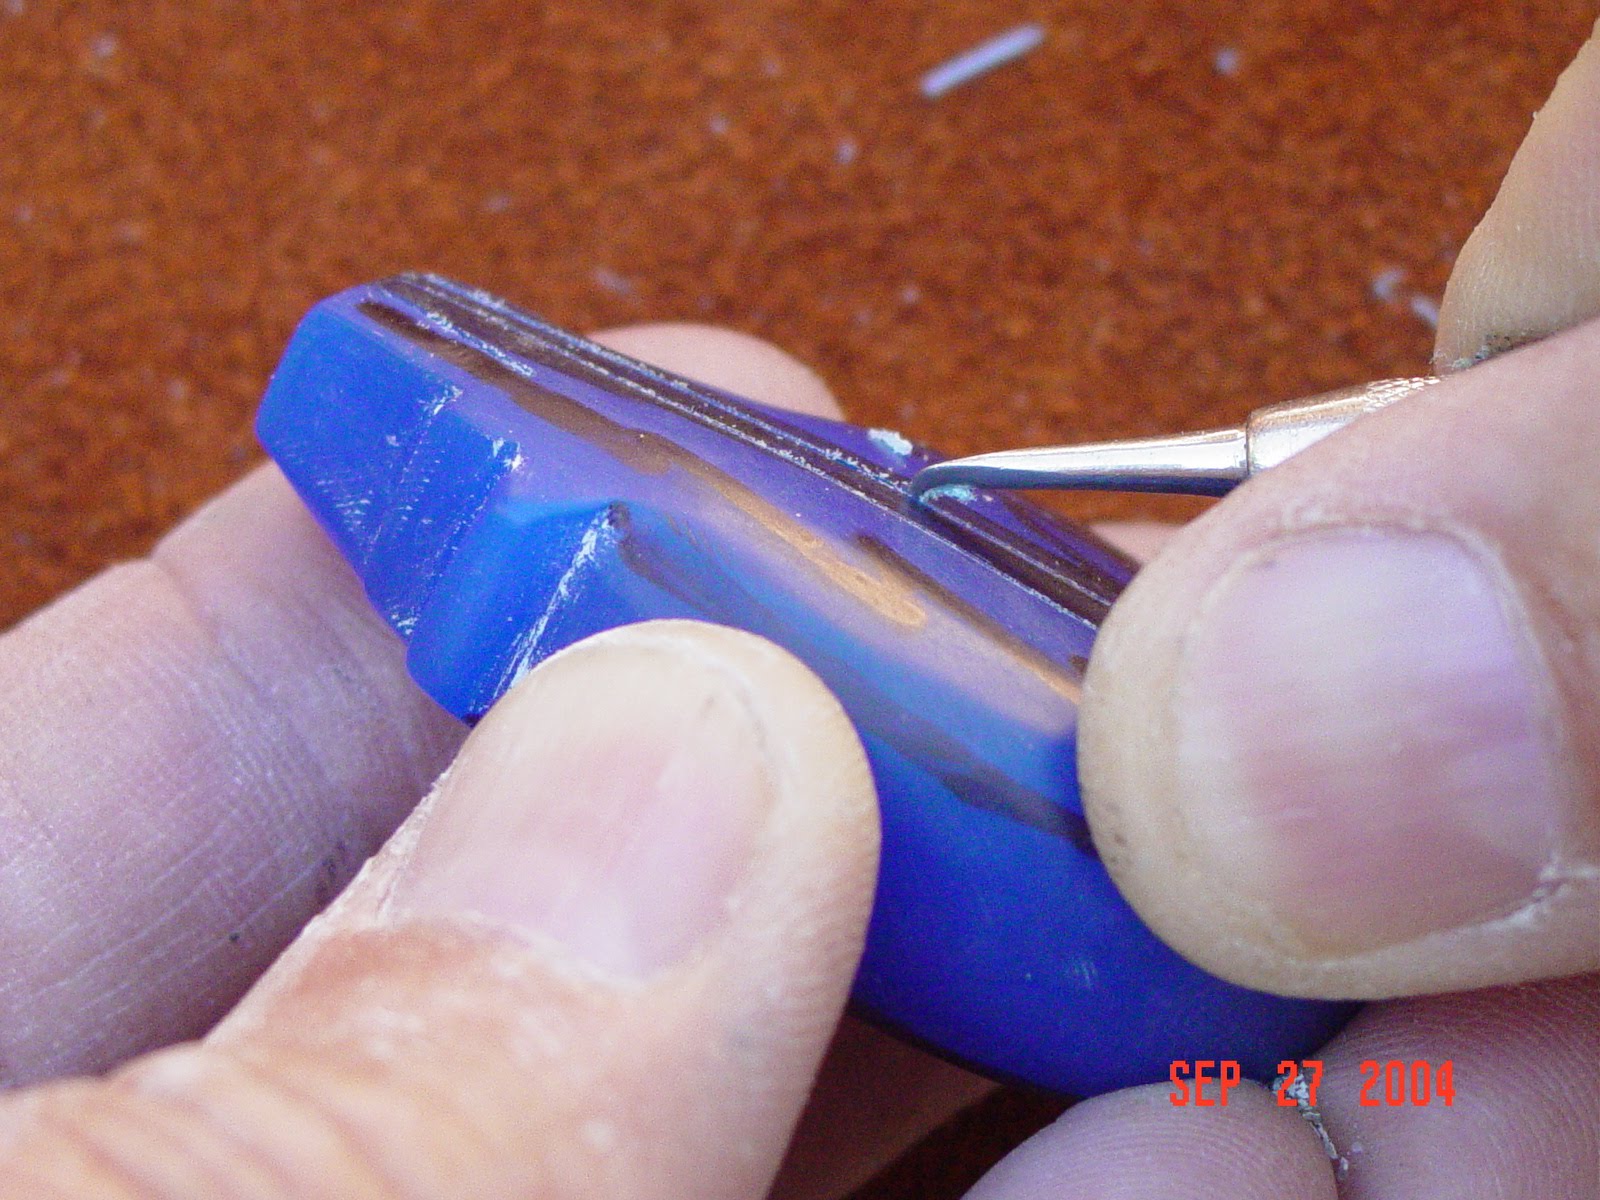
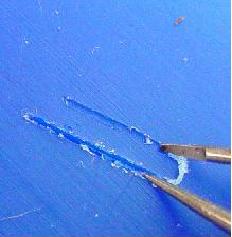
11. The line drawing tool is used to incise the design into the wax. The tip of the tool is pressed into the wax at the end of the line that is to be incised. The line is incised by moving the tool forward (toward the left as shown in this photo). The tool will ride in the incised line as it is moved forward. The line will be incised in the direction the tool is moved. This allows the tool to incise a very straight or smooth curved line. The wax or the tool may be rotated when incising a curved line.
Note in the photograph there is a curl of wax at the tool tip that has been removed from the incised line. The tool should be rocked back and forth until you develop this curl of wax. If the tool is rocked too far forward the tip will imbed itself into the wax and will not move. If the tool is rocked back too far the line will not be incised as it should be. This incised line will be used as a track for the engraving tool.
12. To engrave the line the line engraving dental tool is held in the hand as shown.

The tool is pressed against the palm of the hand by little finger and the ring finger.
The tool is then held between the thumb and index finger. Once the tool is held this way move the thumb back and forth along the axis of the tool.
To engrave wax the thumb is placed against the wax. Attempting to move the thumb will cause the tool to move back and forth.
The thumb acts as a guide for the tool.
13. The incised lines are engraved by placing the engraving tool tip in the incised line and pulled toward the hand using the incised line as a track.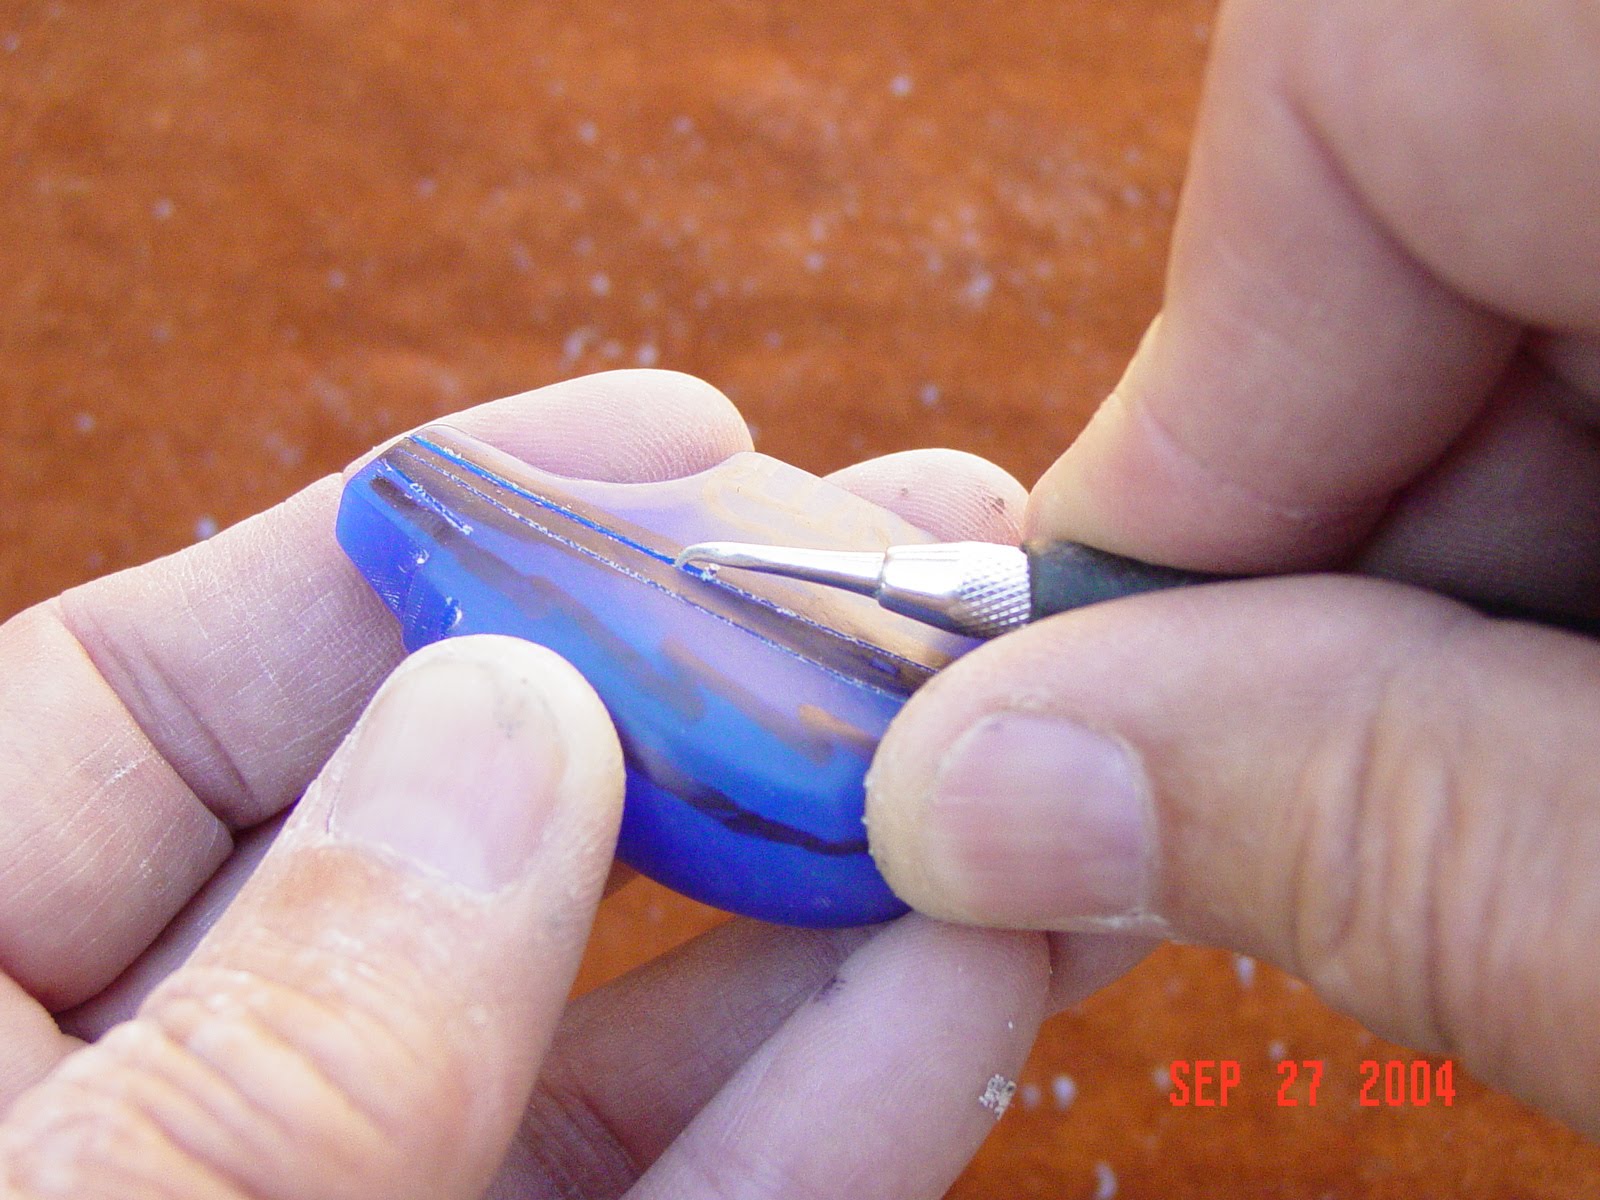
The tip of the line engraving tool must be held on the wax as shown in this photo in order to get a proper line engraved.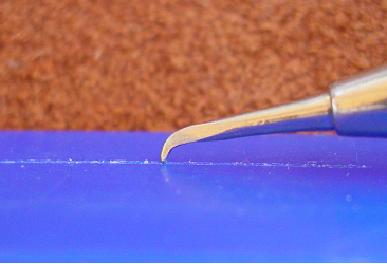
If the tip of the line engraving tool is held as show in this photo the tool tip will dig into the wax and become immobile.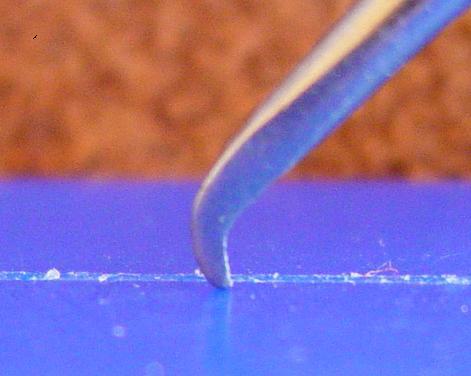
14. Once all the border lines of the design are engraved the channel for inlaying stoned will be recessed.
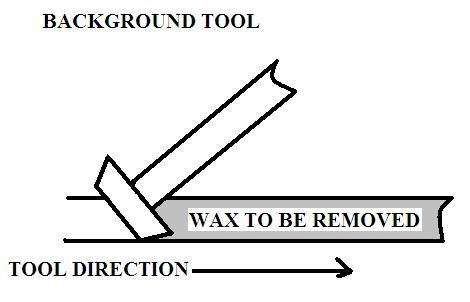
The modified background tool will be used first to remove the unwanted wax from the channel boundary line.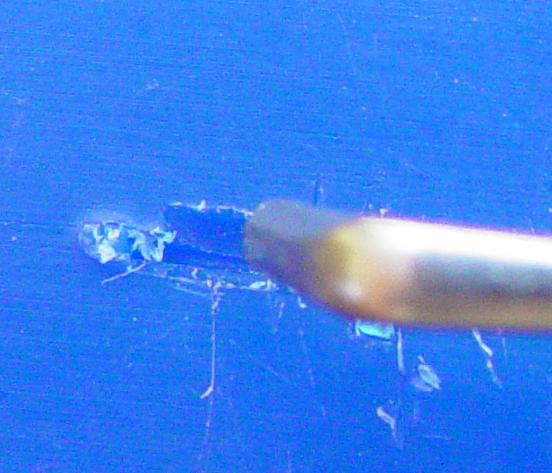
There is a correct way and an incorrect way to use this tool. The incorrect way is shown in this photo. The incorrect way to use this tool is to pull it parallel to the line of the design.
When the background engraving tool is pulled parallel to the design line the chances are great that it will break into the design as shown.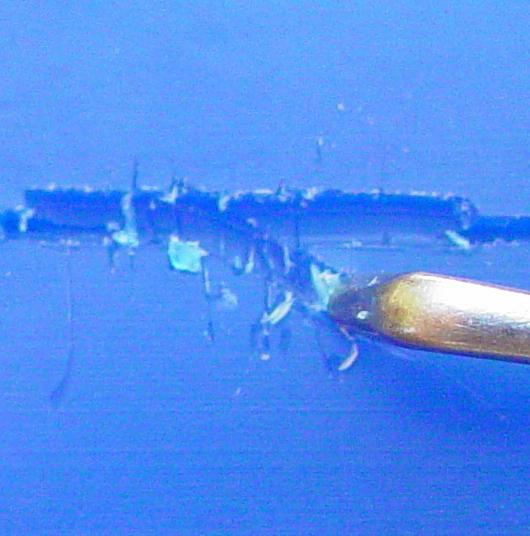
The correct way to move this tool is at an angle to the line of the design as shown. This way the leading cutting edge of the tool will not break into the design.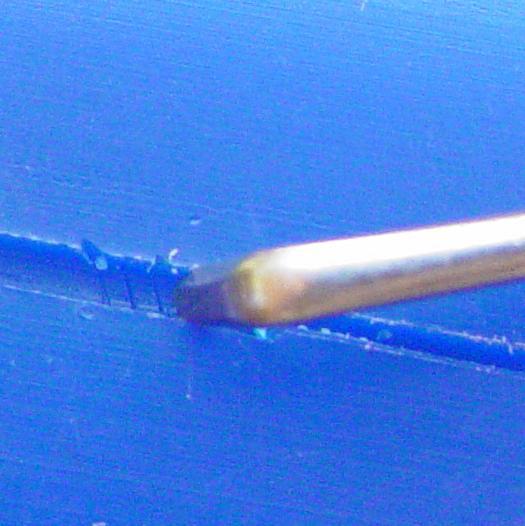
The outside edge of the channel is removed.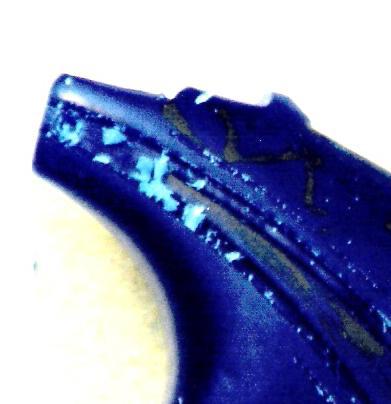
15. The remaining wax of the channel is removed once the outside edges of the channel are engraved.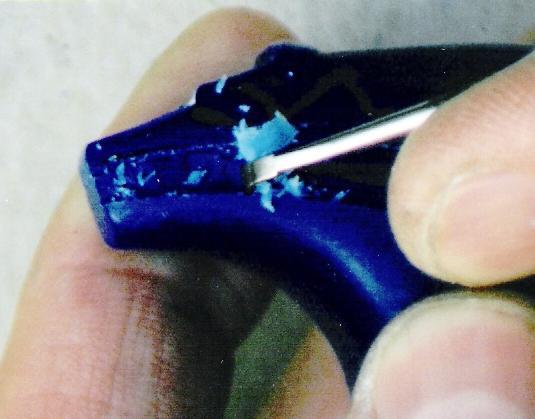
16. The remaining lines of the design are incised and engraved and the piece is hollowed out.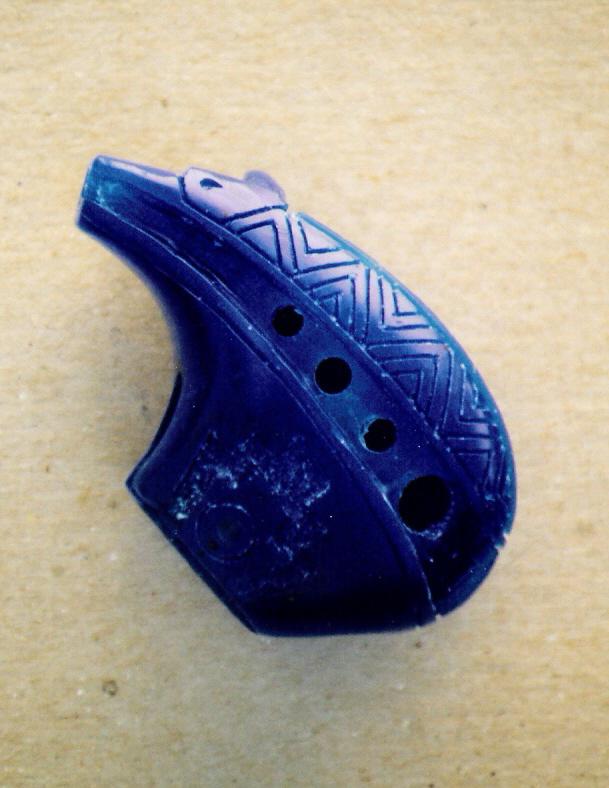
A drill is used to rough out the inside of the bear. A large wax cutting burr is used to remove excess wax from the inside. The piece can be held up to a light to determine the thickness of the remaining wax. The lines may be engraved about 1 mil deep and the thickness should be reduced to about 2 mils.
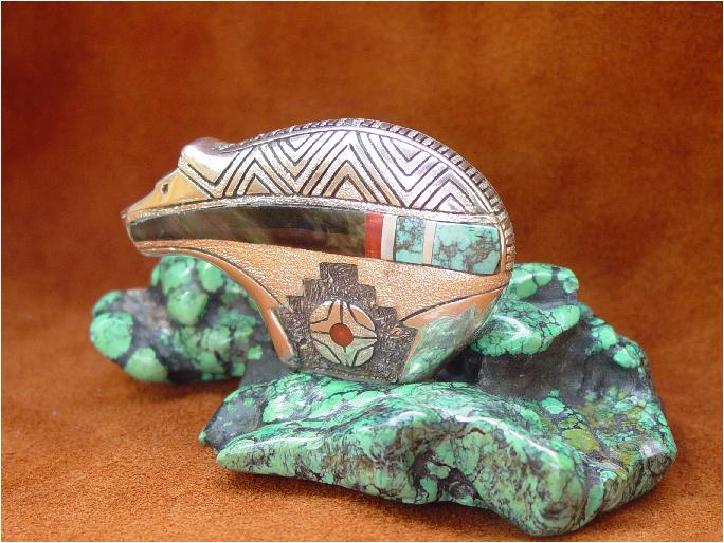
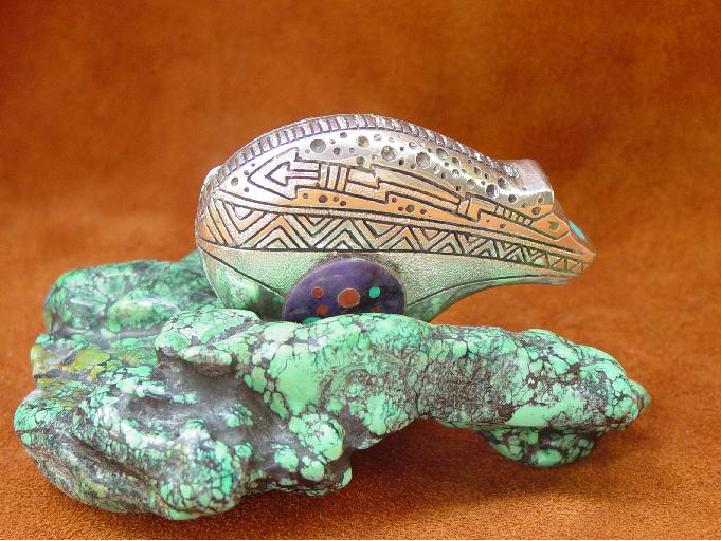
The channel that was removed from the back of the bear will be inlaid in stone once the bear is cast in sterling.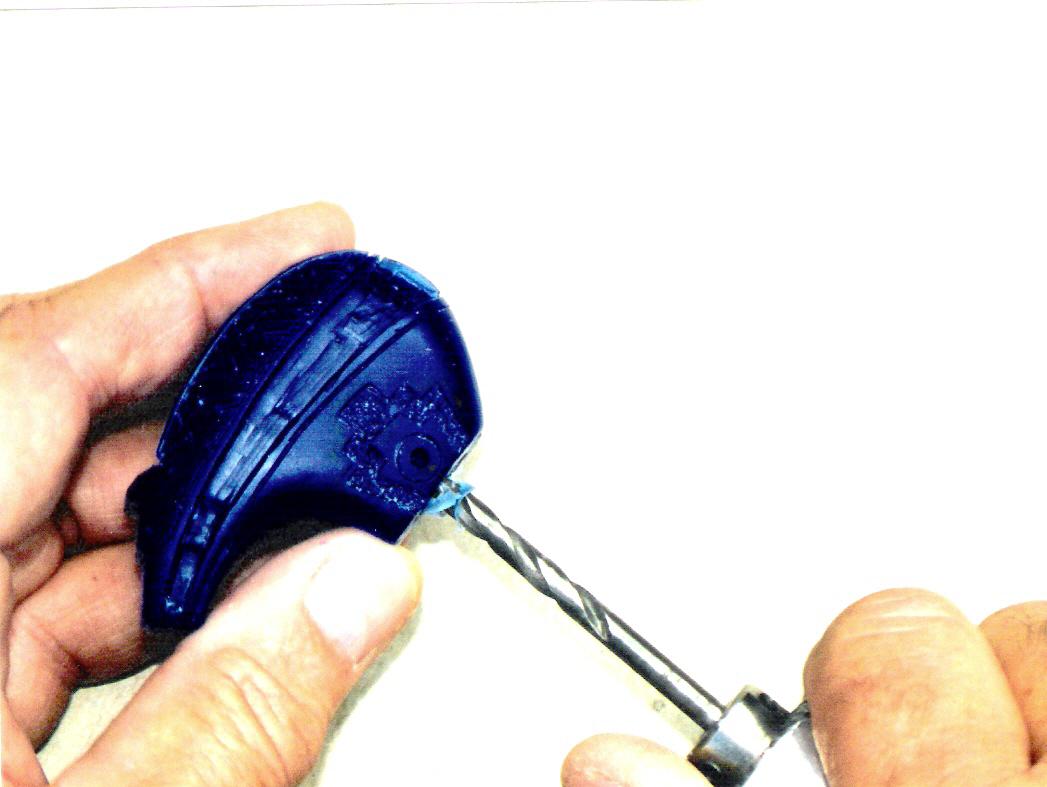
17. A compass with metal points can be used for incising parallel lines or circles.

leessilver
Latest posts by leessilver (see all)
- CASTING PAPER UNDER CONSTRUCTION - October 30, 2010
- CASTING PAPER UNDER CONSTRUCTION - October 30, 2010
- PAPER NO 4 CREATING LARGE JUMP RINGS - October 15, 2010

You must log in to post a comment.