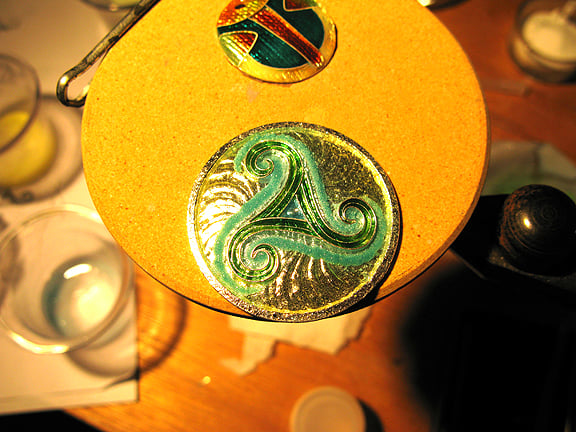
| I am now adding the first layers of enamel. Although I will not photograph all the layers, it will take may 10 layers or so to fill it. You could pile it in, but it is better to layer thinly, and you can change the colors as you work your image.
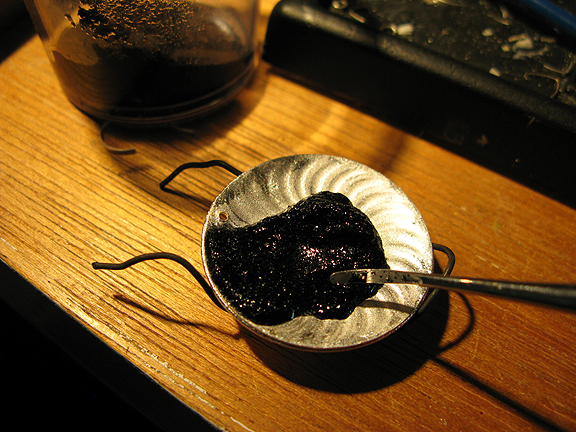
Enamel on most any metal requires that you put a coat of glass on the back of the metal, to balance out the coefficent of expansion differences between the metal and the glass. Most enamels that you purchase have an expansion rate designed to work with silver or copper, and if you are doing stained glass (enamel on glass) that is a different expansion, and different enamels. Here I am applying black enamel to the back. In short, if I don’t, the front will crack and flake right off.
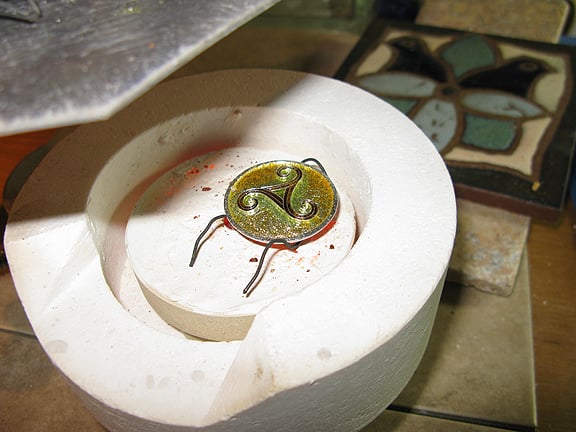
Here is the enamel, drying on top of my teeny tiny tabletop kiln. Since I make little things, I like this style of kiln. I can just put things in and out with tweezers, no walking around the room with a firing fork.
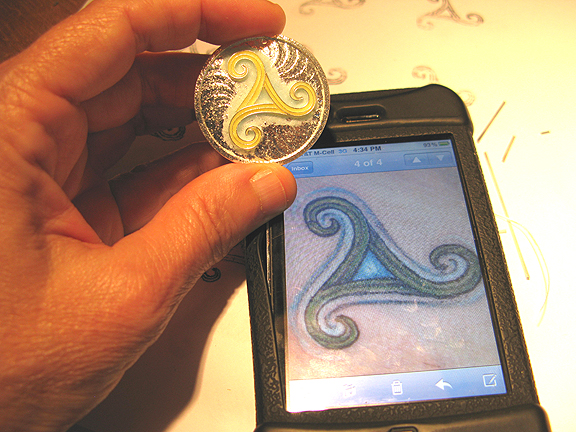
Here I am trying to capture the loose blue line in the original tattoo image, by adding enamel without the boundaries of the silver wire.
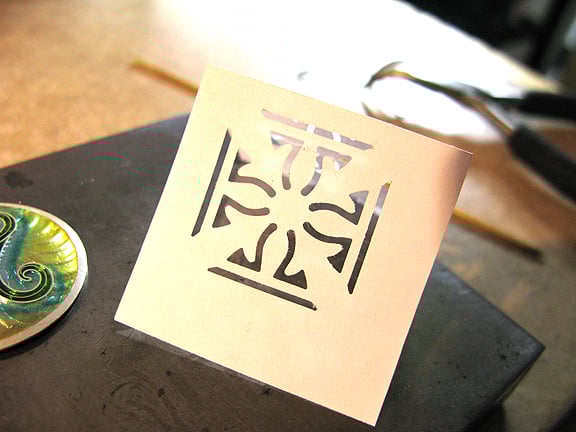
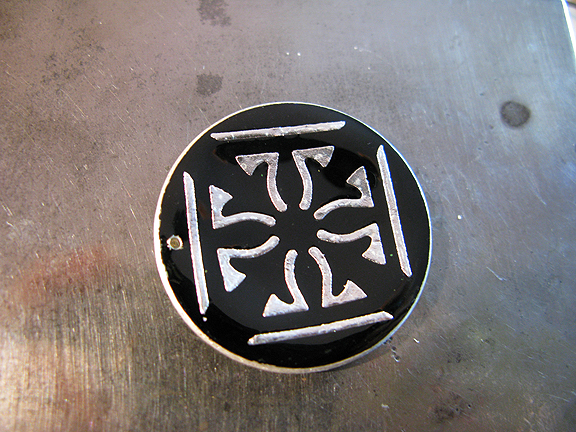
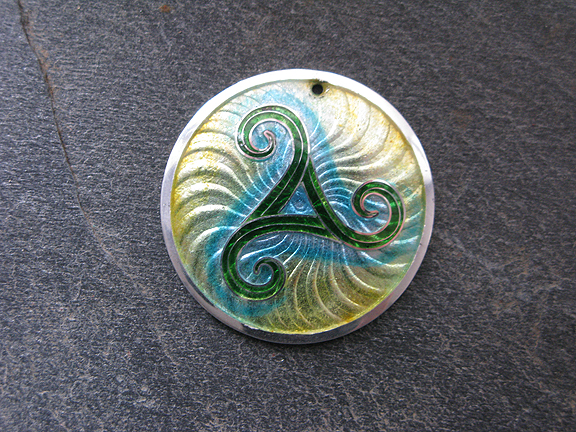
This is a cutout made by a punch that I used to create some silver detail for the back of the piece, just to make it a little more interesting. In case it turns over on the lady’s neck, there will still be something to look at. And here is the final project. I choose yellow to match her hair. |

Lillian Jones
Latest posts by Lillian Jones (see all)
- The Anglo Saxon disk: Granulation on Silver - May 9, 2017
- Basse Taille and Cloisonne Pendant: Part IV - March 28, 2017
- Basse Taille and Cloisonne Pendant – Part III - October 4, 2013
Post a Comment