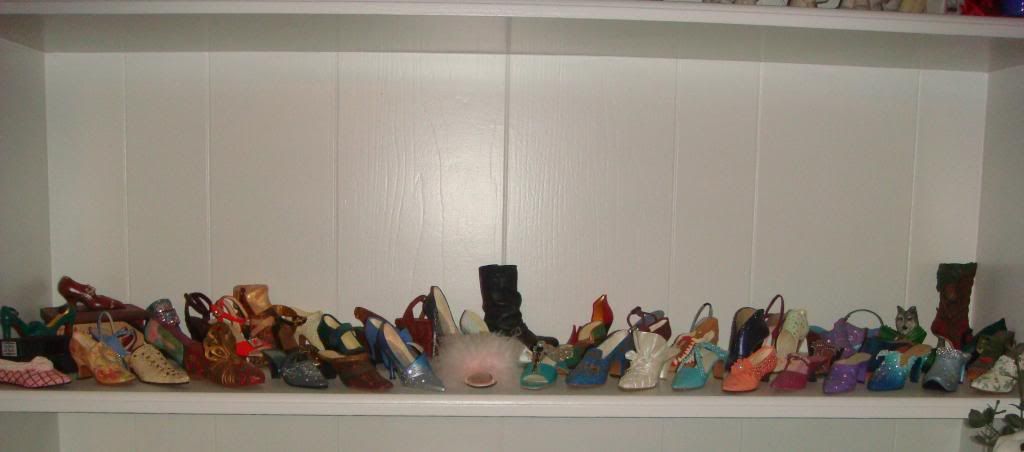
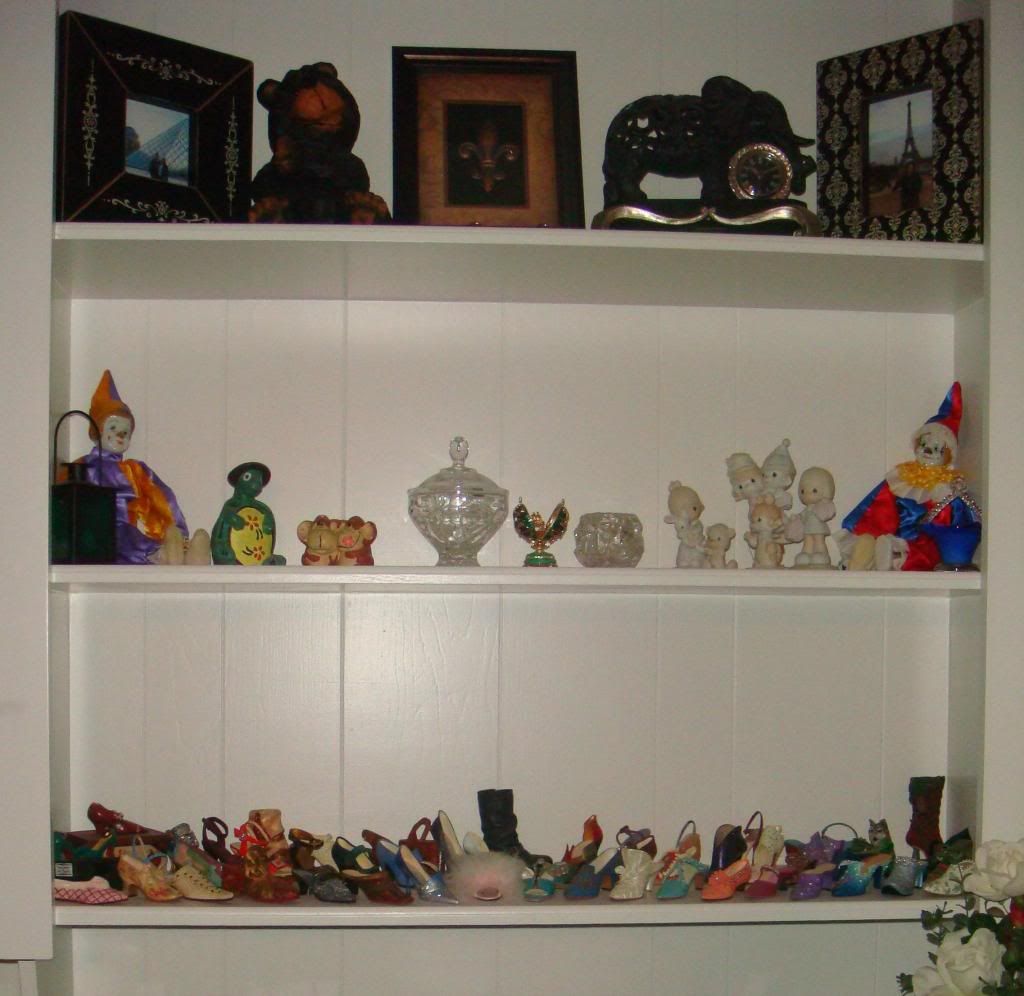
A long time ago I started a collection of these little shoes call “Just The Right Show” by Raine. As you can imagine, it soon became an obsession! I got them for birthdays, holidays, basically any special occasion. Then came eBay came along, and talk about going overboard. I think I bought 25 of them in one day. Hey, they were only about $1.00 each.
I had these little beauties sitting all around the house. If they matched the décor, that’s where they went. Fast Forward five years and my new house has these great built-ins, so I decided that I needed to group them all together. The only problem there was you can’t see them all. That’s when I decided I needed to build little risers for them. They are little pieces of art, and they deserve to be shown off properly.

The first thing was to measure the space, no point in building something that doesn’t fit, right? Because the space isn’t that deep, I could only go up three rungs. Since I don’t PLAN on buying anymore shoes, this should be enough. I took the total depth of the shelf and divided it by three to get even spacing.
I used the shelf as the first rung, which was simple enough. Then I started the building. I cut four pieces of plywood of equal width and length. Since these shoes don’t weigh a whole bunch, I didn’t need to use heavy duty wood or nails.
I didn’t want to show the raw edge of the wood, so I put the horizontal piece behind the vertical piece and nailed it in that way. I think it gives it a better look than seeing the multiple layers plywood has.
For the second shelf, I put the horizontal piece on top of the vertical; it faces the back, so there’s no need to worry about the edge. Also, this makes up for the ¾” you lose when the horizontal piece is lower than the vertical piece. Add the final piece and you’re done with that.
For extra support, I cut a couple of support pieces to go under the risers. I wanted to make sure that they fit tight within the shelf so these pieces will be hidden under the risers. Again, this gives it a built-in look.
I secured these with the same nails, and Voila! You’re done.
I have been seeing a bunch of pictures in design books that have been coloring the inside of the shelves/bookcases with an accent color. That’s what I did here.
What do y’all think? I’m pretty happy with it.
Before

After
Now once I figure out what colors I’m going to do in this room (reupholster couch), I plan on painting the inside of the cabinet a color to match.
Latest posts by Tahira Designs (see all)
- Year End Review - January 2, 2013
- “Just The Right Shoe” Risers - December 27, 2012
- Custom Bulletin Board - December 25, 2012

