Ornamental Hand Engraving Samples

by valerieaheck on May 11, 2012

Several friends have asked to see my Ornamental Hand Engraving Samples from the class I took last week at New Approach. We worked on 2 by 2 inch squares of copper sheet metal. The patterns above and below are meant to go on a ring, but it’s best to first practice this technique on flat instead of a curved surface.
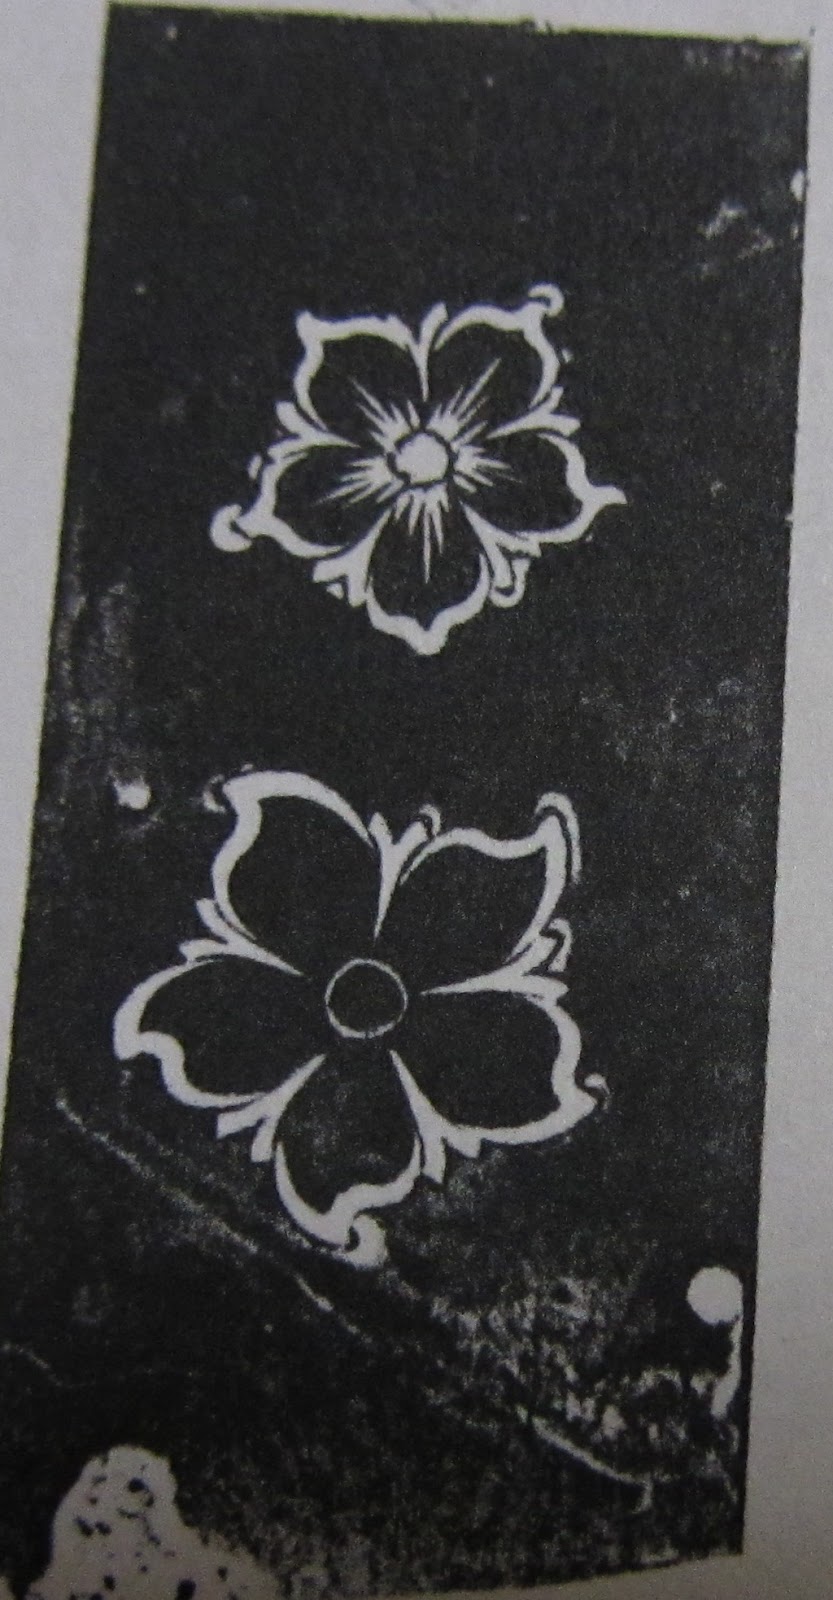
Notice the pattern to the right has little berries on it, I liked that one a lot!
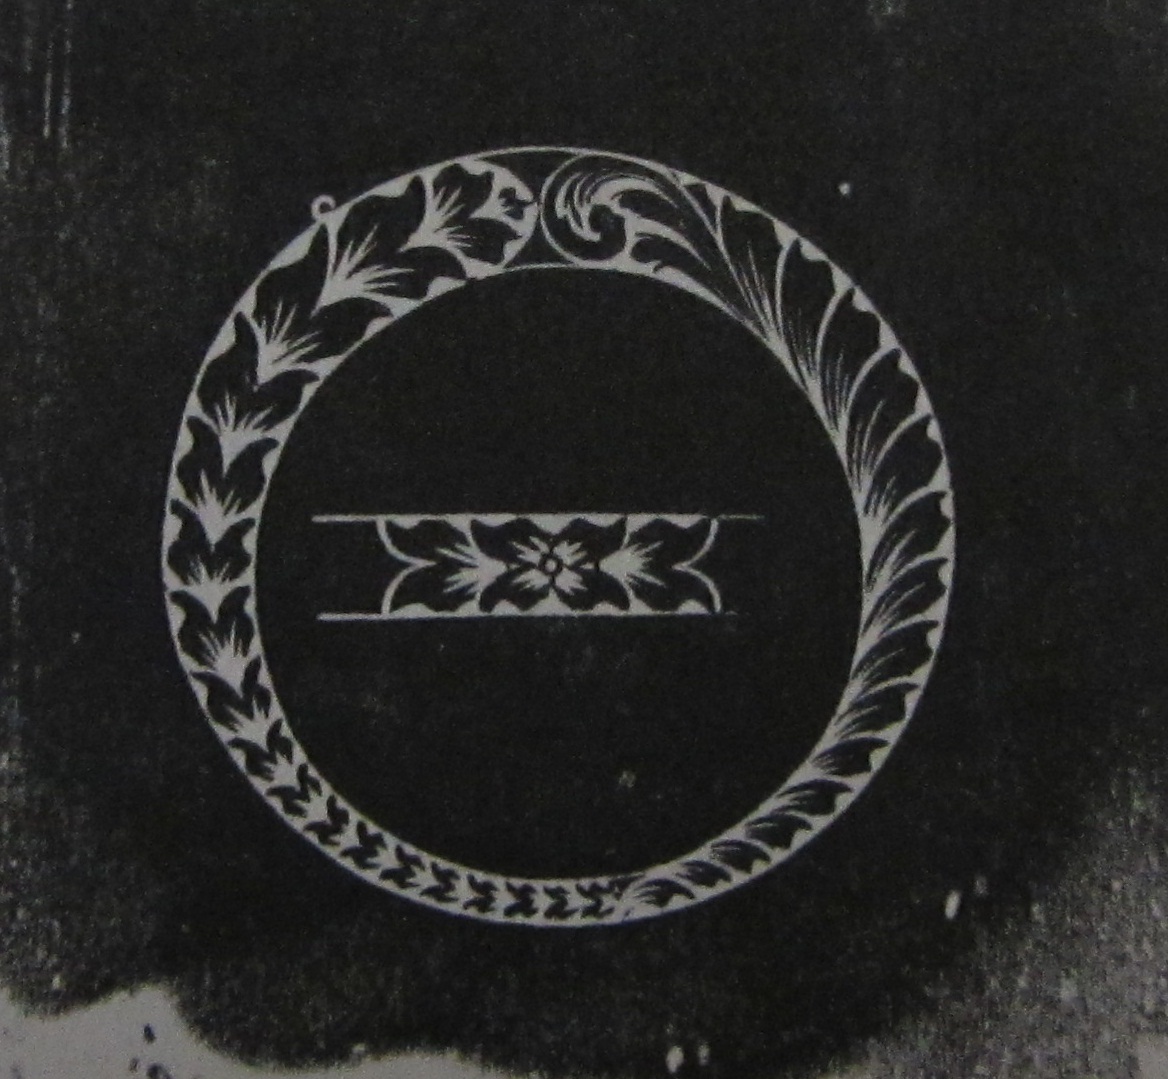
On the piece above I drew some circles to represent the sides of a ring and did a wheat leaf pattern up the left side and a 1/2 wheat leaf up the right. These still need a great deal of practice.
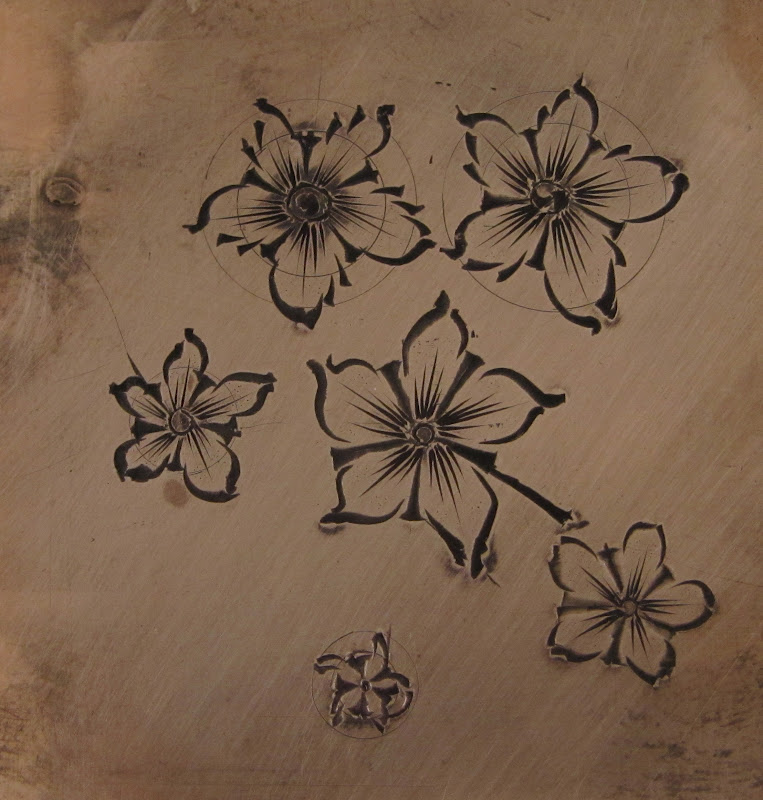
I did enjoy making flowers. The one in the center (the biggest one) is my favorite! I slipped with the graver and turned that slip into the stem of the flower.
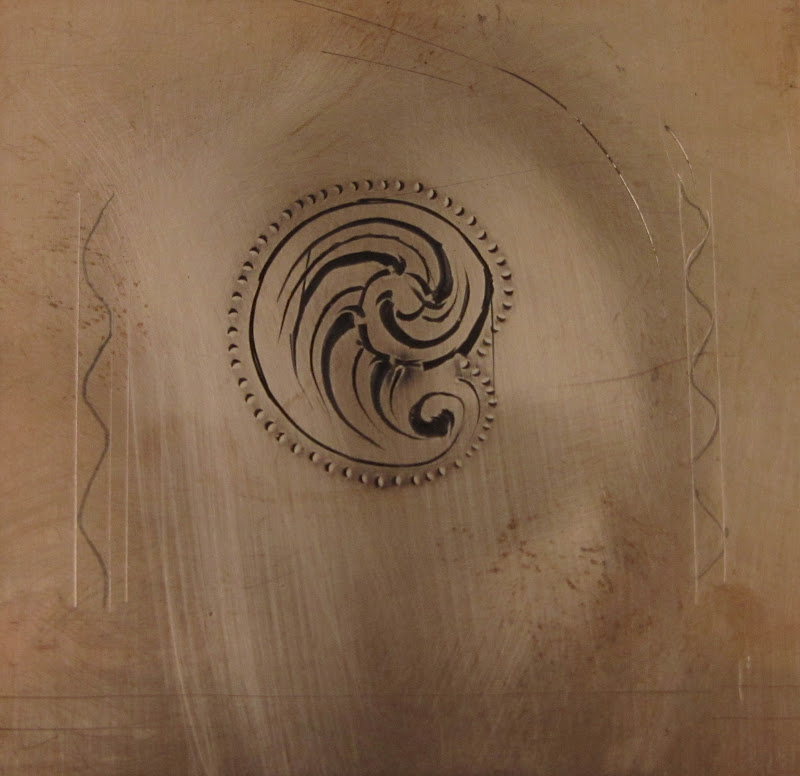
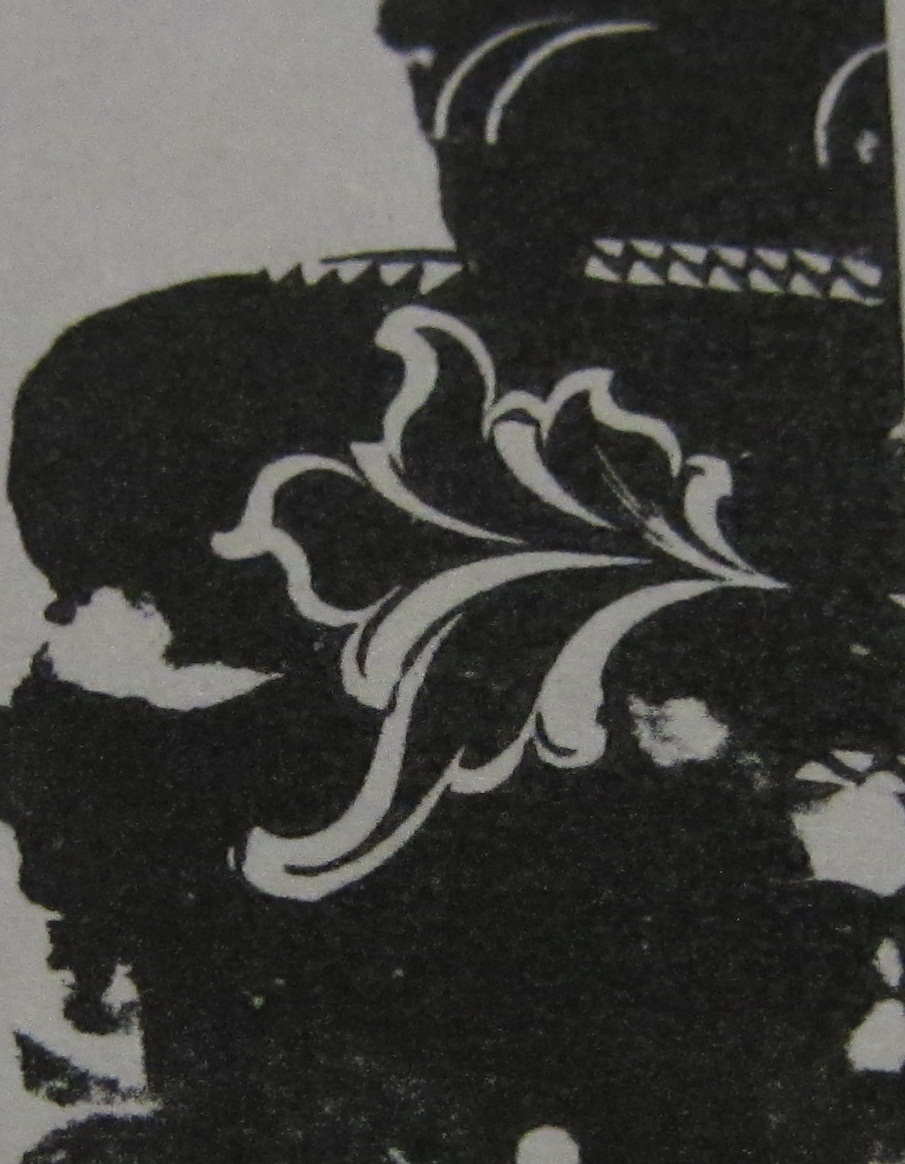
We started practicing scroll patterns.
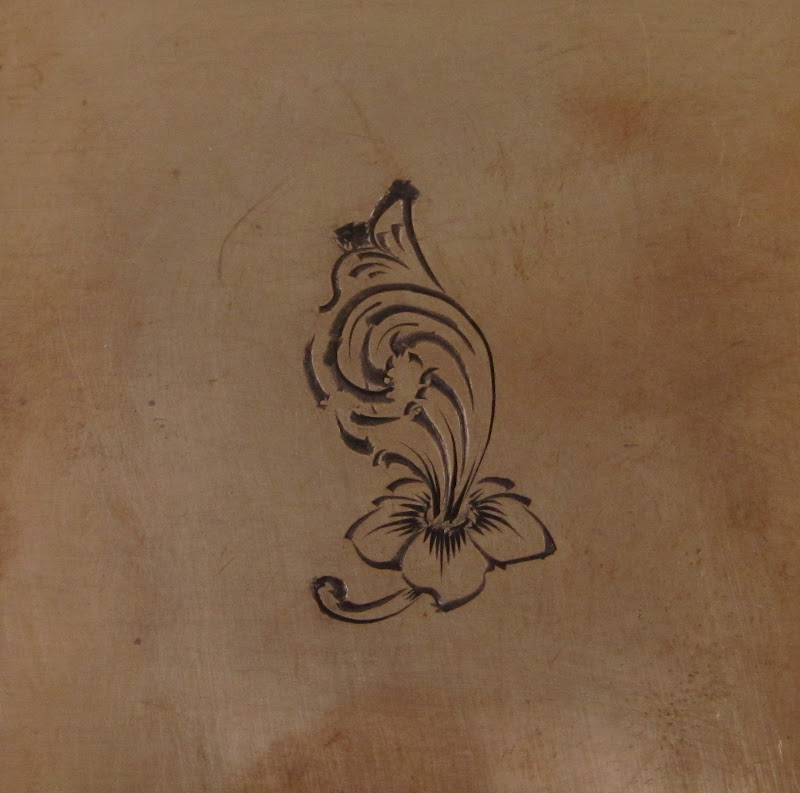
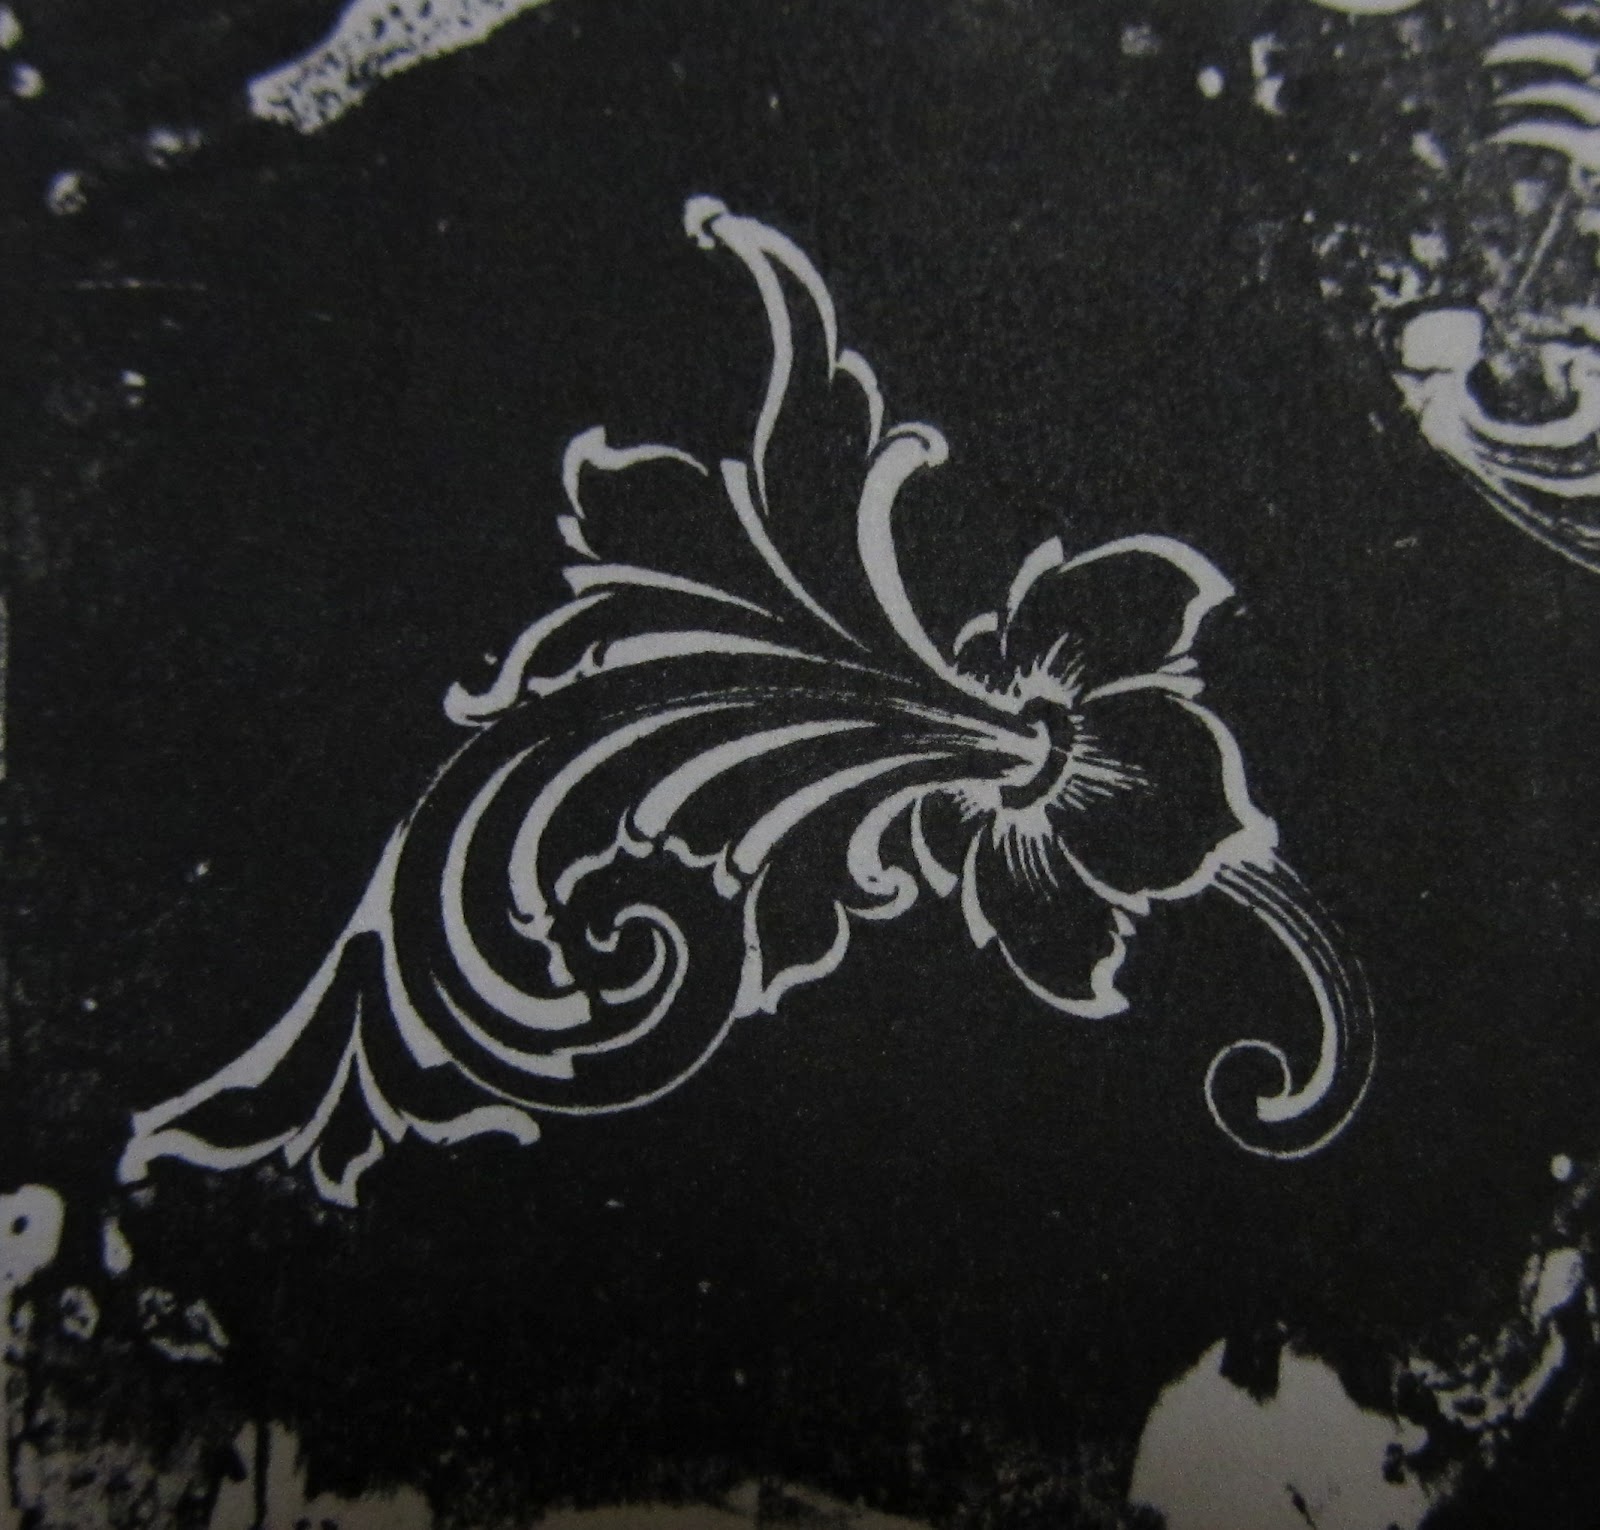
This flower design was an image transfer that we then traced with a scribe on the metal and then engraved.
The plate above is flowers our teacher engraved. He drew names and let us each pick our favorite plate. Luckily my name was drawn last so I got everything that was left. (2 plates and an inlay sample!) : )
My sample of this pattern is the first picture. Compare the two and see how much cleaner the teacher’s lines are.
On the last day of class we were shown how to inlay one metal into another. This is copper into brass, and then our teacher engraved the copper. I thought it was really cool!
Engraving frankly is hard to explain without really showing what we did and showing the tools. It is difficult to master but truly a lot of fun.
Have a happy day!

{ 2 comments }

valerieaheck

valerieaheck

valerieaheck

Latest posts by valerieaheck (see all)

Ornamental Engraving Samples

by valerieaheck on May 11, 2012

I promised to share some of my engravings from class, I left my notes at school today (the New Approach School for Jewelers) but luckily I have my notes that were taken for me when I missed this ornamental hand engraving class several years ago. The best way for me to photograph the engravings is to take a smoke pull. We are engraving on flat sheet metal, you take the metal and hold it over a candle and get the engraved section covered in soot. Then you take tape, and tape over the engraving and stick it to white paper. The white is where metal was engraved and removed. In a way this is like the negative of a picture. All of these engravings were done by the teacher Jason Marchiafava as examples for our class to learn from.


Here is our crazy fancy and romantic candle setup in the studio for doing the smoke pulls. Don’t you love the use of the engraving ball? Most expensive candle holder ever!
I just love this flower and how the swirls come out of it.
Feel free to ask questions, I’m not going to tell you much on how to do this and it wouldn’t help you learn it anyway. You really need to take this class and be there in person. Jason is a wonderful instructor and I can’t recommend The New Approach School enough.

{ 0 comments }

valerieaheck

valerieaheck

valerieaheck

Latest posts by valerieaheck (see all)

Blog Give Away!

August 4, 2011

This week I’m having a give away on my main blog, check it out: http://valerieaheck.blogspot.com/2011/08/blog-give-away.html  

Read the full article →

John Paul Miller Exhibit in Cleveland

February 1, 2011

  In cased you missed the John Paul Miller Exhibit, here are a few of my photos from the show. My favorite is the rhinoceros above. I loved the detail, notice how all the eyes in the animals and bugs are completely granulated.     John Paul Miller actually majored in Industrial Design and thought he was […]

Read the full article →

Having fun at the New Approach School for Jewelers

May 19, 2010

One of the things we learned last week was plating. I 14k gold plated this Ohio quarter and then used finger nail polish as a resist on the outer area gold. Next I rhodium plated the shape of the state and the astronaut. Pretty cool! I didn’t make this ring but the ring above in platinum […]

Read the full article →

Pave

April 26, 2010

My computer is back up and running and I wanted to quickly share my pave ring! I don’t necessarily love the ring but this is what we practiced with. The pave turned out great! All my little beads that hold the stones in are the same size. I love it!

Read the full article →

3 Stone Ring from Scratch

April 8, 2010

Over the coarse of 6 days we learned how to build a 3 stone ring out of sheet and wire sterling silver. We built the heads out of two pieces of sheet metal. Here is a back view. Now we’ve added the prongs to the head. We created a shank out of wire and cut […]

Read the full article →

Ruby Pendant

April 1, 2010

Here is another class project from last week (New Approach School). We set all eight of these synthetic rubies and then destroyed the prongs by filing them. Three of my stones then fell out. Next we had to redo the prongs as though they were new. It was a great project and I think I […]

Read the full article →

Retipping Prongs

March 29, 2010

Last week we set this synthetic ruby and made it look great. Then we destroyed the prongs and had to fix them like they were new. I think I did a decent job.

Read the full article →

Chain Repair

March 24, 2010

In class yesterday we worked on chain repair. I broke and fixed these two chains and can barely see the repair, on each of them only 2 links were soldered together when I fixed them! It was a success.

Read the full article →

WordPress Admin