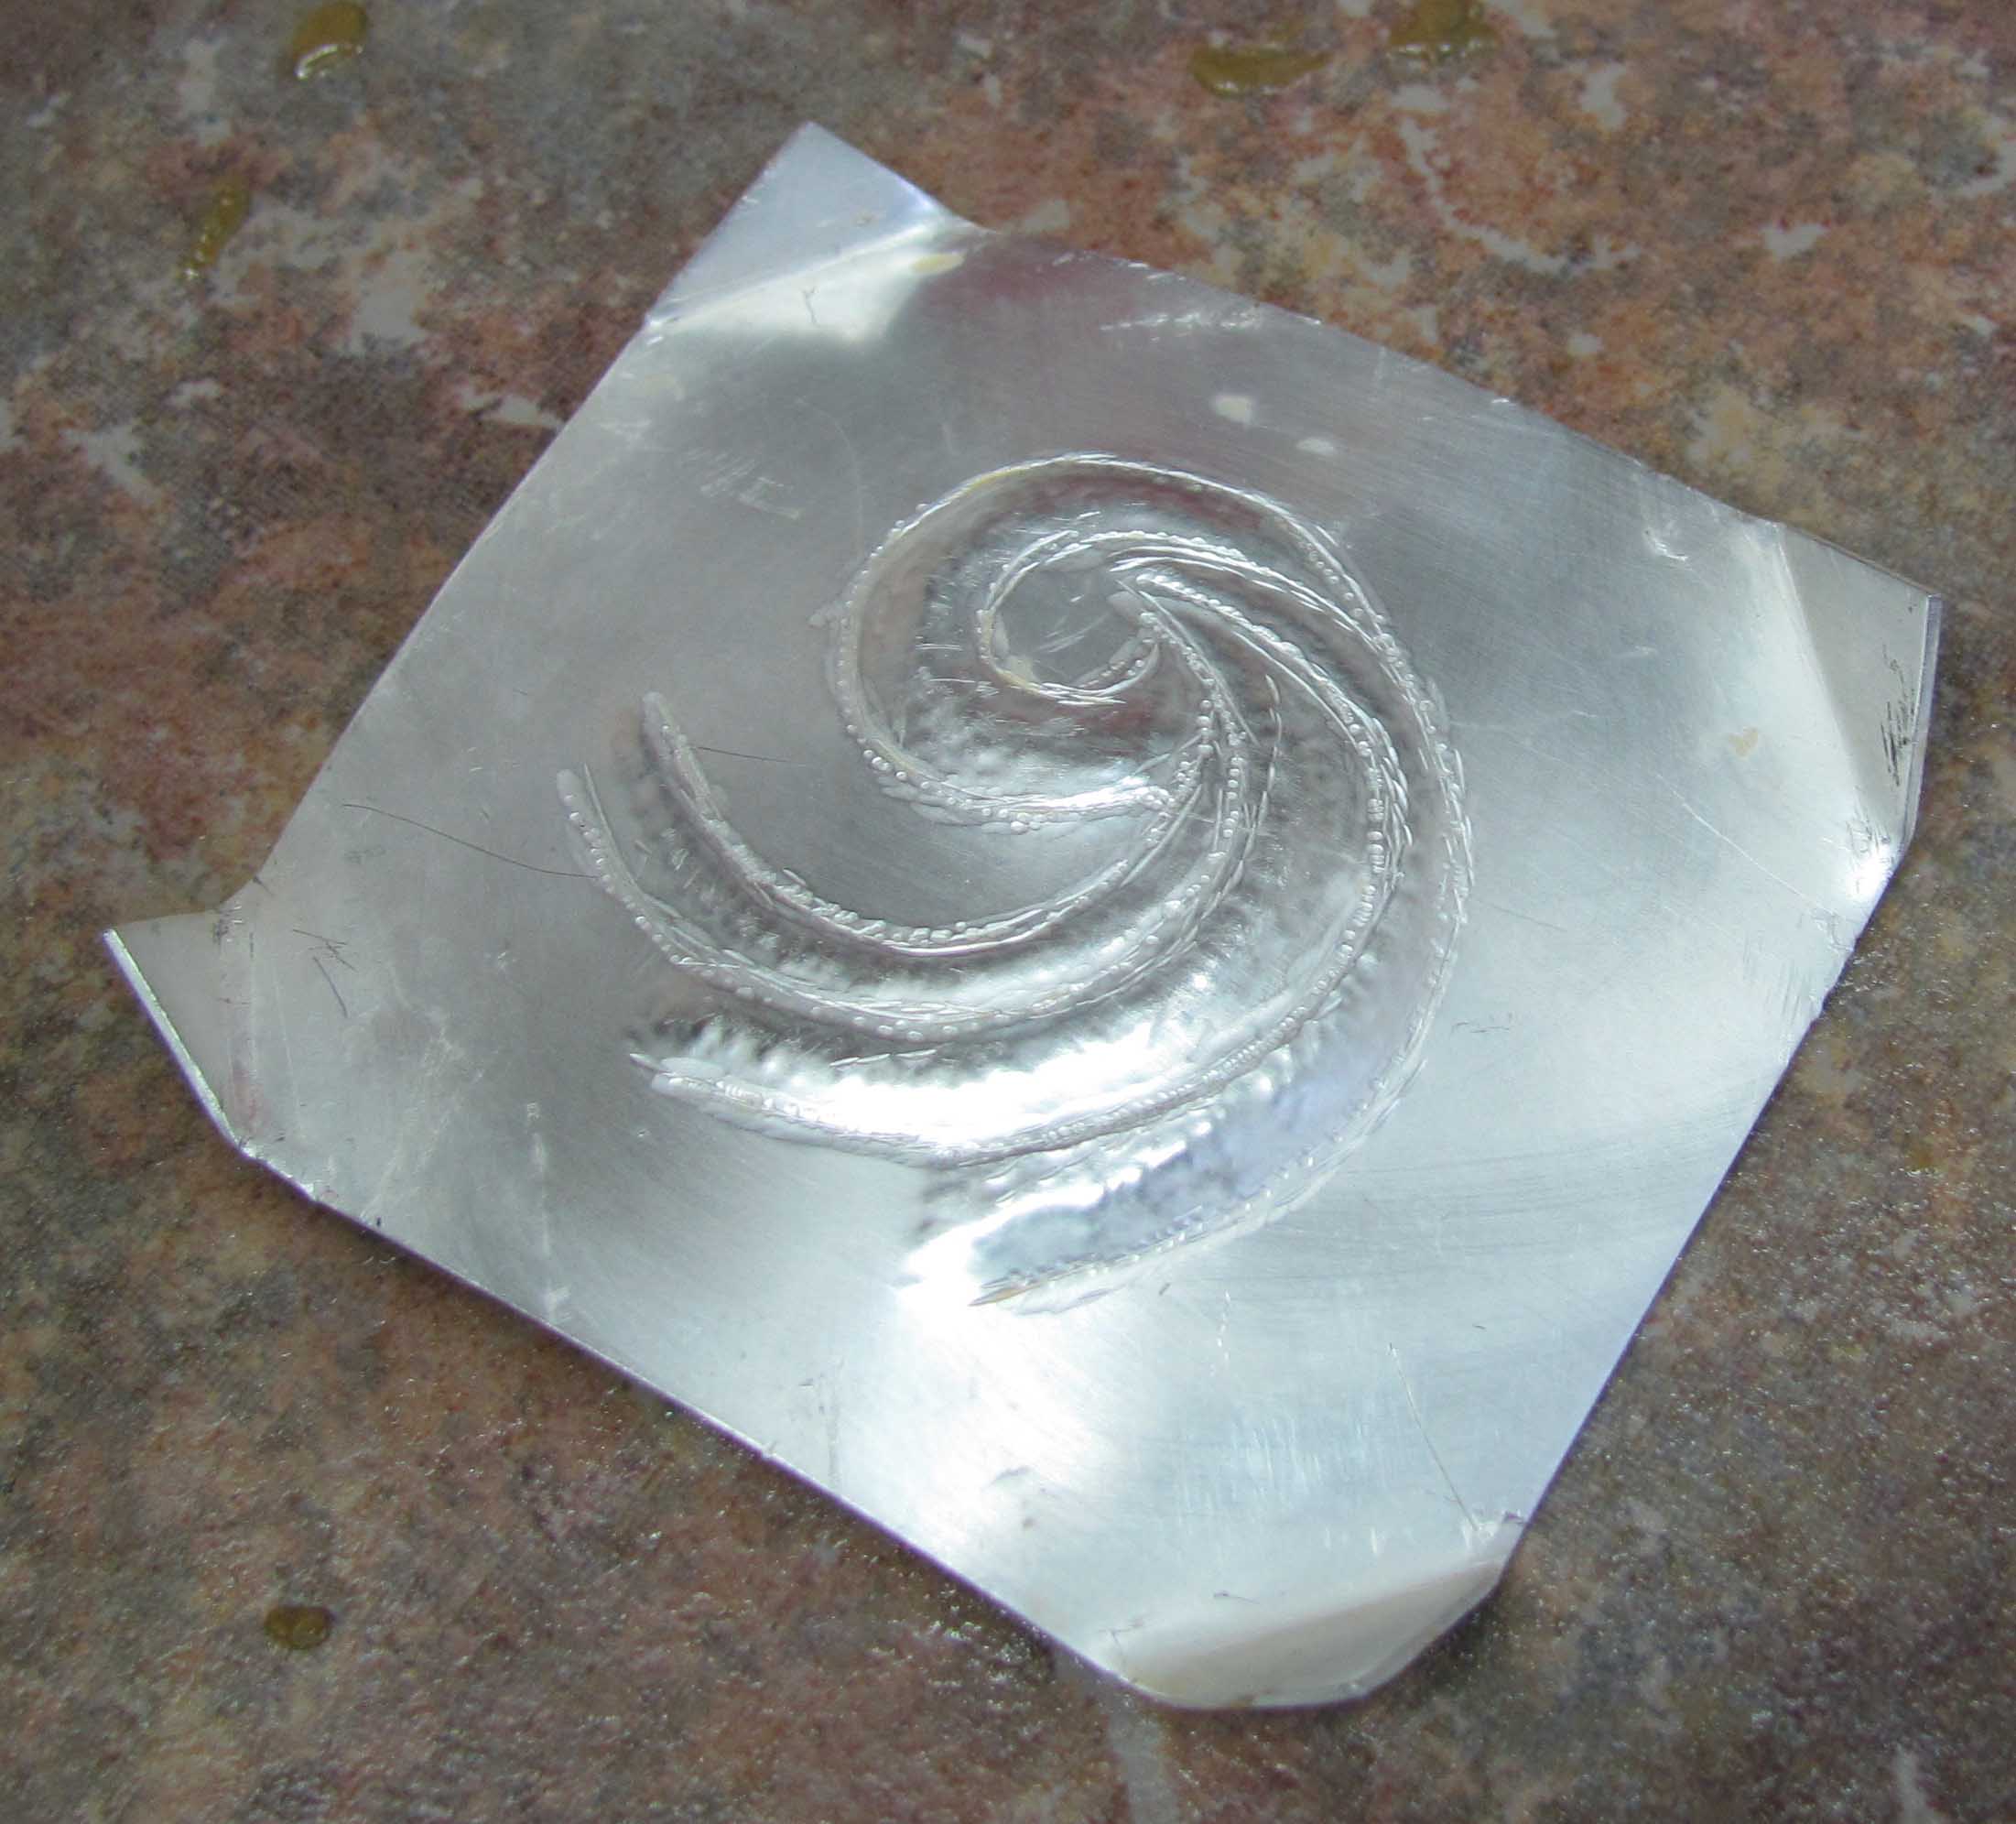
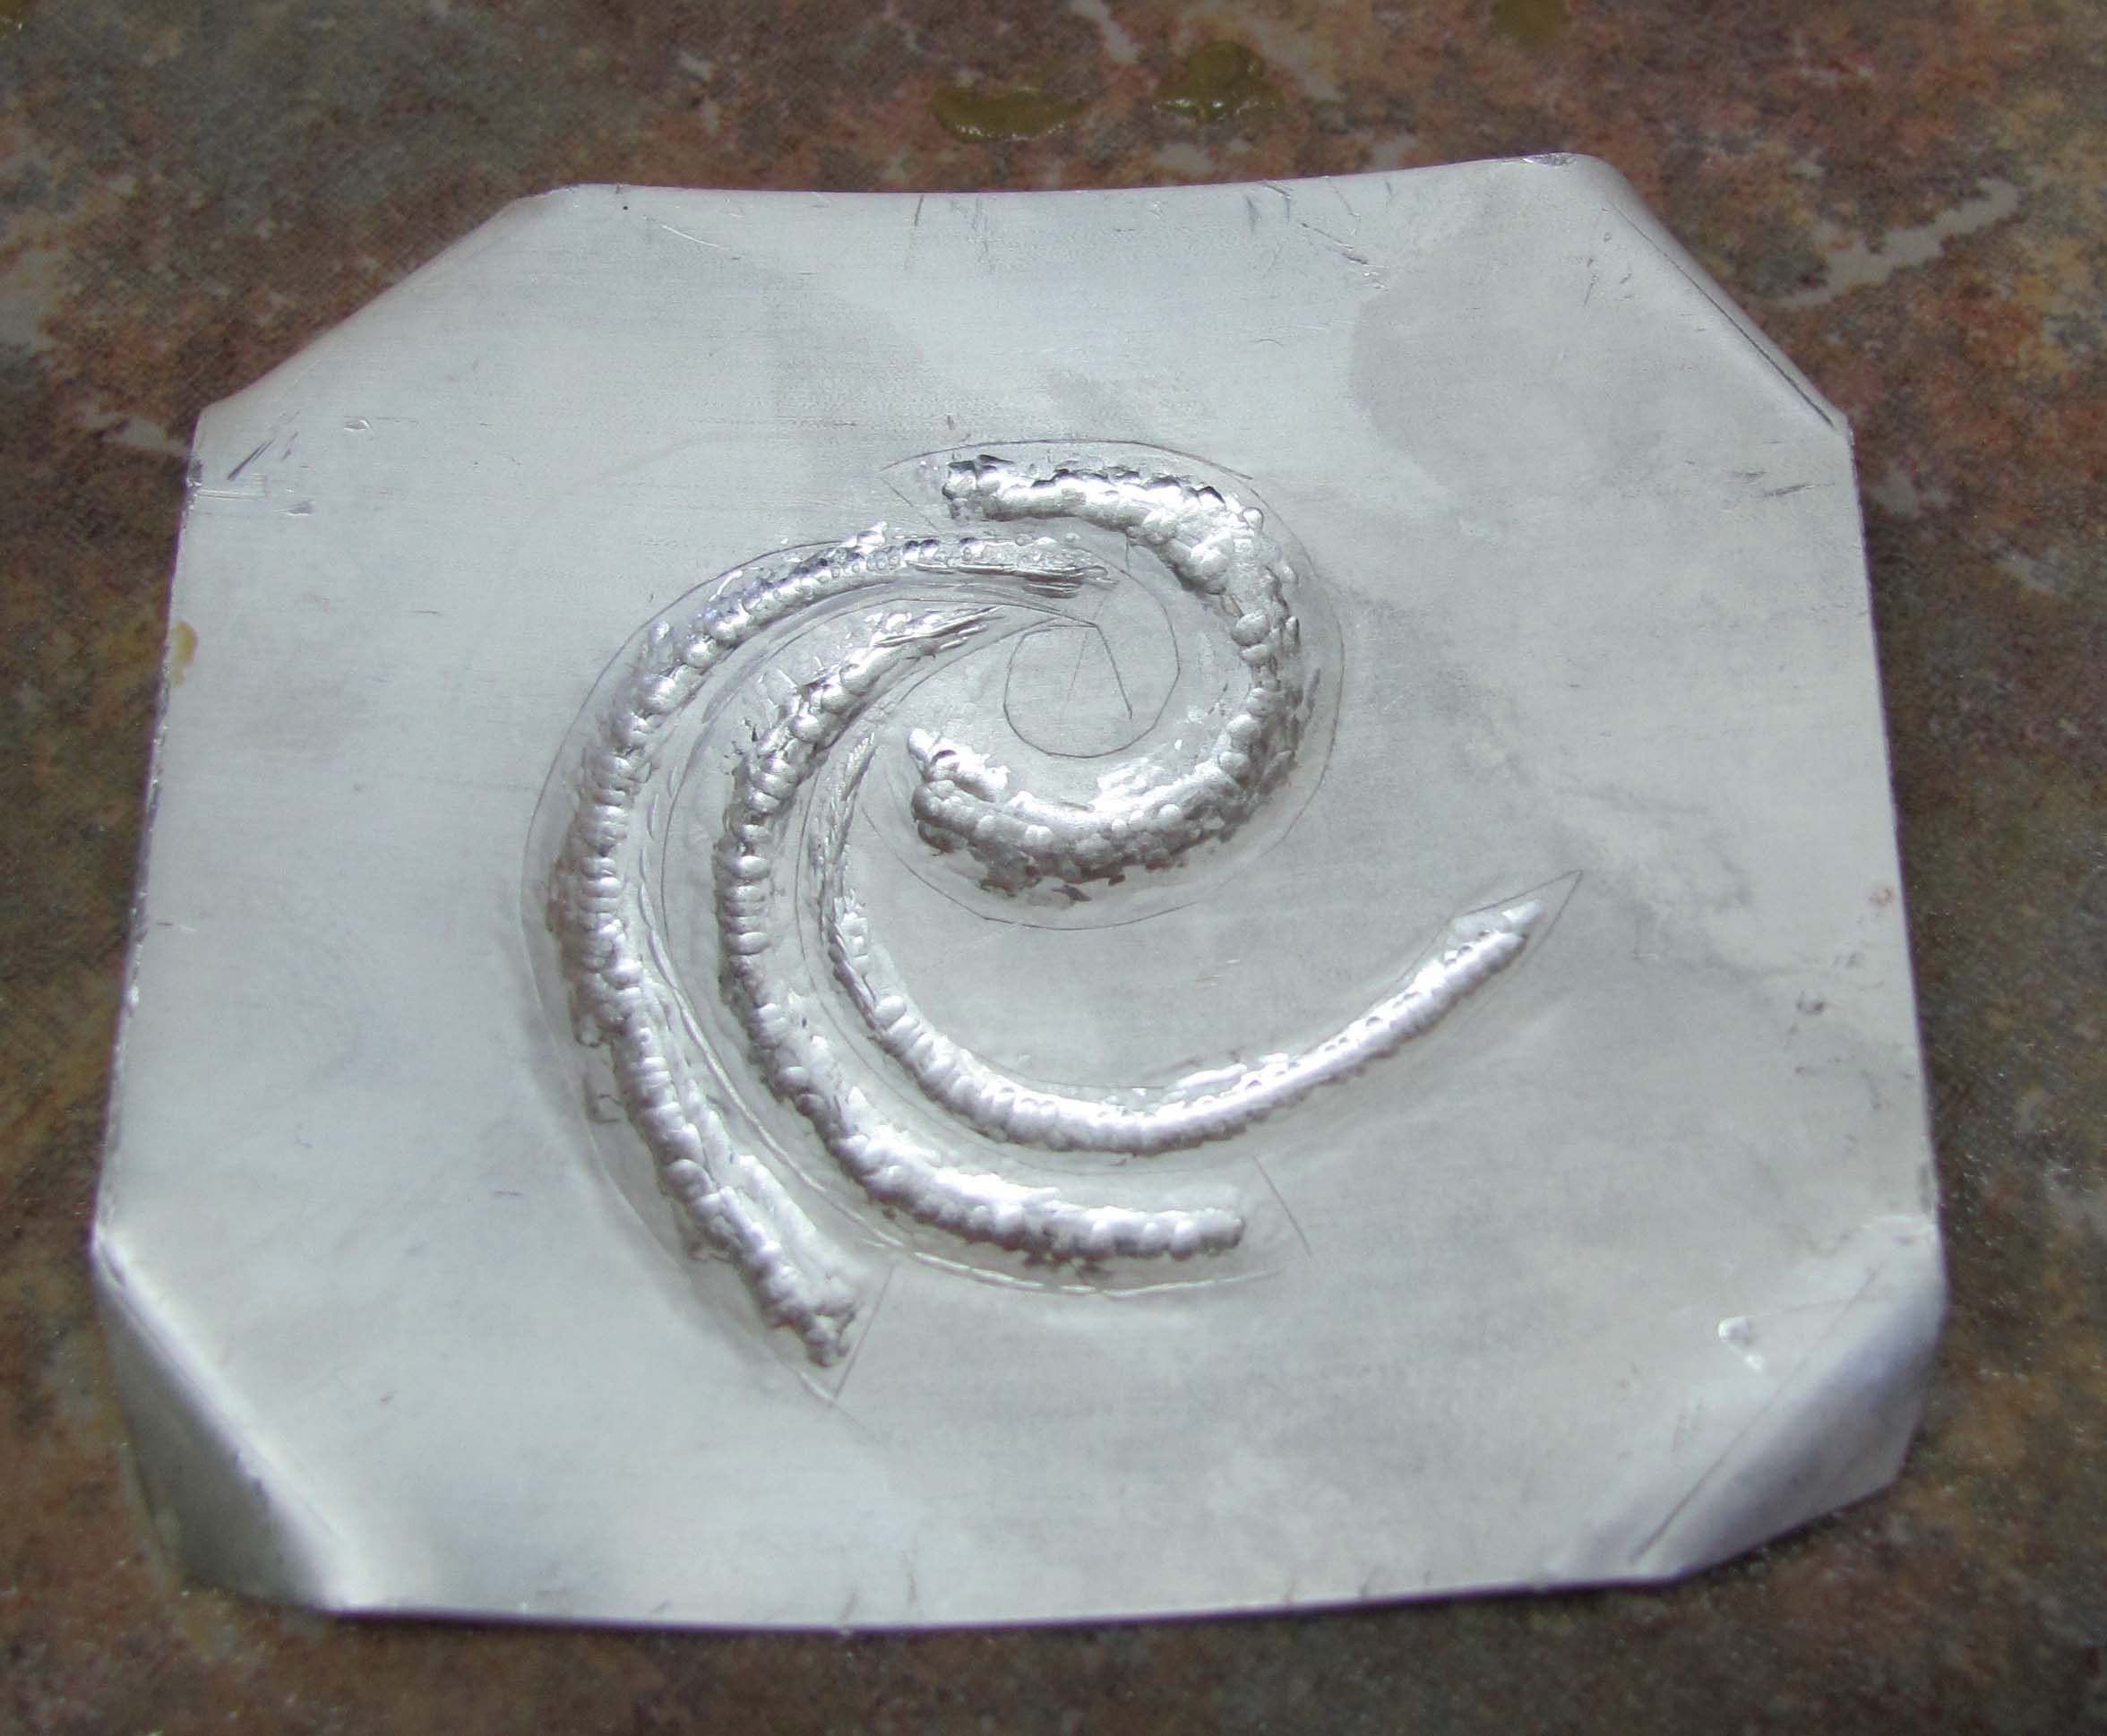
I am working on my second repousse’ custom order, this one for a brooch that will be a swirl with a green onyx cabochon in the center of the swirl. I have received lots of questions about repousse’, as many people are not very familiar with it, so will do a few posts to explain how I approach this process.
I use a medium pitch from Northwest Pitchworks: http://www.northwestpitchworks.com/ This pitch has no petroleum, coal tar or ashpaltum in it, and is less toxic and more “user friendly” than many pitches. You still need to have good ventilation, and use safety glasses and take all normal safety precautions.
I have my pitch in an 8″ pitch bowl, with the base of the bowl filled with plaster of paris to about 2″ under the bowl rim, and the pitch on top of that. I also have a purchased base for the pitch bowl, that allows the bowl to rotate freely so you can move it to whatever angle you want, to best manipulate your tools.
I start a piece by creating a drawing of what I want to do if I am creating something specific, as in this commission. I cut a piece of metal enough bigger than my desired area to allow for the creation of “tabs” at the corners, to fold into the pitch. Then I clean the metal. I coat the back of the drawing with a layer of rubber cement, and coat one side of my clean metal with a layer of rubber cement. Once the rubber cement is dry (a few minutes) I firmly press the paper onto the metal, and rub it to adhere it. After it is adhered, I take an x-acto knife and trace my lines through the paper onto the metal. It is best to do this onto the back side of your piece, but there are times when the design is better if I do this on the front. The x-acto DOES cut through into the metal, so you will have to deal with these cuts! Once I’m finished cutting I remove all the paper, and the design is visible via the cuts.
Now I fold down the corners of the metal away from the side I want to start working on – usually the back. Then I heat the pitch bowl. This can be done with a torch and a fairly soft, bushy flame, or with an industrial heat gun. I prefer a heat gun. You heat it by moving the heat over the pitch constantly, so that all the area in the middle, and towards the outside, heats fairly evenly. You do NOT want to heat any area so much that it begins to bubble or smoke! It is VERY important to use good ventilation here, and to use safety glasses!
Once the pitch has heated and softened I place the metal onto the middle of the pitch bowl, with the tabs down into the pitch. I keep a flat tub of clean water nearby, and an old hammer, and old needle nose and other pliers for moving the metal on the pitch. Use the hammer to gently press the metal firmly into the pitch, making sure that the tabs go fully into the pitch. You may want to dip the flat end of the hammer into the water, and use it to pull pitch onto the edges of the metal, to help hold the metal. I dip in water each time before putting the hammer in the pitch – it helps keep the pitch from adhering to the hammer surface.
Next take dampened paper towels, and use them to dab the metal and pitch to cool it to the firmness you need to work on your design. The firmer the pitch is, the less give it has. The softer it is, the more give. Different parts of the design may need different degrees of firmness.
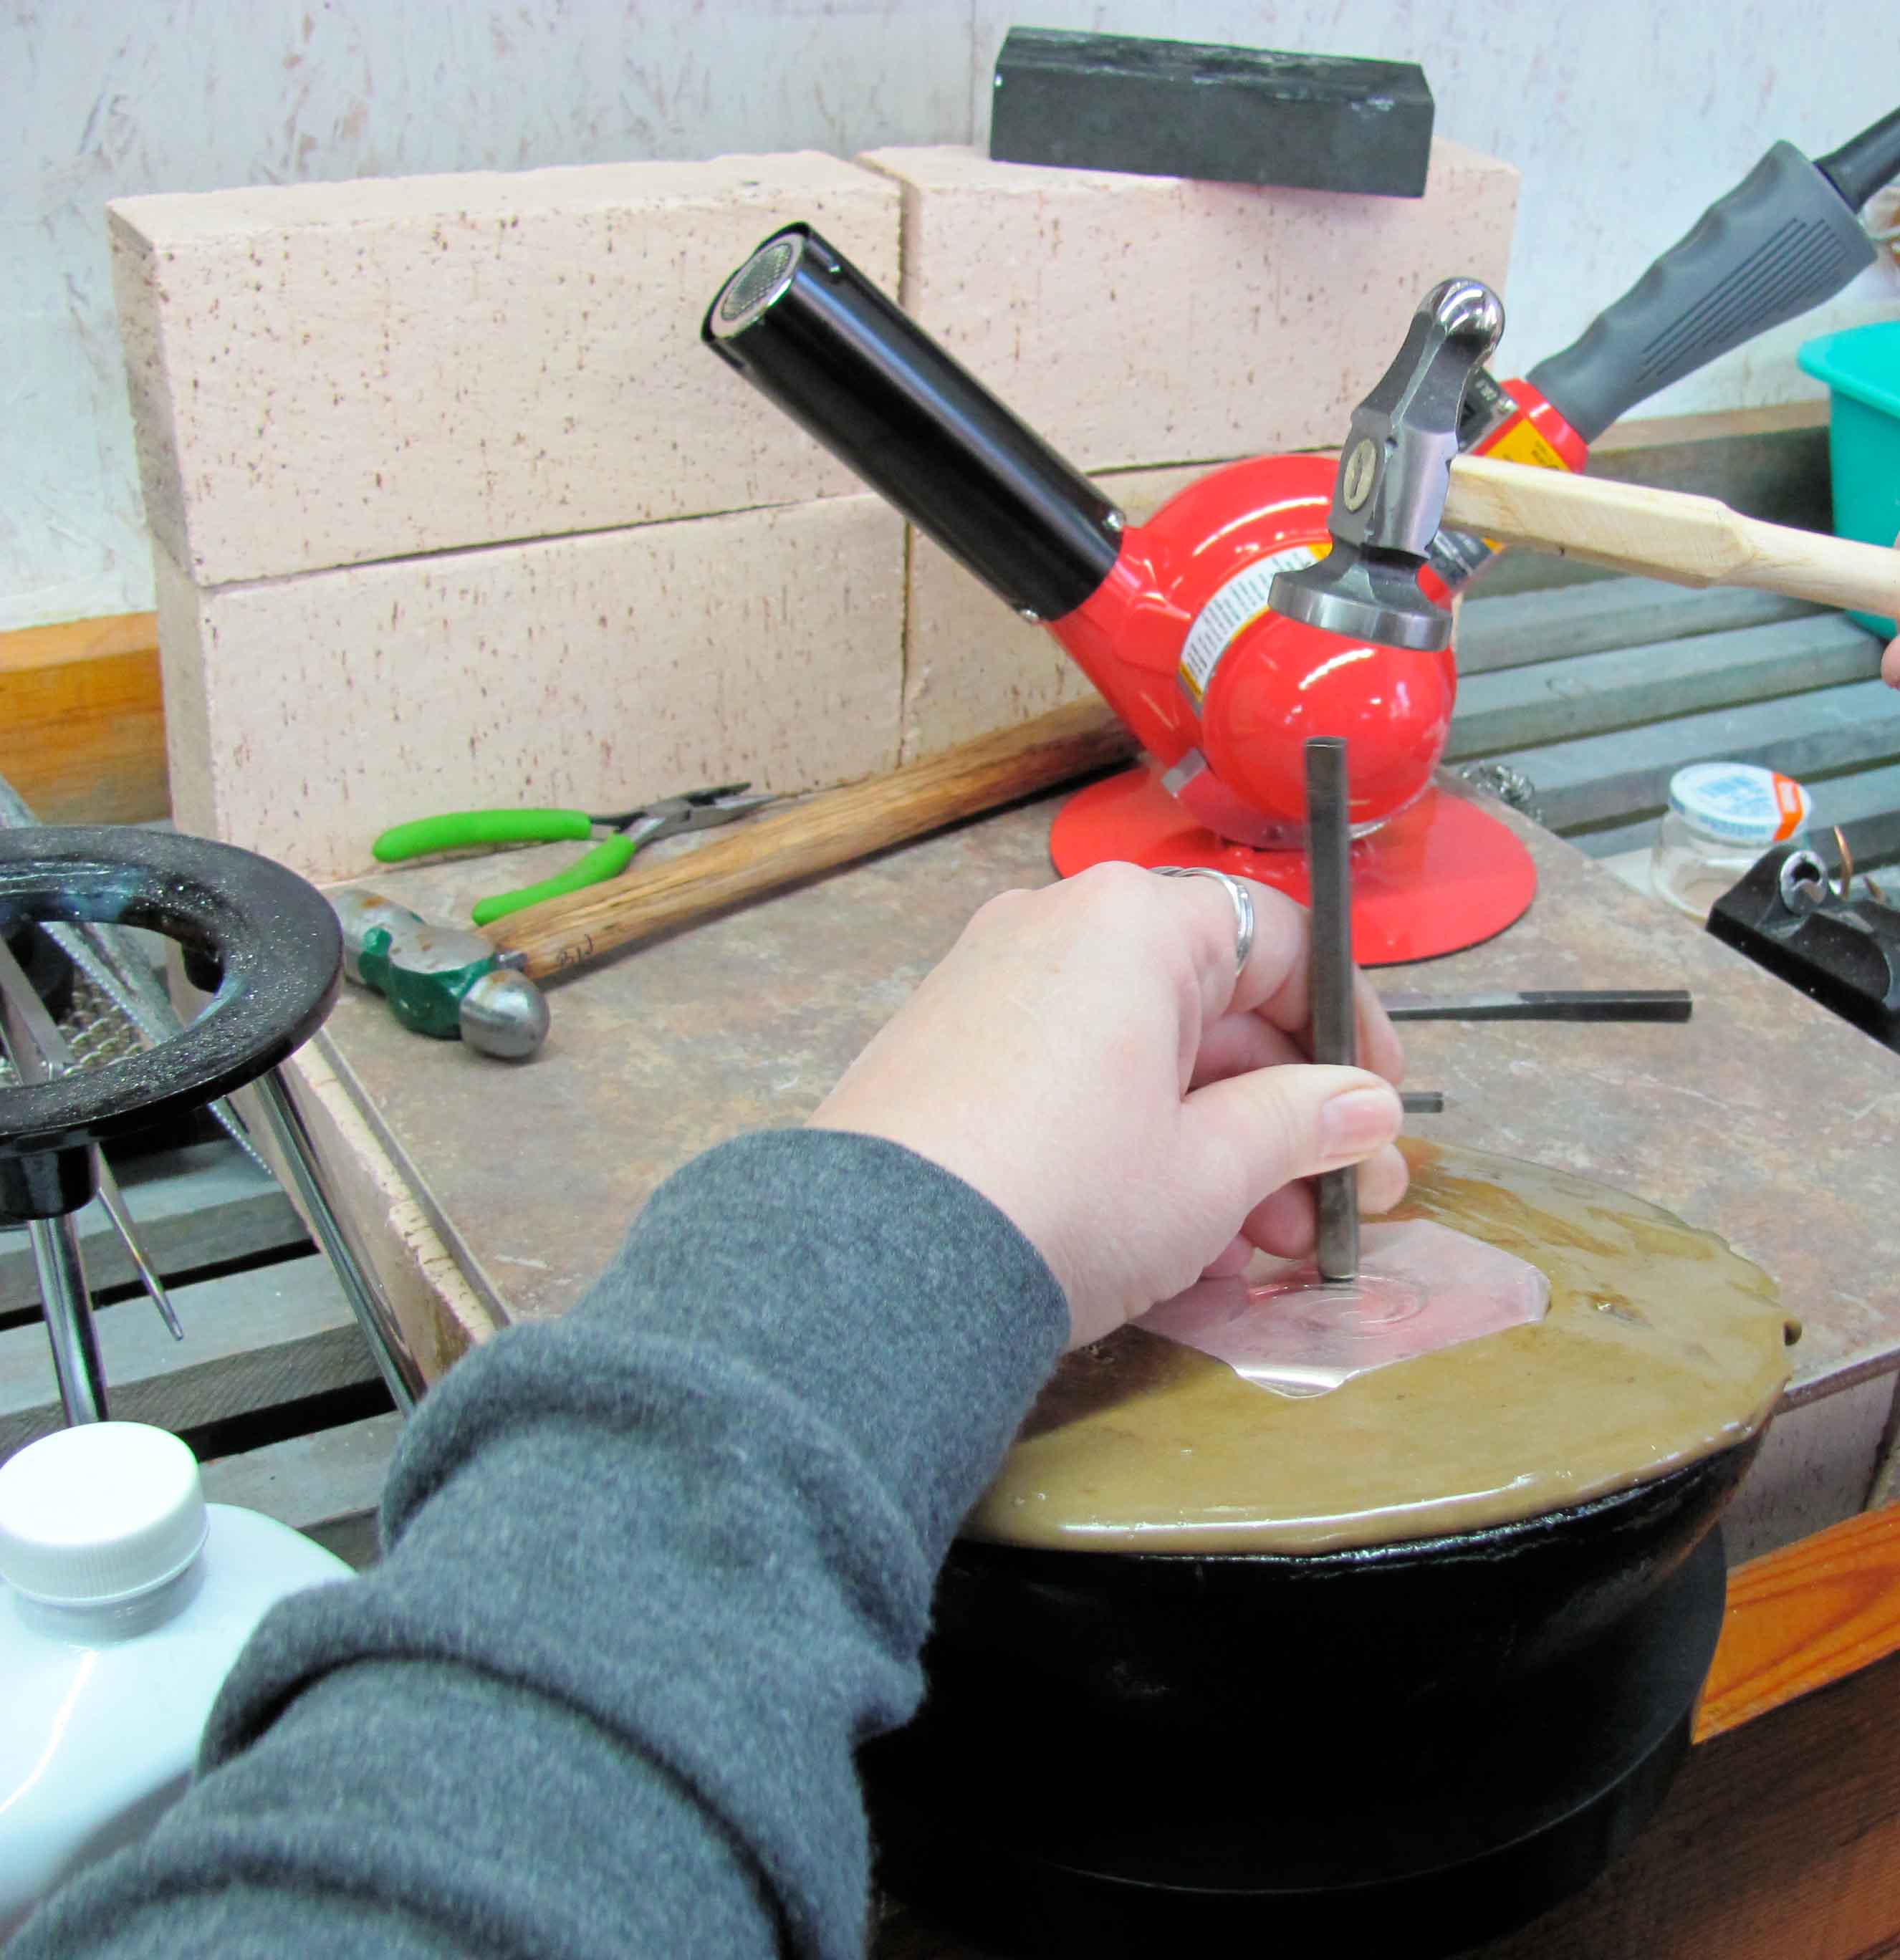
Now I am ready to begin shaping the metal. I use a combination of purchased repousse’ and chasing tools, homemade tools, and dapping tools to move the metal depending on what I’m trying to accomplish. As you work the metal it will harden. When it does that, you will need to heat the pitch, and use some of your pliers to remove the metal from the pitch. I heat the metal with the heat gun after removing it, and the melted pitch will drip back into the pitch bowl. The rest I remove by heating, using paper towels with mineral oil to wipe the hot pitch off the metal, and repeating until all the pitch is removed from both sides of the metal. Then I wash the metal with soap and water, dry it, anneal it, quench and pickle and rinse – and start the process again.
In shaping the metal I will work one side a time or two, then turn the tabs the other way and work the other side, and repeat. You want to push the metal in both directions, to help form your shapes. As you work, be gentle with your tabs – if you turn them too many times, or too firmly, they may snap off!
Below are some photos of my current piece in process. I’ll post again when I get it finished, with the rest of the process.
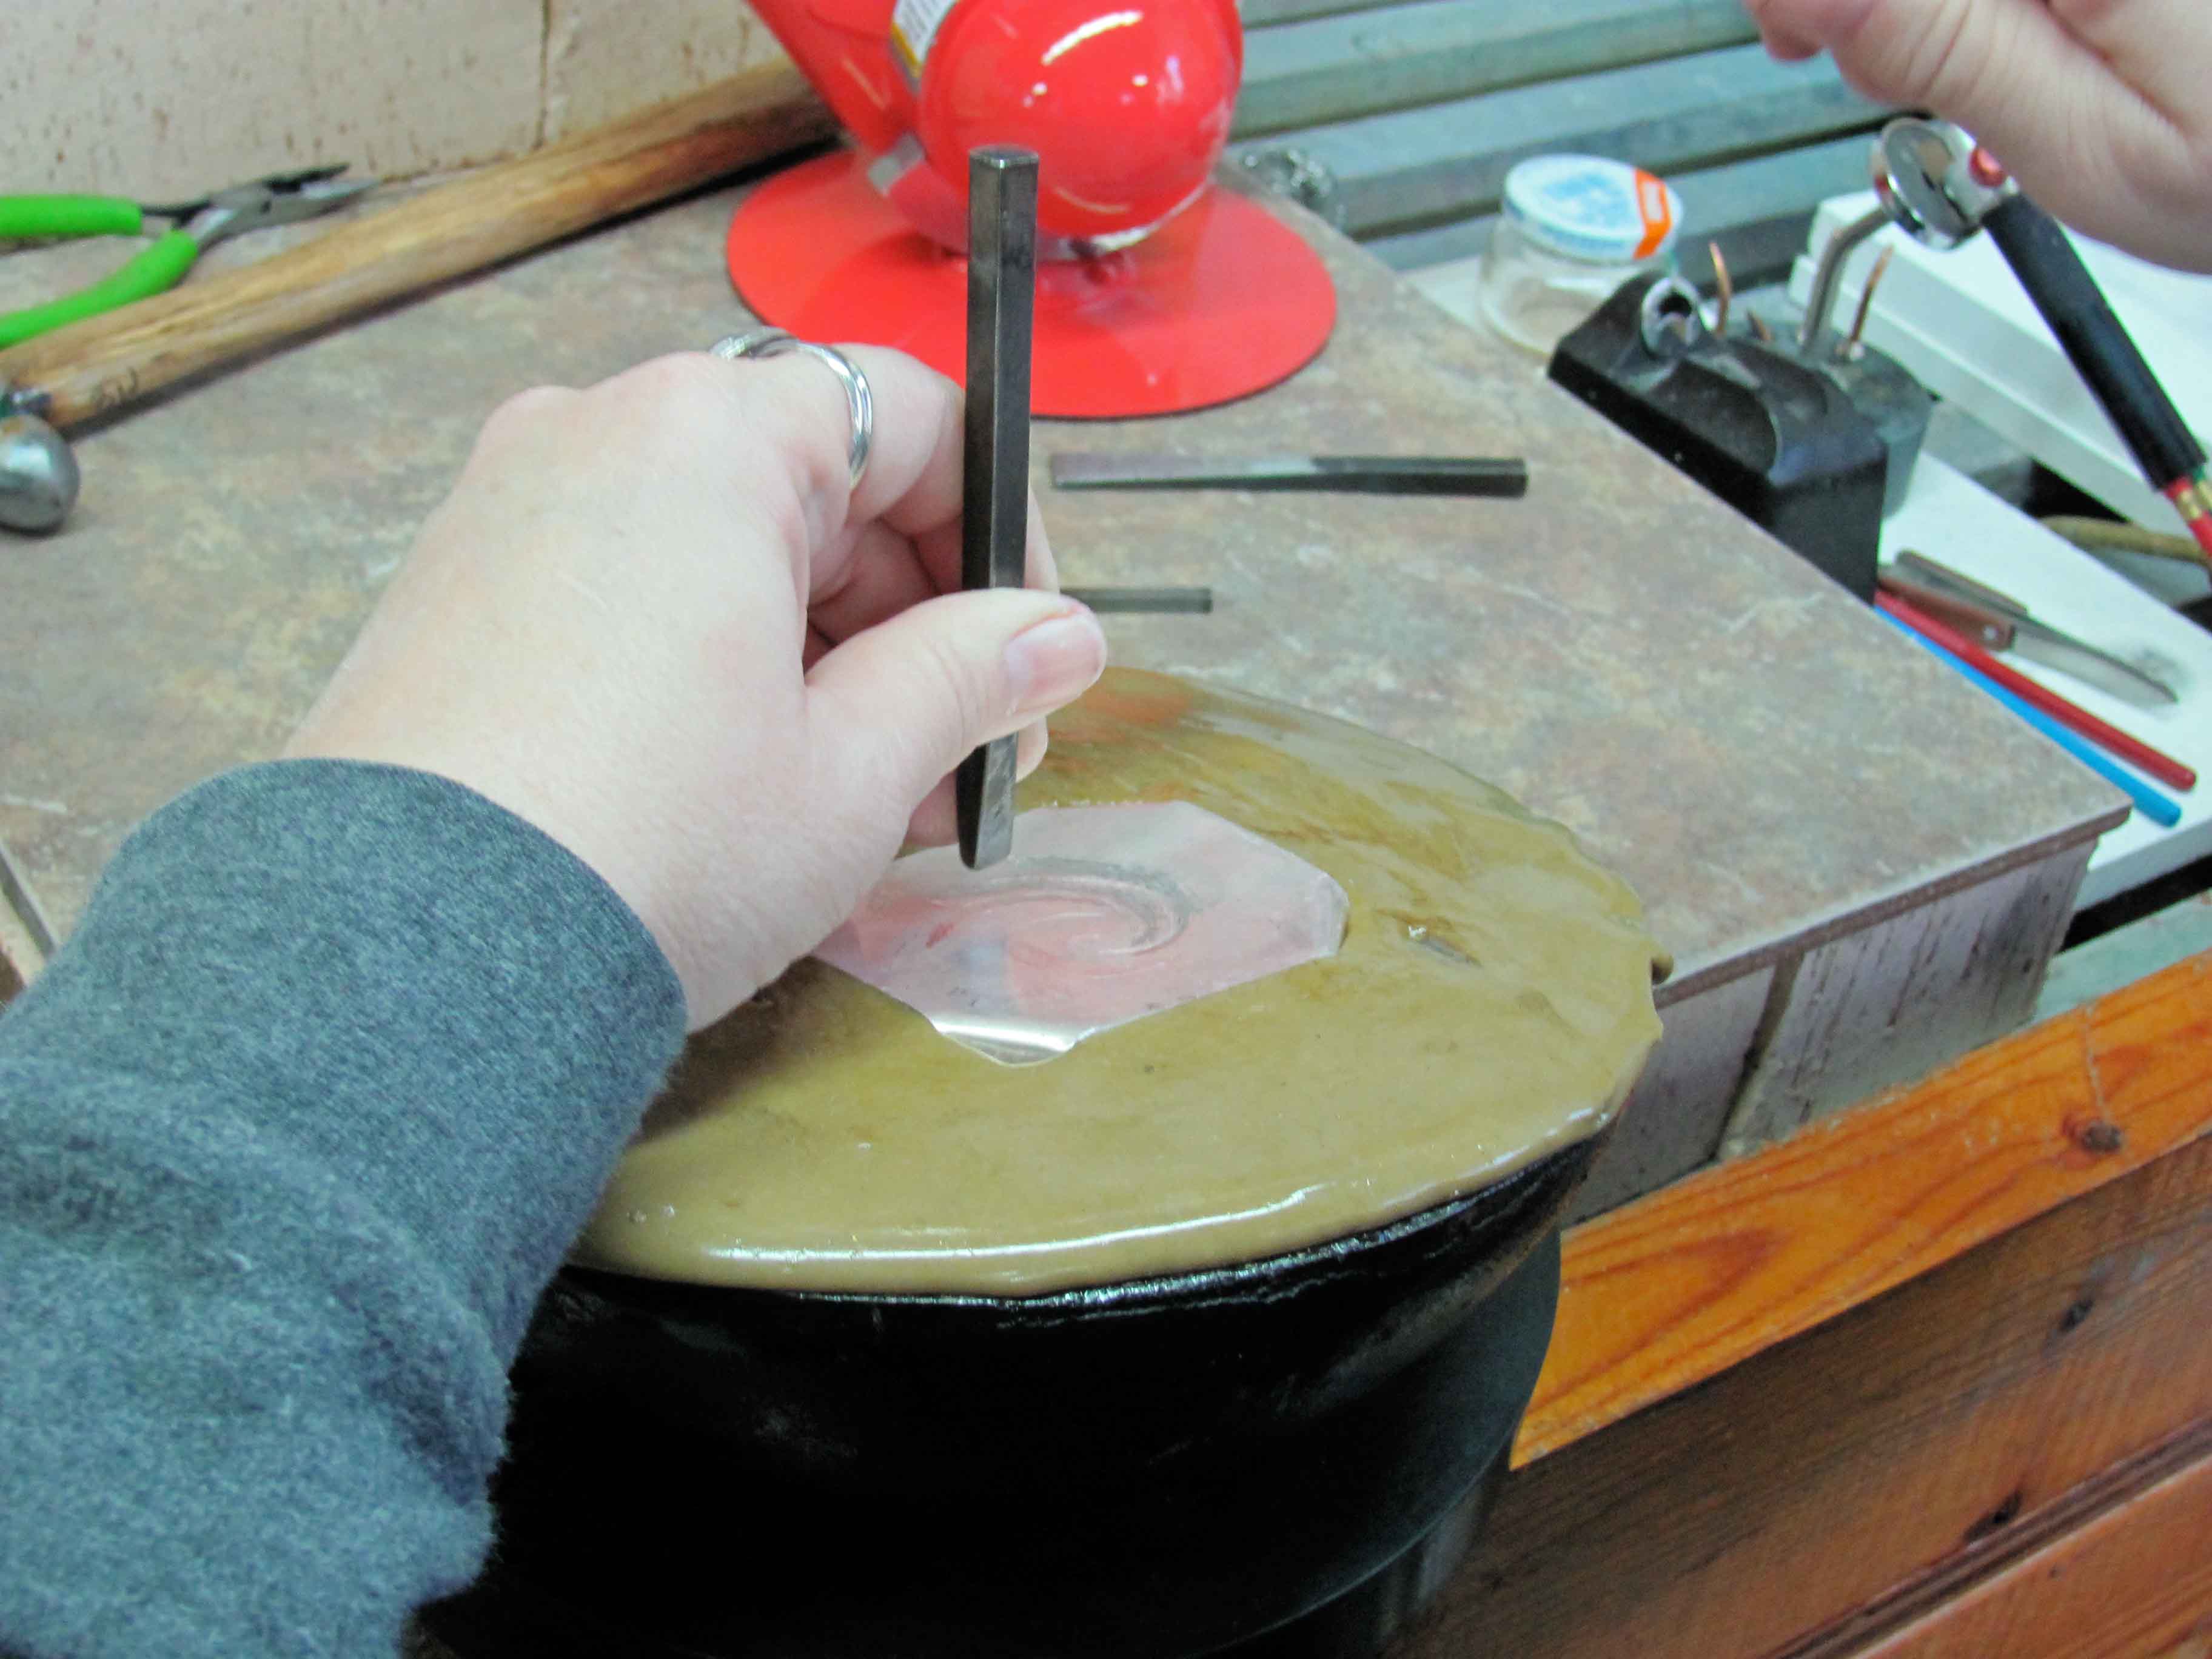
Note the industrial heat gun…. I do this on a large ceramic tile, since there will invariably be drips of pitch….

Latest posts by bethwicker (see all)
- Hydraulic Press Tips - January 30, 2014
- January Metals Weekend Workshop - December 26, 2012
- Teaching Space - March 4, 2012

{ 4 comments… read them below or add one }
Great tip – thanks! How do you remove the chapstick? Any particular brand work best?
coating the side of the workpiece in contact with the pitch with a light coating of chapstick will significantly improve release of the metal when it comes time to remove it; and far less pitch will adhere and have to be cleaned up.
Thanks! I hope to finish the piece this week, and get it up on the blog…. keep your fingers crossed for me!
Beth,
It must be the new year, I am working on a chasing & repousse swirl too – but on a bowl. No pictures yet.
I look forward to seeing the more in-process pictures
You must log in to post a comment.
{ 3 trackbacks }