Forging is fun. Steel needs to be hot forged but iron can be cold forged, needing only to be annealed when hammering has hardened it.
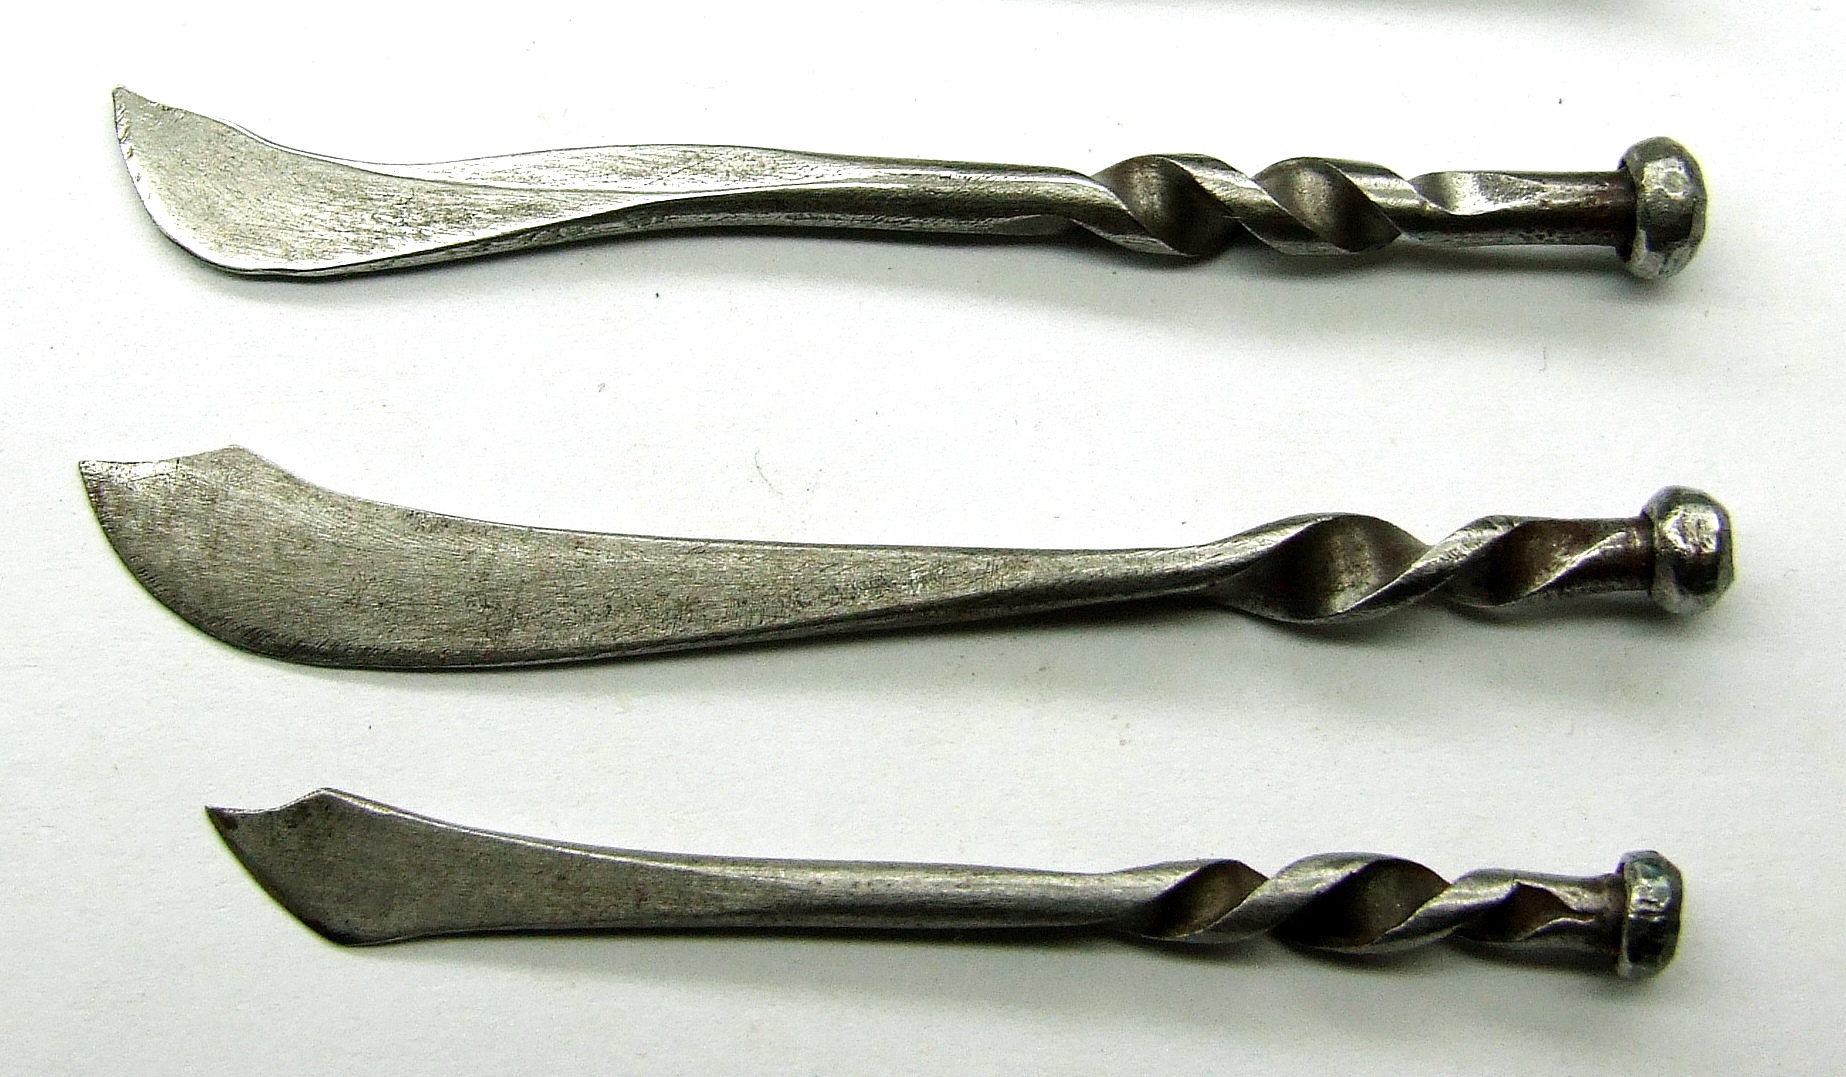 three small knives
Common nails are made of iron. Sometimes common nails can be of mild steel, in which case you must anneal them (bringing the steel to red-heath and letting it air-cool) when you notice they are hardening. Any nail, around 3 inches long, can be turned into a small knife, old bent nails cost nothing so you can try and explore different shapes at no cost and in no time.
Or you can make small traditional shapes such as scimitar, kukri, kriss (haven’t tried yet).
To make a simple blade
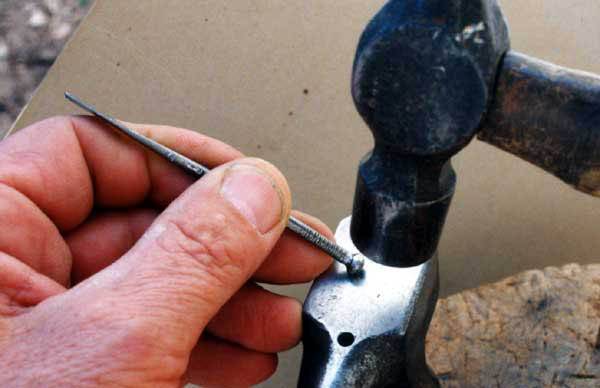
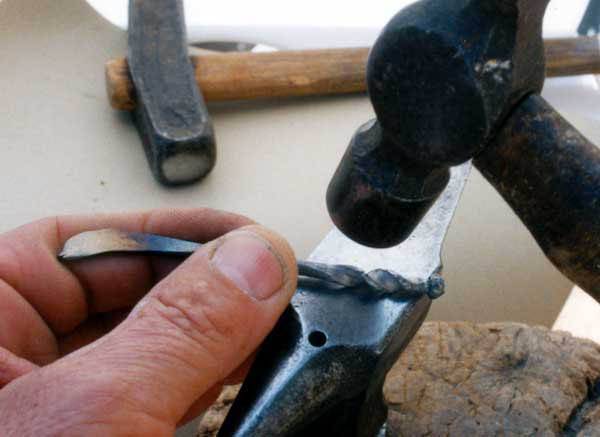
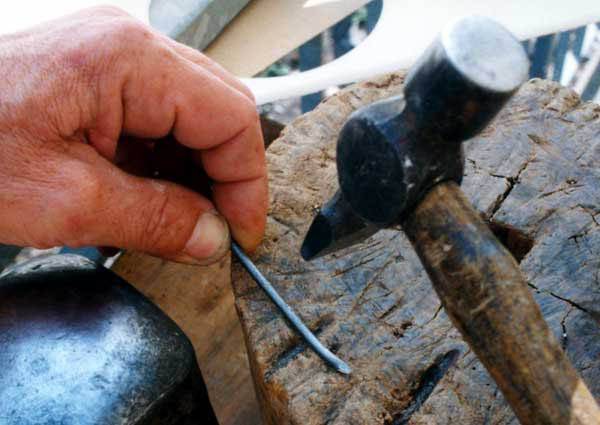 1) The blade has to be thinner on the cutting edge and thicker on the back, but the edge that gets thinner becomes longer because the squeezed metal must find space anyway: your blade would bend upwards.
So you first slightly bend the blade then hammer the inside of the curve.
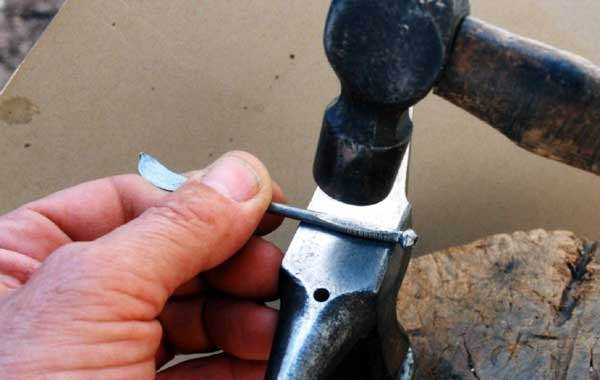
 2) Blow after blow you will see the blade straightening. The point of the nail gets the right shape by itself if you hammer it evenly.
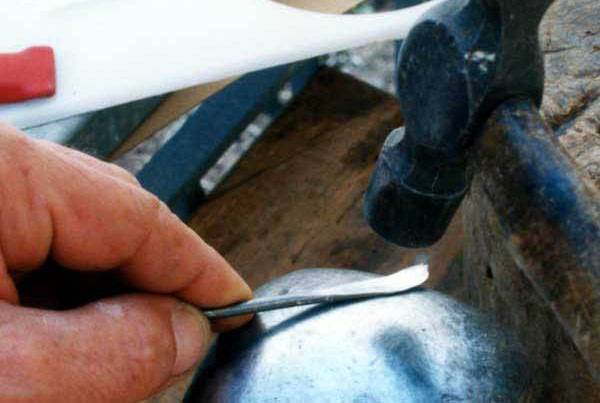 3) The stake you’re hammering on had better be a bit rounded since you have to “pinch” more one side of the blade.
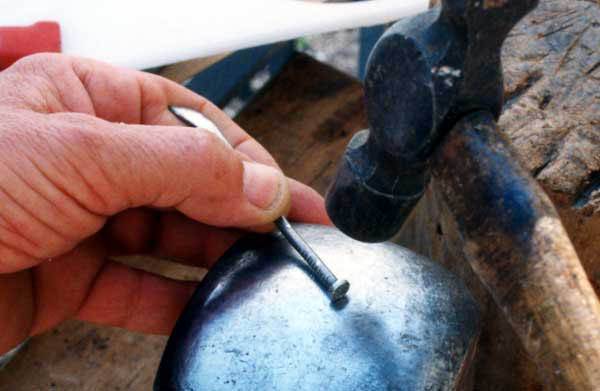 4) Now you can round off the head of the nail, hammering its edge. As the diameter of the head diminishes, a protruding edge develops on both sides of the head.
 5) You tuck in this edge.
 6) You flatten the part of the nail between the head and the blade to make the shank.
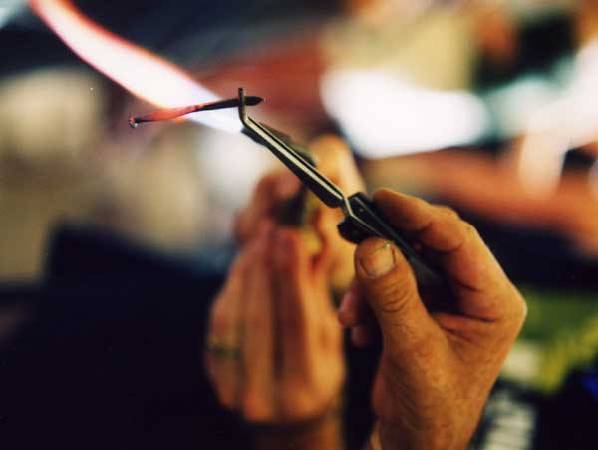 7) Now you must anneal the shank: bring it to red heath with a flame and leti it air cool.
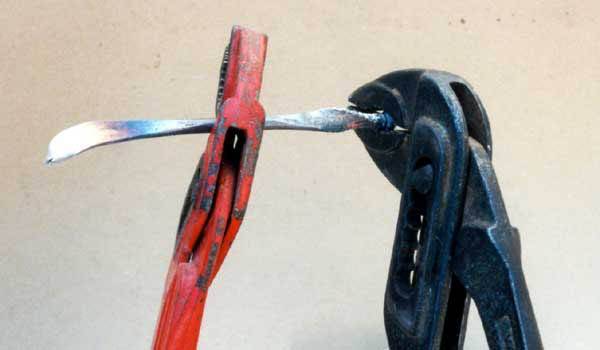 8) Hold the shank with two pliers and twist it.
 9) Some hammer blows on the twist will straighten it. Now you have a small handle with a good grip.
 10) Hammer work is over, notice the colour changes from black where the iron was heated, to blue and yellow.
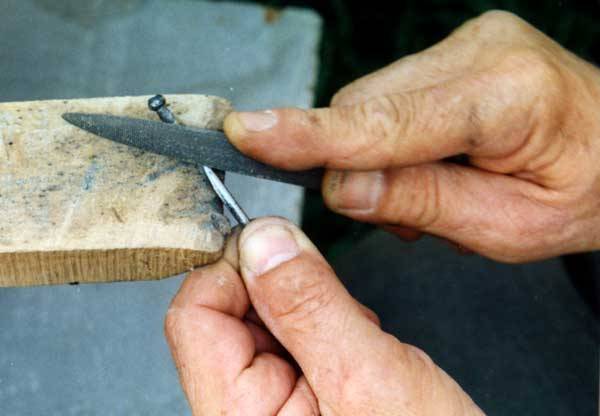 Now you can file the blade to sharpen it and do a bit of filing on the shank.
 11) If you want you can hone the cutting edge and go over the rest of the knife with different grades of abrasive paper. Don’t overdo it, a kind of roughness is part of blacksmithing’s appeal.
Latest posts by Mario Cesari (see all)
- earrings, gold and brilliants - January 24, 2012
- ballpoint pen, silver and gold - October 30, 2011
- cages necklace - October 23, 2011
Latest posts by Mario Cesari (see all)
- earrings, gold and brilliants - January 24, 2012
- ballpoint pen, silver and gold - October 30, 2011
- cages necklace - October 23, 2011

{ 14 comments… read them below or add one }
A cool Letter Opwner – use a 6 inch nail , a fun project!
quite right, mild stell will give you also a better cutting edge, besides holding it longer
As I look at these. I am struck by the simplicity, beauty and practicality of these little knives. I believe I will make a few for all my friends sewing boxes, think they would work very well for seam ripping and thread cutting, Maybe in mild steel so as to hold an edge longer.
you are a good teacher. and i like your humor too.
oh I love making these! Some of my first metal projects were making tiny swords from nails. I like to get a little fancier and wrap the hilts with fine brass or copper wire. Once, I made a tiny harpoon, for those chipmunk Captain Ahabs out there.
What a coincidence! I was planning to do a post on making shields for chipmunks from soup can lids.
You’ll see it very soon.
A really clear illustration of the process, thank you.
This is perfect. I am going to make a few and arm the chipmunks in my yard, give them a chance to defend themselves. Maybe make shields from soup can lids.
Thank you for the tutorial. There is much about working with iron that I would love to learn.
These are really cute. I’d like to make shears so this was encouraging.
Love this Mario! It looks exquisite! Might need a set!
You can use a cut nail, that is the type used to secure wood sole plates to masonry and concrete but it will need to be worked hot not cold as this nail was. You can make a small forge out of a soft fire brick and a propane torch that will suffice for such a small project. Cut nails are hardenable so they will hold an edge. I have made chasing tools out of the largest cut nails.
No. I mean you can do another kind of knife, but with a horseshoe nail you are confined to just thin an edge of the existing flat part and maybe elongate a bit the head. To get different shapes you must work on thick wire, round or square, it is very difficult or impossible to do the same on an oval or rectangular wire.
This is fabulous! Can it be done with a horseshoe nail??