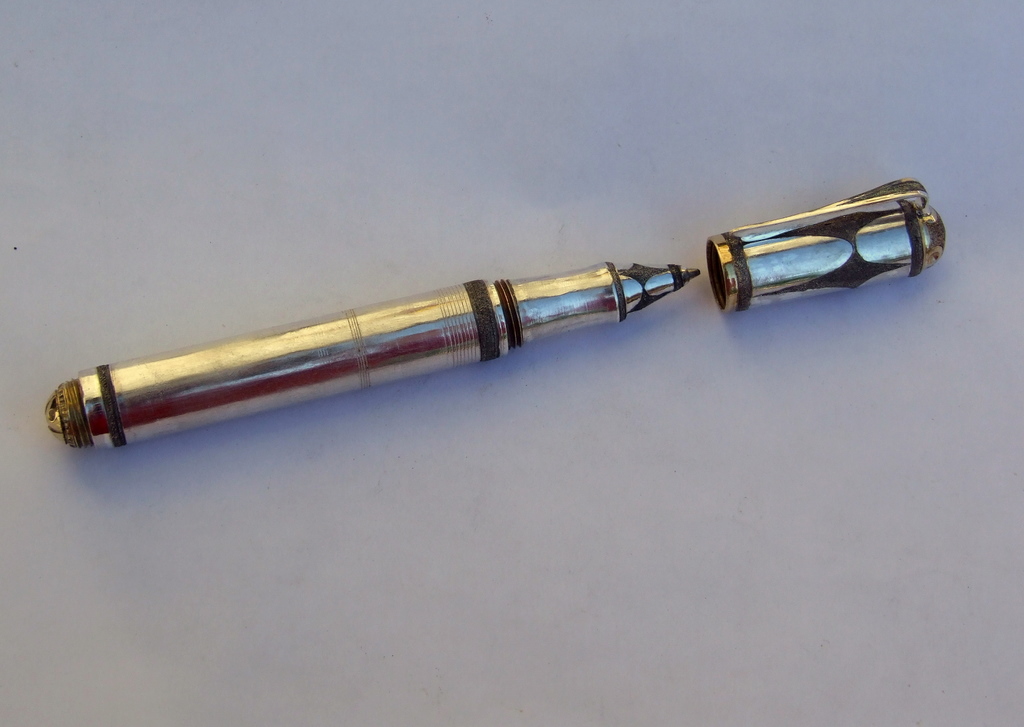
a rather heavy ballpoint pen
Describing a rather detailed step by step construction of a ballpoint pen in silver.
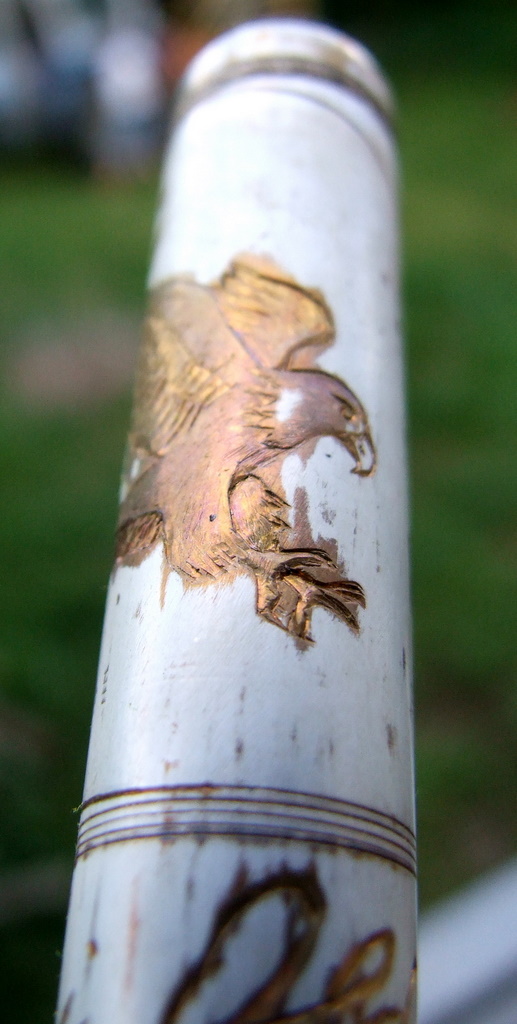
The signature of the recipient of this gift and the carving of the eagle have been covered with pure gold with the kum-boo technique. Threadings and other small parts are of brass.
You will see some problems I met and how I solved them. You will see a catastrophic event take place.
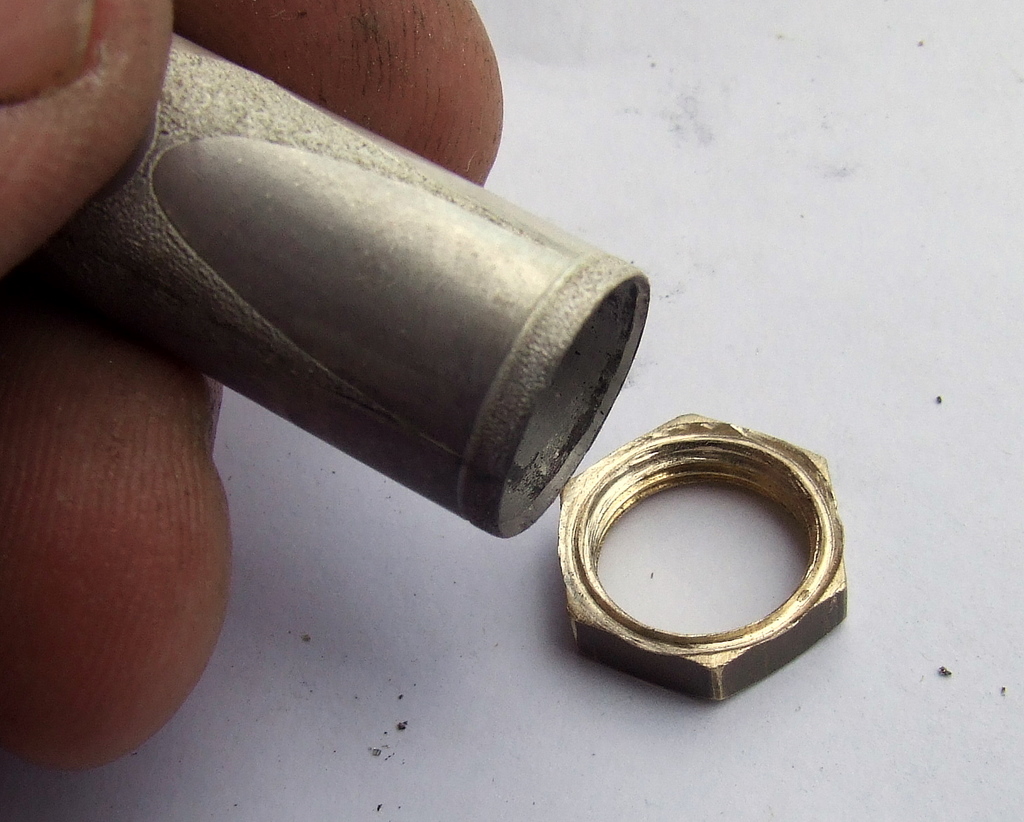
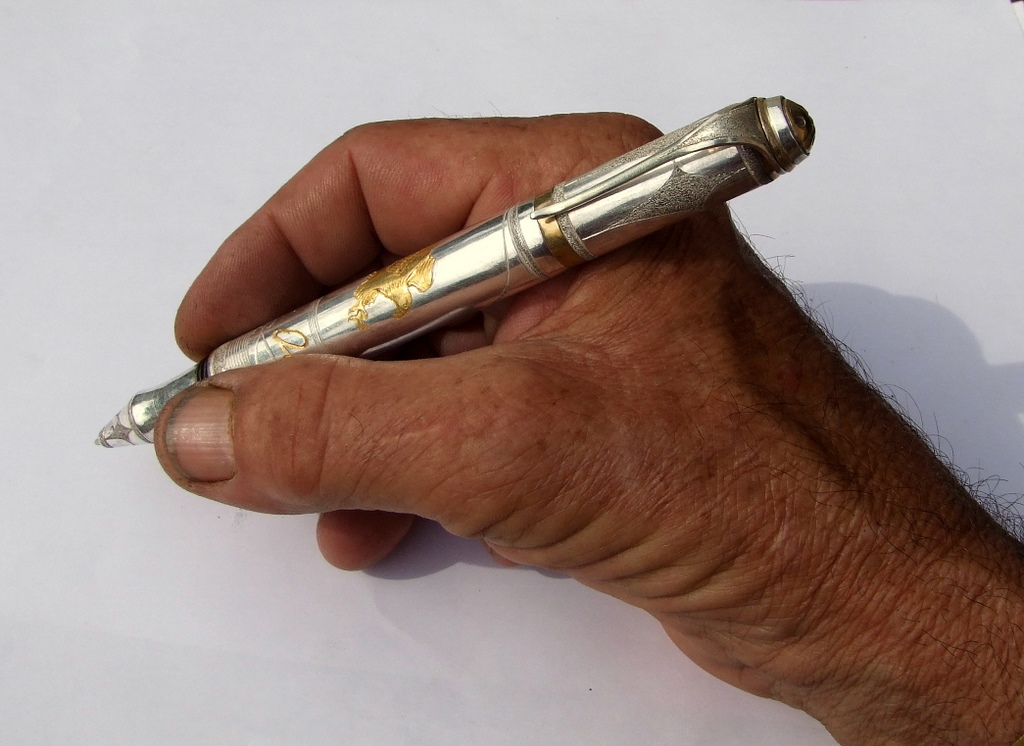 A friend of mine told me that I should have cleaned my nails before taking this photo.
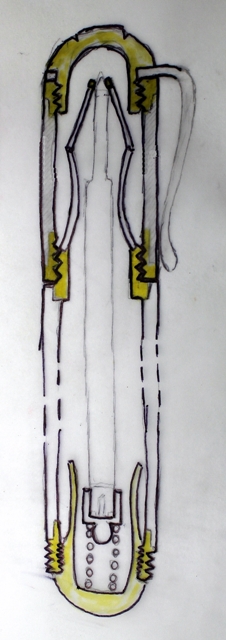
This is the cross section of the final pen, the yellow parts are of brass.
It shows only the main parts, but often I had to add a small piece here and there either for functional or aestethical reasons, or to reach the needed fitting size.
The lid is screwed to the body to close the pen, it can be screwed to the other end of the body.
The clip is tightened screwing the brass dome into the top of the lid (top, outside).
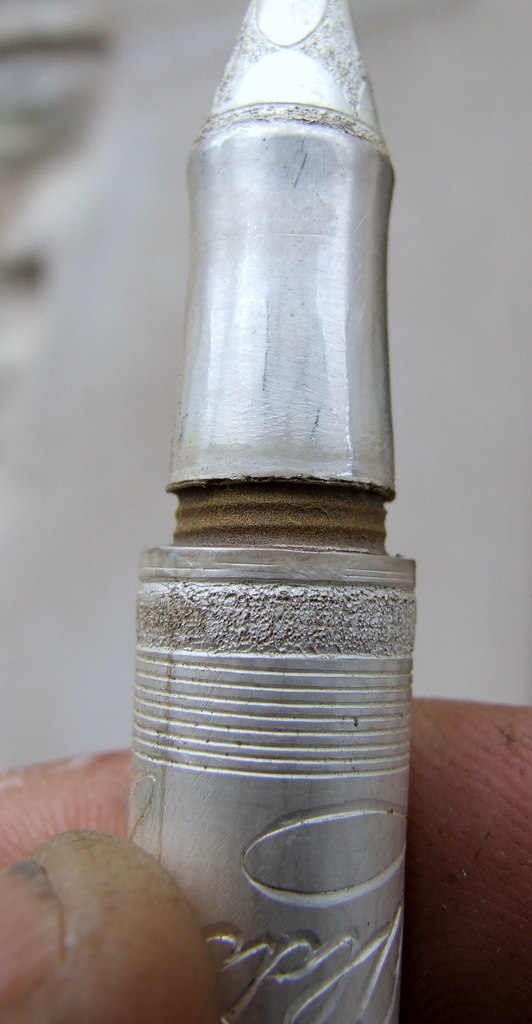
The grip is hourglass shaped; the point of the refill is blocked by a small brass ring at the end of the cone tat ends the pen (top, inside).
The refill is pushed towards the point of the pen by a steel spring (bottom, inside), one end of it holds a sphere of silver soldered to a small tube into which the refill enters; the other end of the spring rests inside the brass dome that is screwed into the end of the pen (bottom, outside).
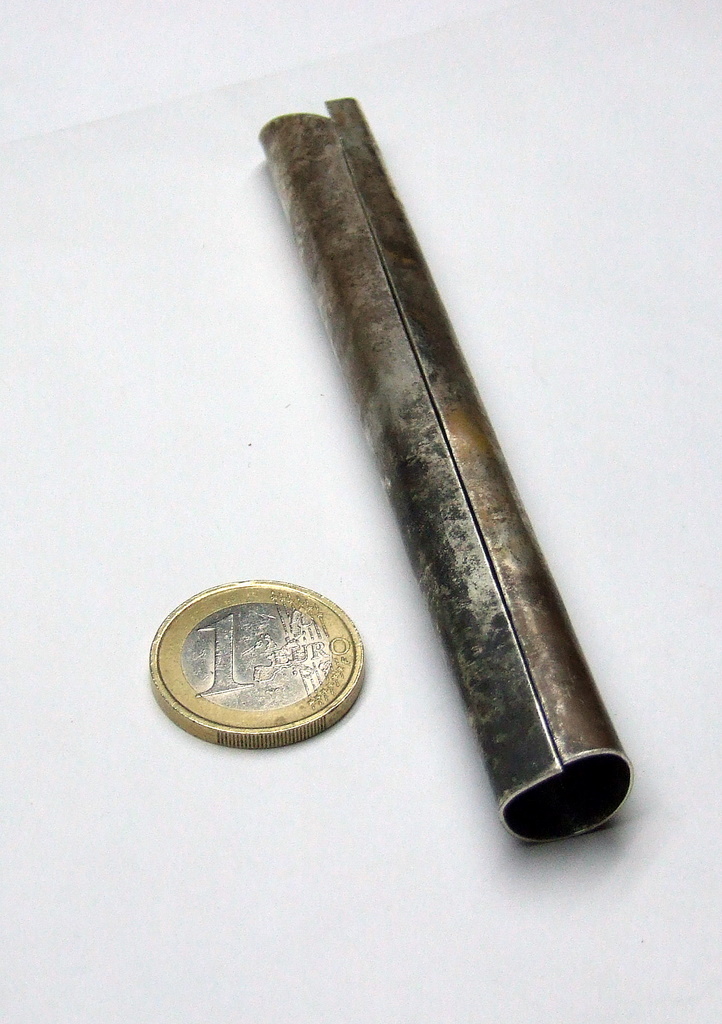
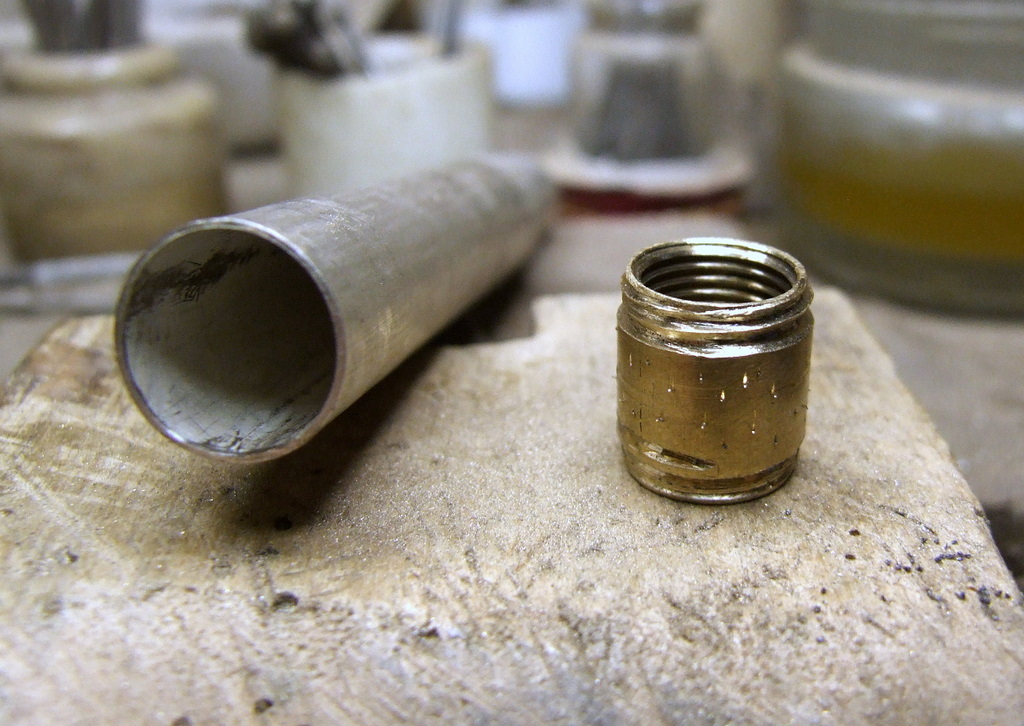
Found the right diameter for the body (the client wanted a heavy pen) I cut the sheet and rolled it.
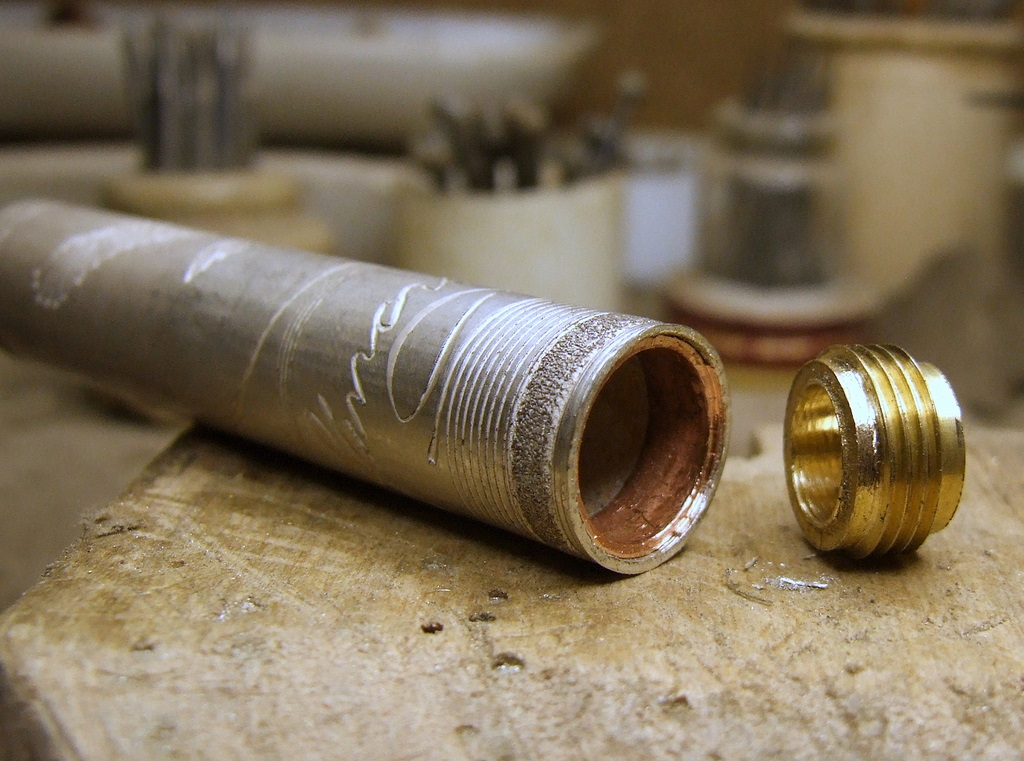
 The tube after soldering and straightening.
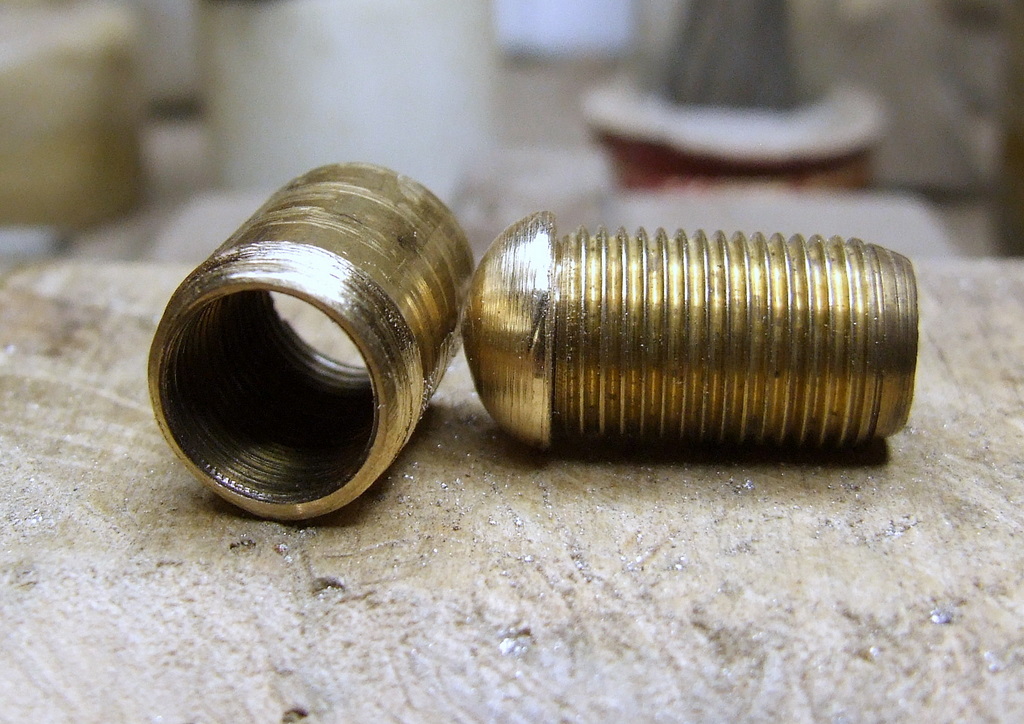
 I cut the female thread from a burner and the male thread from a camping gaz connector. The male thread needed to be lenghtened to enter into the body of the pen so I soldered to it a piece of copper tube.
 I carved a seat at the end of the thread (left) to accomodate the small silver cone (center) on which the longer hourglass shaped tube (right) will be soldered. Had to do it for fitting reasons, the circumference of the rim left on the brass thread is too small for the base of the hourglass.
 Ready for soldering
 The silver cone that will make the point of the pen, just soldered.
The cone cleaned, filed a bit and brought to measure, I beveled the inside of the hourglass and the outside of the cone to get an horizontal good fit. The copper back of the brass thread is just resting inside the body, not yet soldered to it.
 Ready for soldering, the binding wire is inside, tightened between a cotter pin on the large hole and another cotter pin resting on a kind of thick washer overlapping the smaller hole, not to damage it.
 Filed the brass thread that enters the lid
A small dome is just inserted on the free end of the lid, the other dome is waiting to be used.
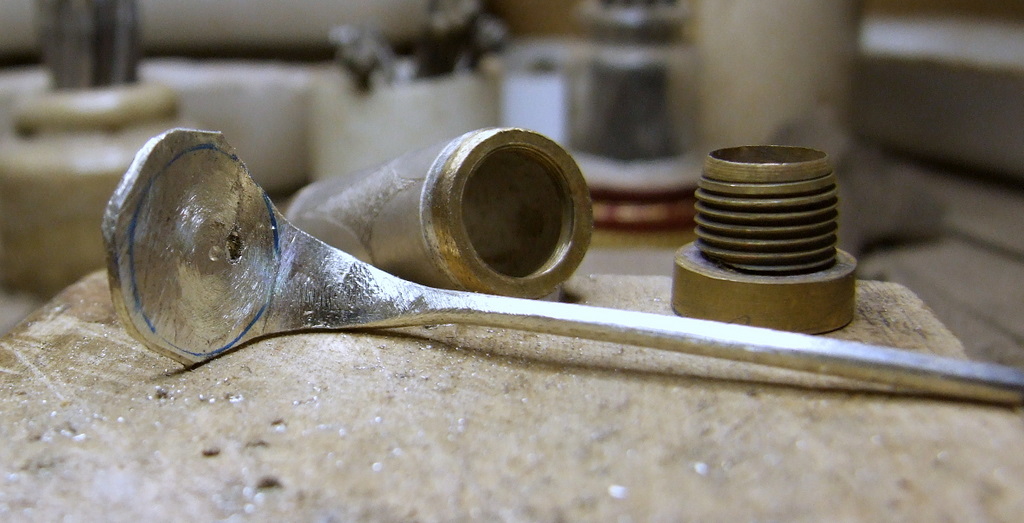
Preparing the cap of the body: the external thread on the brass tube (left) had to be completely hand made with saw and file. The tube is threaded inside, on the right you can see the threaded cylinder which will be screwed inside the tube.
 In the middle you see the dome that will be soldered to the threaded cylinder.
 The dome is soldered
 I file the brass dome that will be the cap of the lid, rounding it, and drill a hole on its side where a piece of thick wire will be soldered. This wire will be hammered in the shape of the clip, therefore hardened, after the unavoidable annealing due to the soldering.
This is the first version of the clip, not the the final one.
 Back to the cap of the body: dissatisfied with the first hand made thread, decided to turn the tube over and make a new one. The tube does not fill the inside of the body, so to keep it in the center I raised a few small prongs all around its surface with a graver.
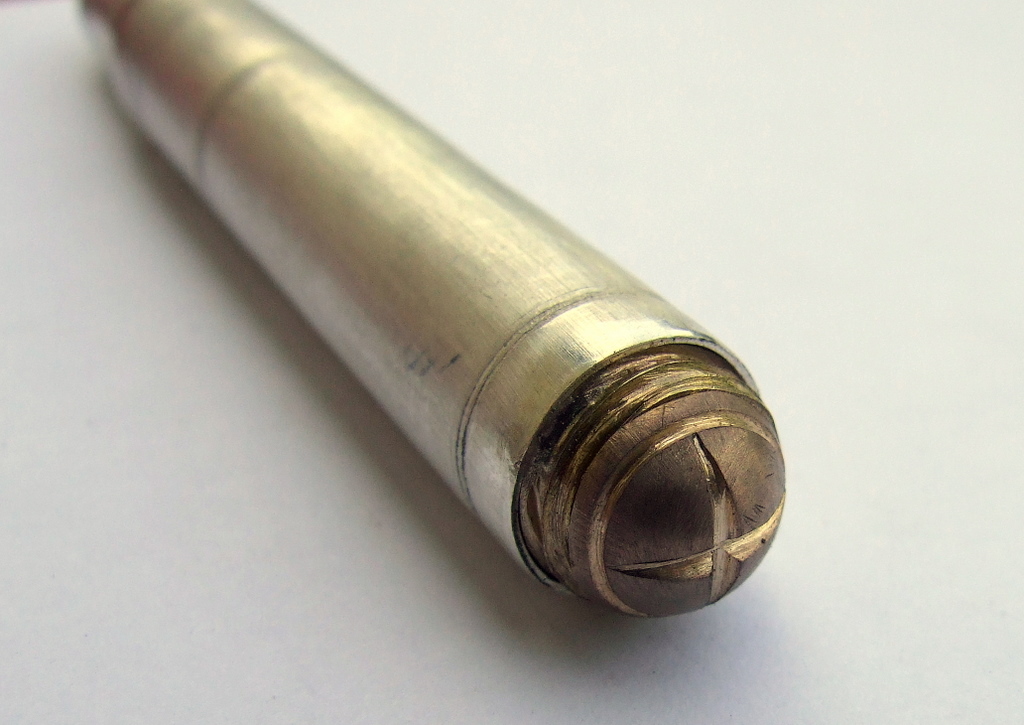
 The tube has been soldered to the top of the body, with the graver I have carved four areas near the point, they will make pendant with the ones I just draw on the lid.
 The threaded cylinder is wound turning the dome to which it is soldered.
 I prepared a coil spring with piano wire, resting inside the threaded cylinder, the spring works on the bottom of a silver short tube that grabs the refill.
 You can see the shape of the forged clip, the basic decoration: the areas are rendered matt and blackened with liver of sulphur.
 Now the structure is over, must think about the eagle and the signature. Found the right eagle, painted white the silver surface, taped the double faced drawing and transferred the drawing. Done the same with signature.
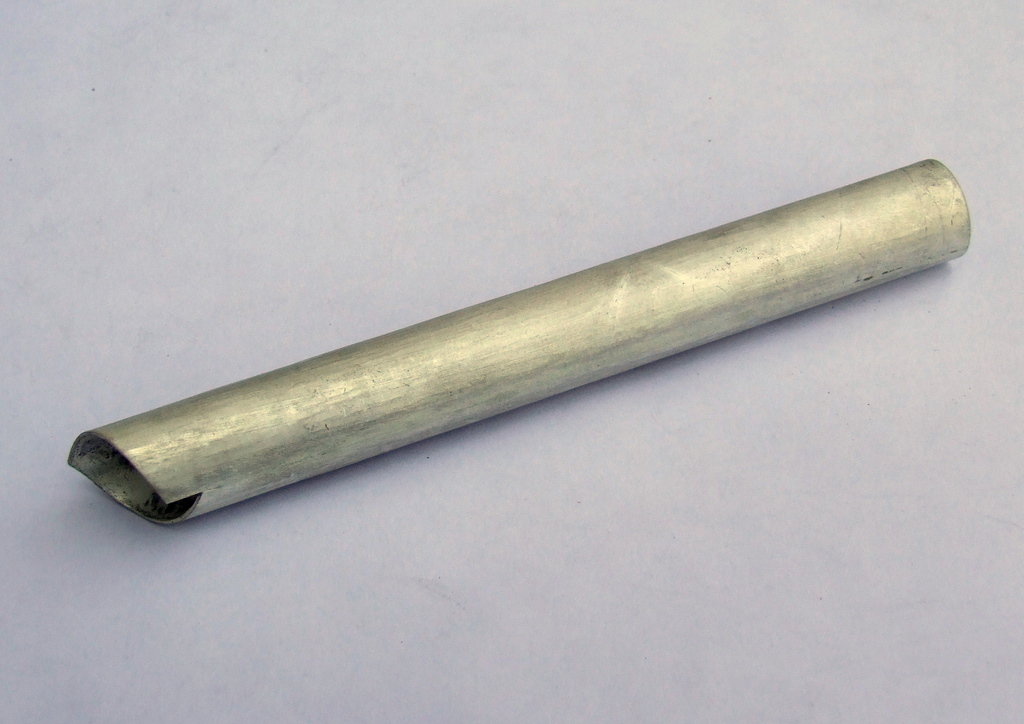
 It is a delicate moment, carving allows for no mistakes, so I first tried on an aluminum tube.
 The beginning strokes of the graver on the silver.
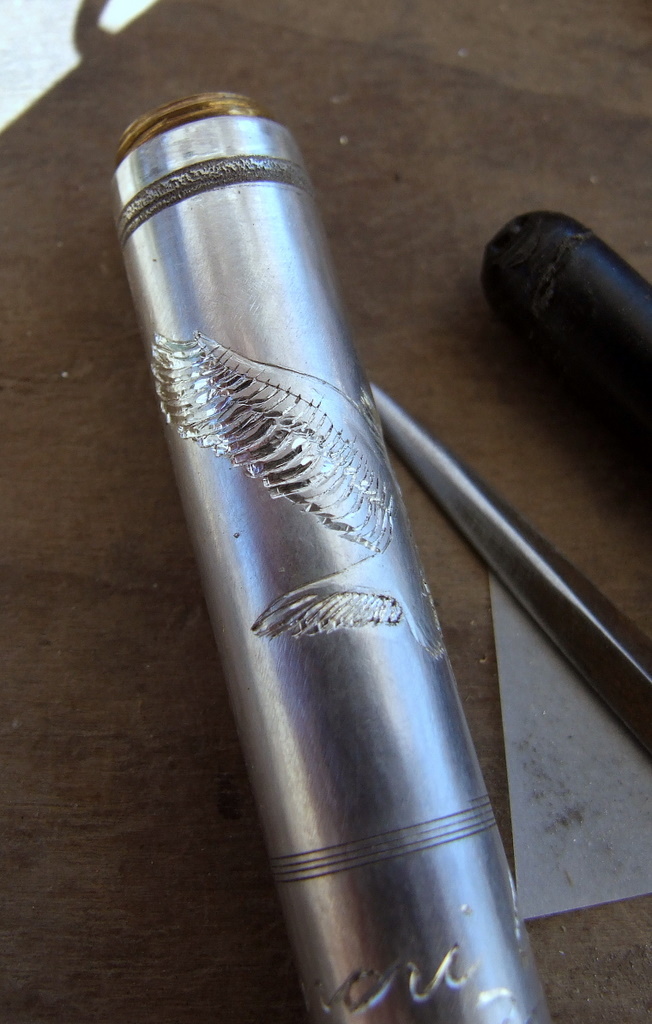 Carving the feathers.
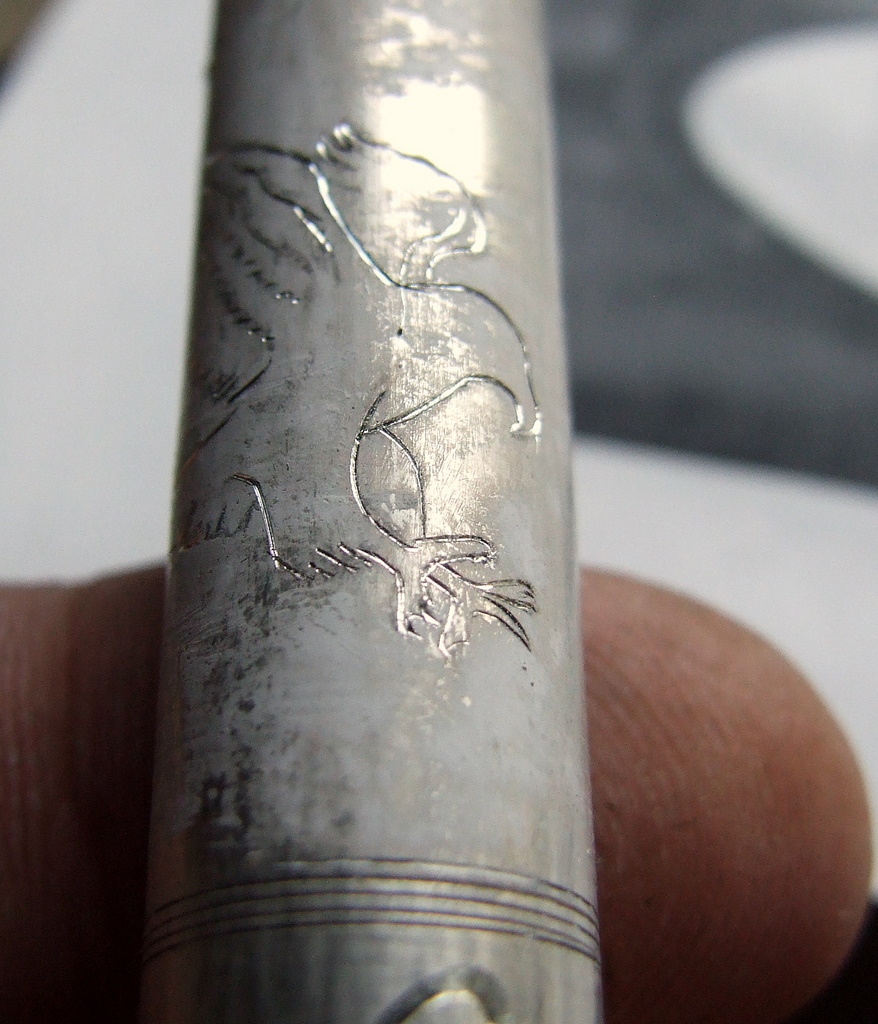
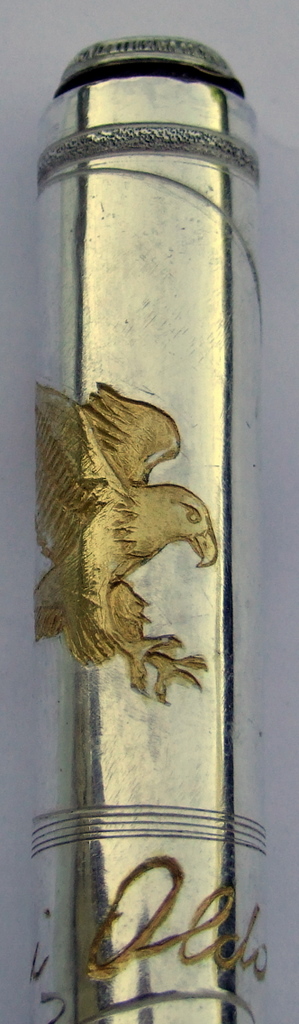
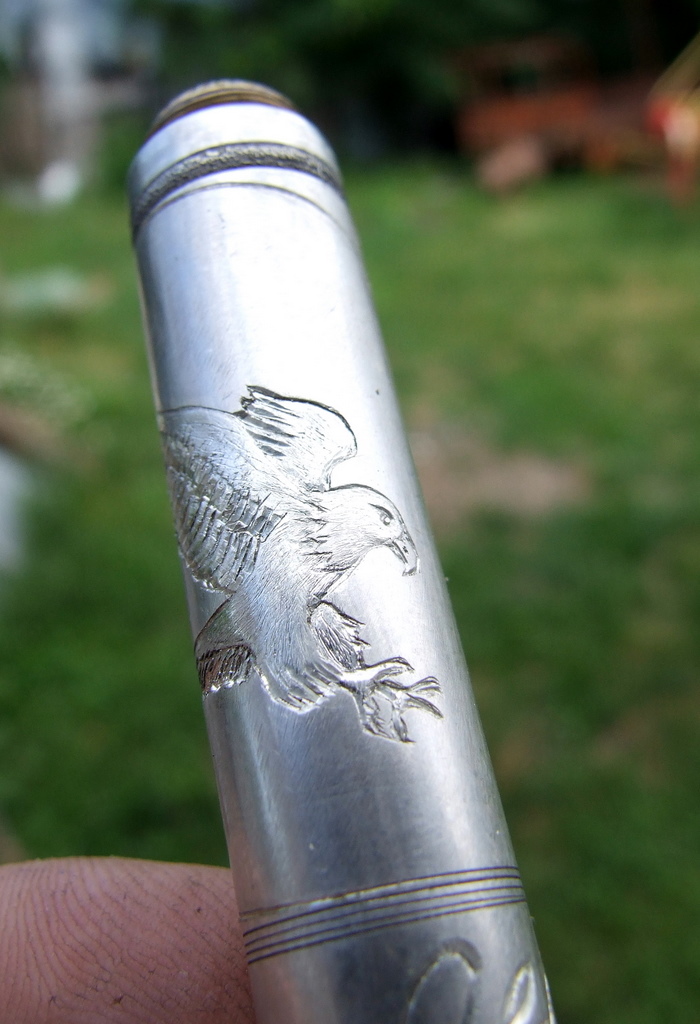 The carving of the eagle is done, must always remember to reach the right amount of detail, but no more than is needed. “Surtout, pas trop de zèle.”
 The kum-boo technique asks you to enrich the surface of the alloyed silver. You must anneal the silver, let it cool and plunge in sulphuric acid to remove the copper that oxidizes. Doing it four or five times brings the surface to pure silver state.
In the above image you see that only the eagle (and the carved signature) shows the brown colors of oxidised copper; this is because carving has exposed new layers not yet freed of surface copper while the rest of the surface of the pen has been annealed and acid cleaned because of the solderings and is almost free of oxides.
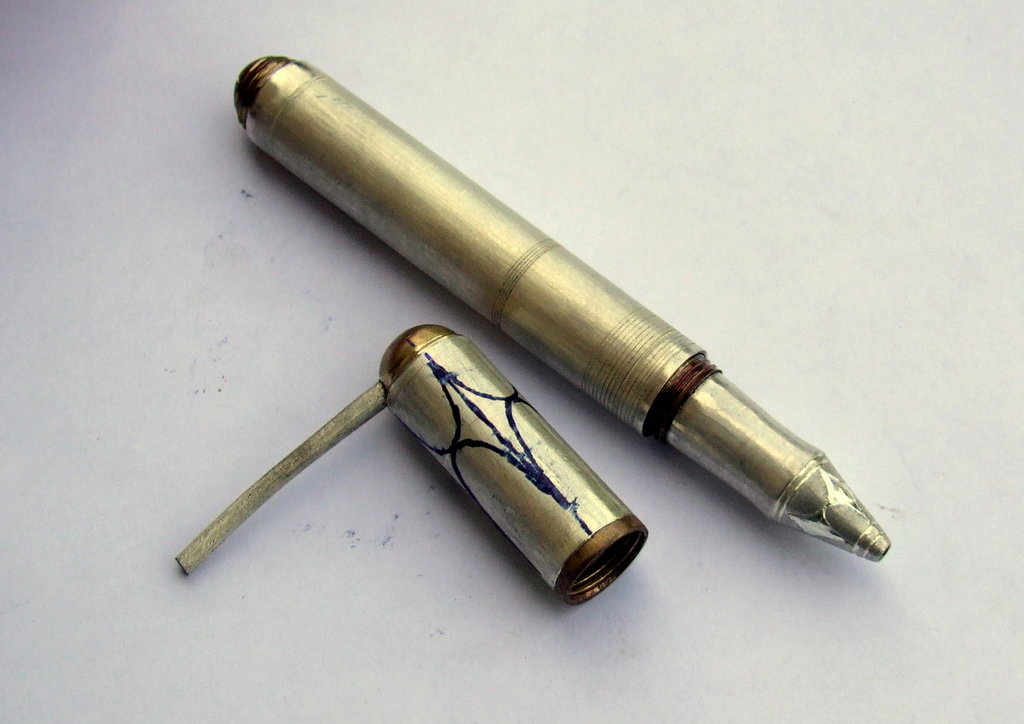
I annealed and immersed in acid the pen a few times, after the last annealing I forgot the pen in the acid and had the opportunity to learn from experience that prolonged immersion in sulphuric acid eats away brass.
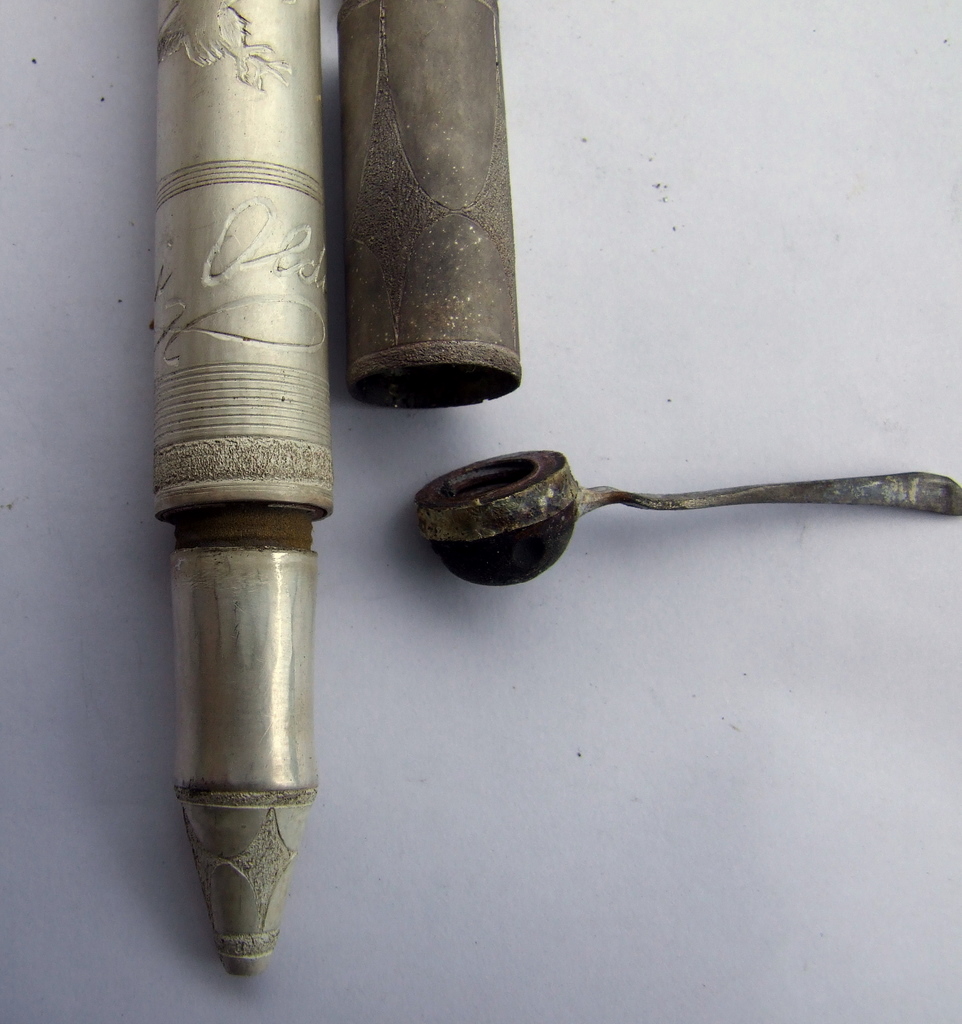
This is what I found the morning after.
So.. let us start again!
 Must do things with precision, to keep everything in axis.
 Fitting the brass thread in the middle of the pen.
 Preparing the clip, the female thread having alreadybeen soldered to the top of the lid, the male one is waiting to be topped with a brass dome.
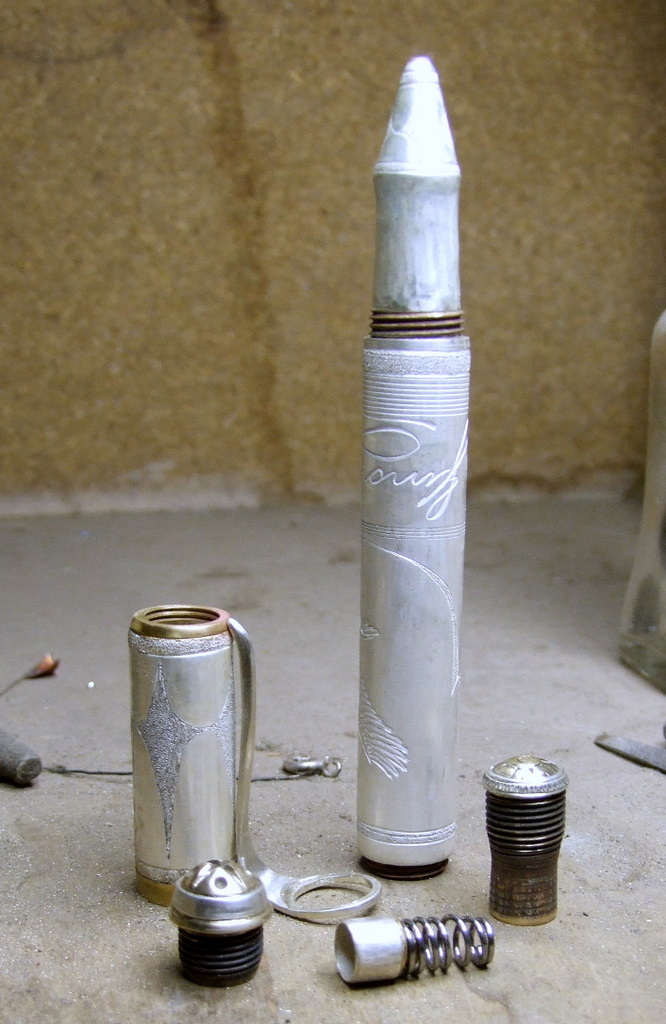 All the pieces waiting for assembly.
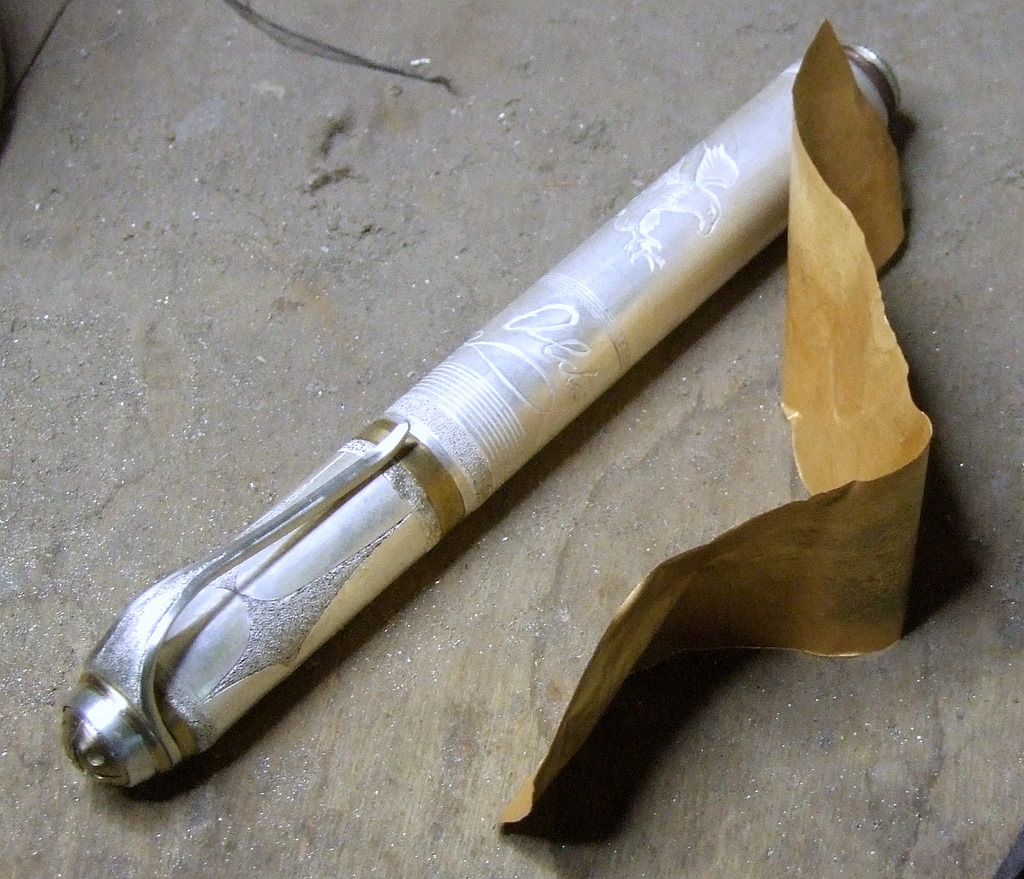 The pen with the gold foil to be used for kum boo.
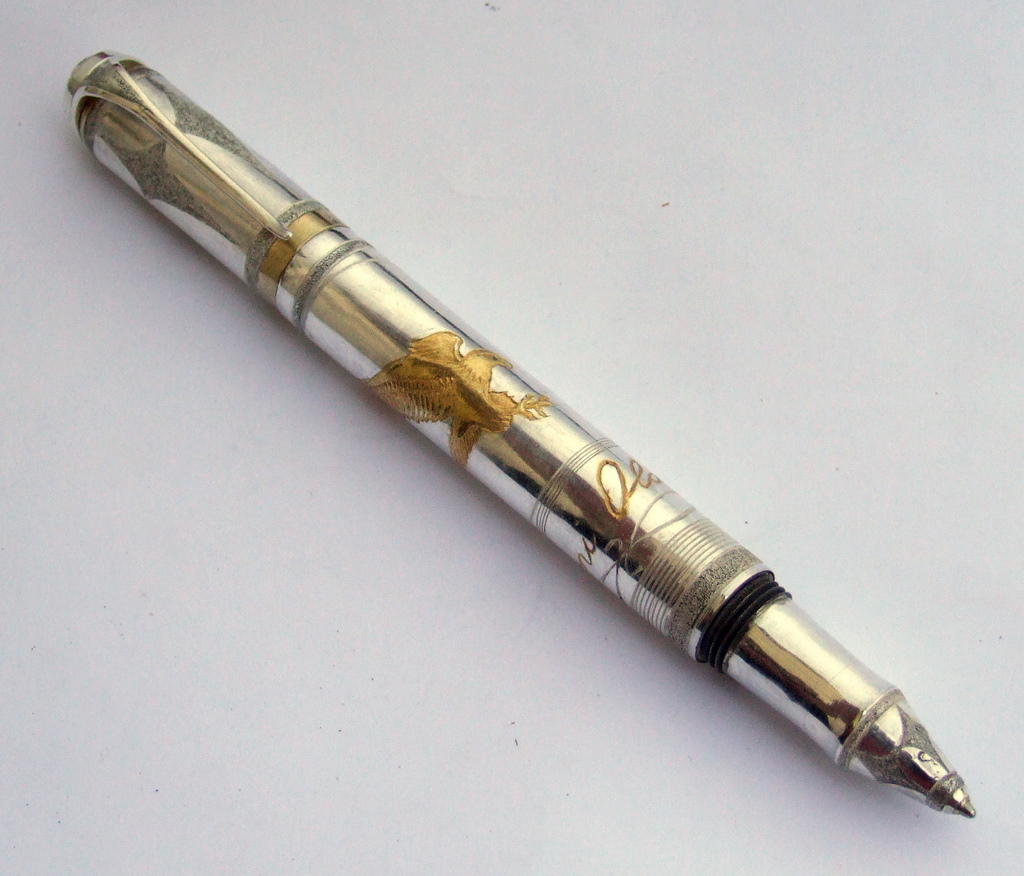
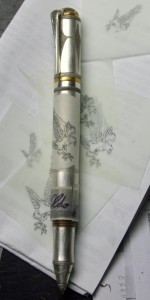
The batteries of my camera were finished, so I could not take photographs of the kum boo application of the gold foil: everything was working well and I did not want to wait and lose concentration. Anyhow this is the result, finished and polished.
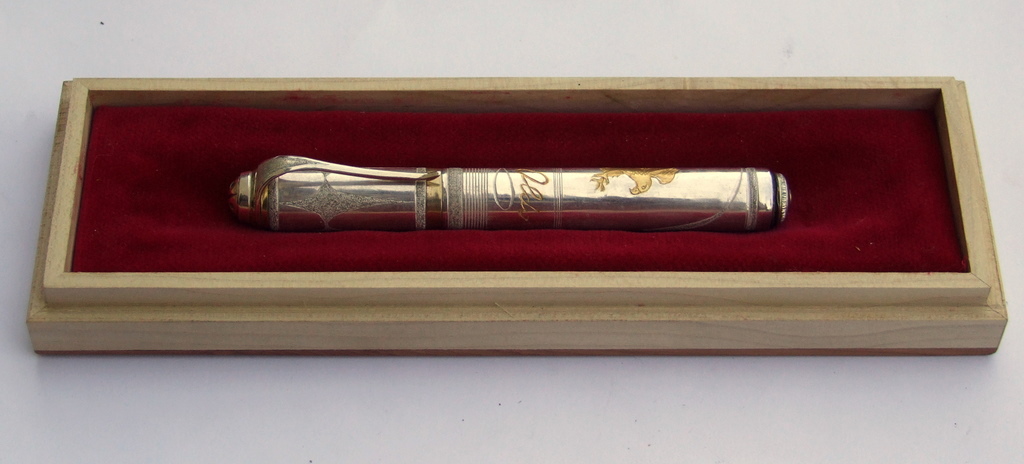 In its velvet lined wooden handmade case.
![]()
Mi piace![]() Visualizzazioni: 58
Visualizzazioni: 58
Latest posts by Mario Cesari (see all)
- earrings, gold and brilliants - January 24, 2012
- ballpoint pen, silver and gold - October 30, 2011
- cages necklace - October 23, 2011

{ 7 comments… read them below or add one }
your demonstrations make it seem easy.
Beautiful!!!
Thank you for the great tutorial!
Very nice foto serie, and excellent work.
WOW! exellent work!
https://www.facebook.com/pennabilli
looking forward to more of this process. I think your friend is wrong that you should have cleaned your nails before taking the top photo. Those are the honest hands of an artist.
awesome blog, do you have twitter or facebook? i will bookmark this page thanks.
My blog:
forum rachat credit ou rachat de credit