CREATION OF A MOUNTAIN SHEEP KACHINA TOP
By
LEE EPPERSON
This is the finished Mountain Sheep Kachina. It is cast in 293 grams of sterling silver.


The Kachina mask will be used on a large piece of silver pottery.
This paper will describe and illustrate the many steps in the creation of the piece.
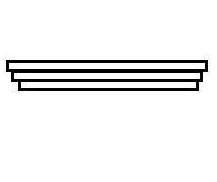

PHOTO 01: The main part of the Kachina Mask is turned out of blue Ferris File a Wax. The flat piece of wax is turned with steps in it. It will be wax welded to the major piece.
The wax turning process is described in Orchid’s Tips From the Jewelers Bench.

PHOTO 02: The photo shows the flat piece welded to the main portion of the Kachina Mask. Note that when two pieces of Ferris File a Wax are welded together each piece must be melted into each other. Ferris wax will not stick together unless the pieces are melted into each other.
The steps in the flat disc may be seen in this photo.
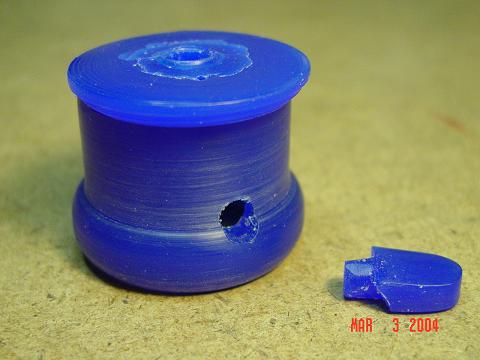 PHOTO 03: The next step is to carve the mouth portion of the Kachina Mask. A hole is drilled as shown and the mouth piece is carved so that a portion of it fits into the hole.
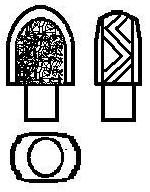

PHOTO 04: The mouth piece is engraved.
 PHOTO 05: The mouth piece is wax welded to the main piece from the inside.
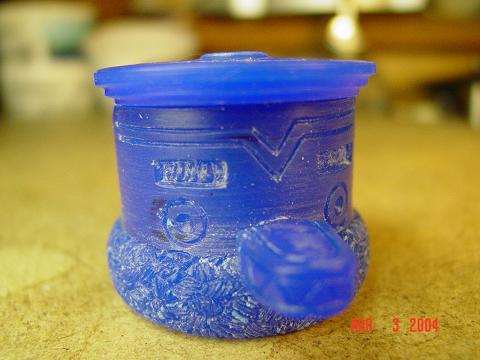
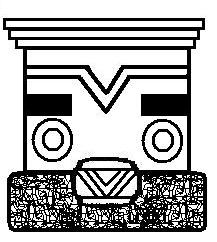
PHOTO 06: The design is engraved on the surface of the main piece.
 PHOTO 07: A thick block of wax is carved in the shape of the Horns. The horn shape is drawn on a piece of paper and bonded to the wax with rubber cement. The wax can be carved with a large burr in a cable driven hand piece.
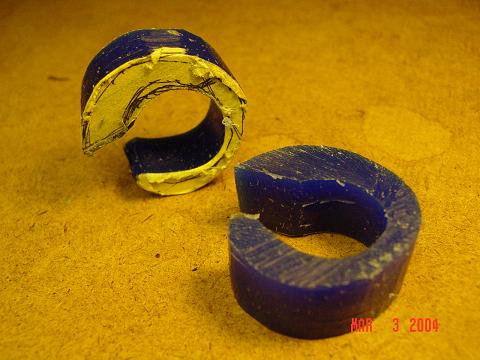
PHOTO 08: Once the horn is shaped it is split into two horns.
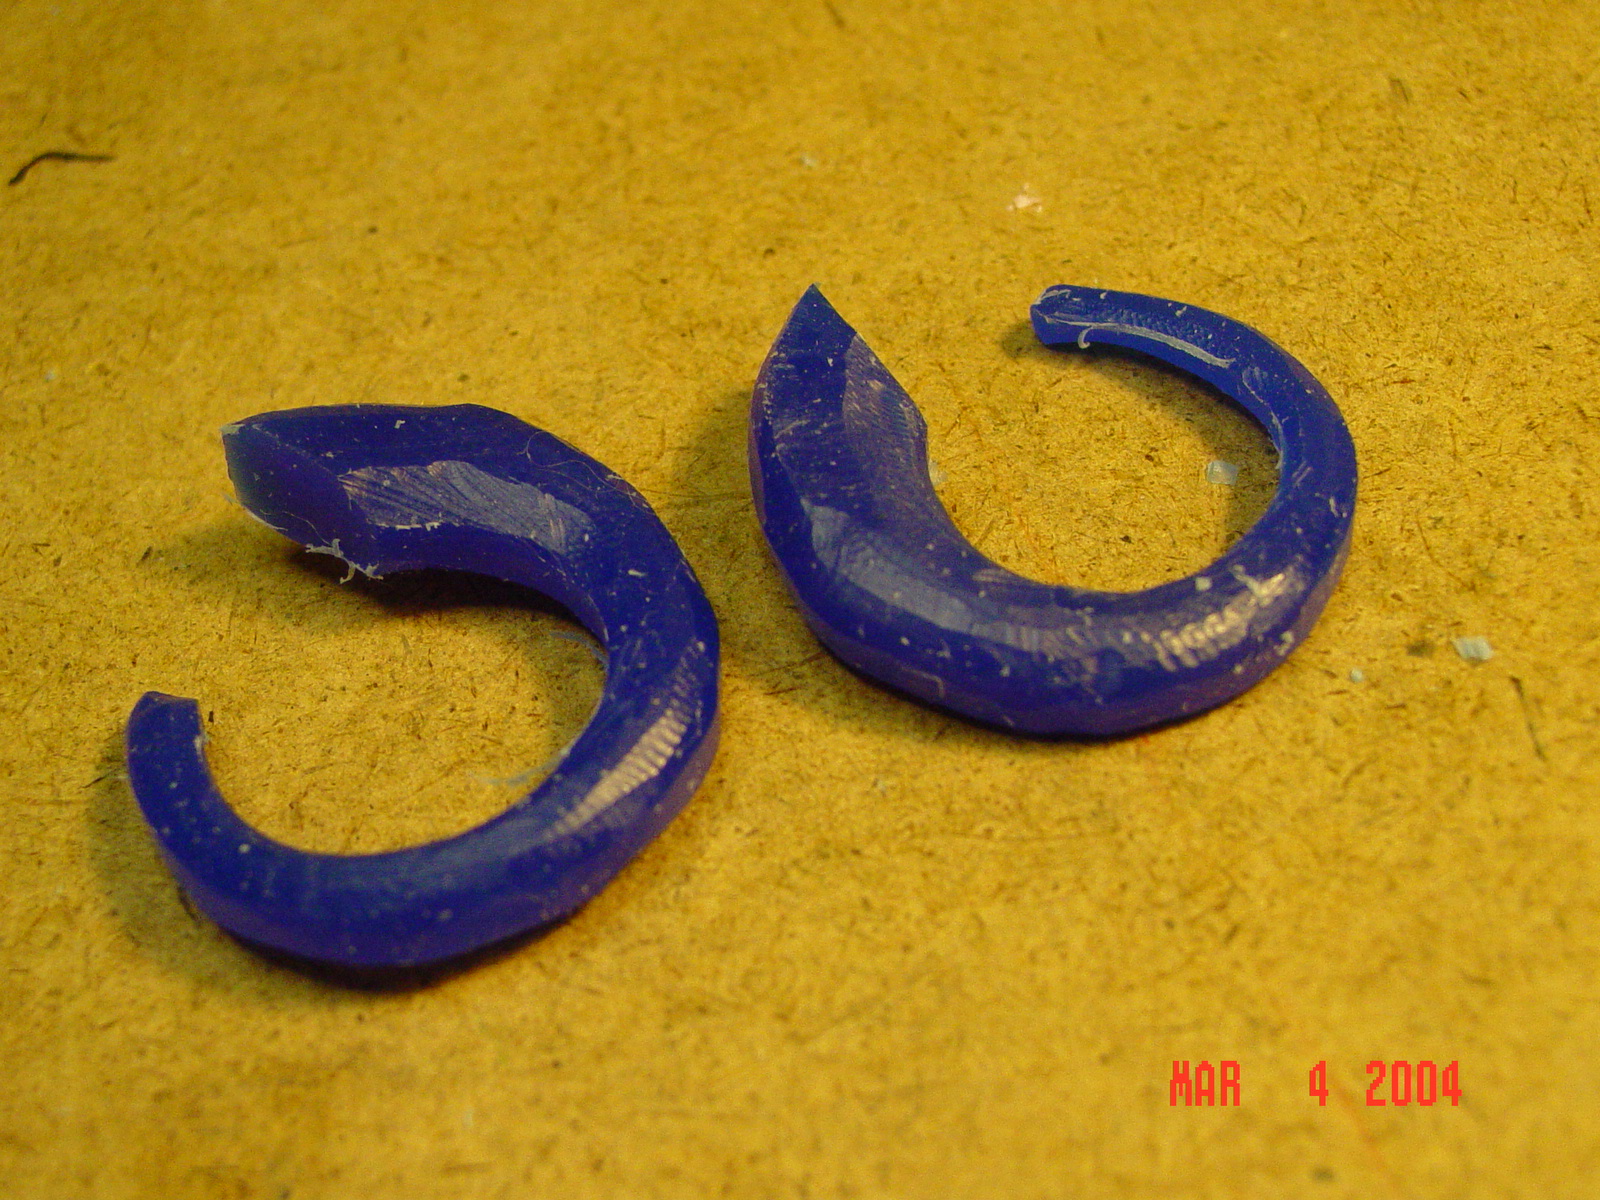 PHOTO 09: The horns are rounded off. Note the horns have to be off set in opposite directions.


PHOTO 10: The surface of the horns is texture with the tool shown. The tool is dragged across the wax perpendicular to the curve of the horns.
 PHOTO 11: Two small discs are turned and textured.
 PHOTO 12: The horns and the discs are wax welded to the main body of the Kachina mask.
 PHOTO 13: Soft sprue wax is built up around the mouth piece to the body, the horns to the body and the discs to the body. The wax is poked with a hot tool to give the impression of fluffy feathers.
 

PHOTO 14: Feathers are cut from a sheet of 16 gage wax. The feathers are textured with a wire brush. The wire brush can be seen in the photo. The quill of the feathers is built up with a hot tool.
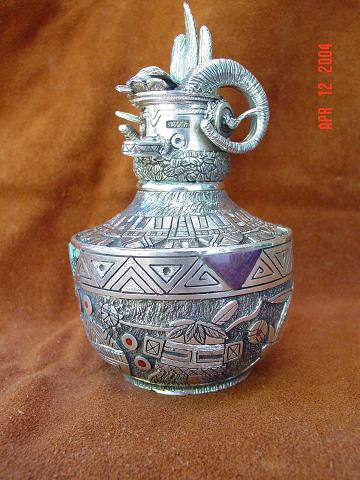
This is what the final project looks like. The pottery is approximately 3.5 inches in diameter.

leessilver
Latest posts by leessilver (see all)
- CASTING PAPER UNDER CONSTRUCTION - October 30, 2010
- CASTING PAPER UNDER CONSTRUCTION - October 30, 2010
- PAPER NO 4 CREATING LARGE JUMP RINGS - October 15, 2010

{ 2 comments… read them below or add one }
Lovely piece, Lee. Lots of blood, sweat, tears in this one!
Wow! Beautiful piece! And thank you for the clear construction tips!
You must log in to post a comment.