By
LEE EPPERSON
This paper will describe the steps in making a simple wax ring.

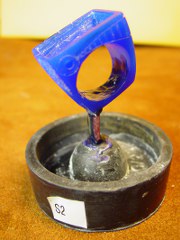
Turquoise will be inlaid in the side and top recessed section shown on the wax the ring. The stones will be cut to fit the ring after it is cast.
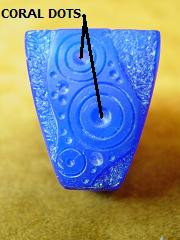
Dots of coral and turquoise stones will be inlaid in the holes on this side of the ring.


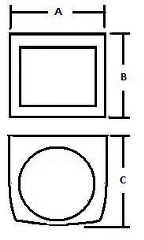
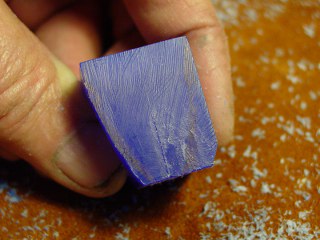
A block of blue carving wax is cut to the dimensions of the top and side of the ring. The dimension of the block must be A” x B” x C”.
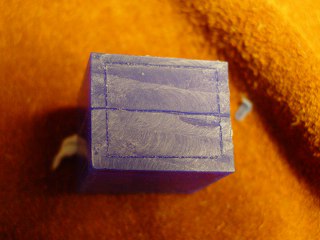
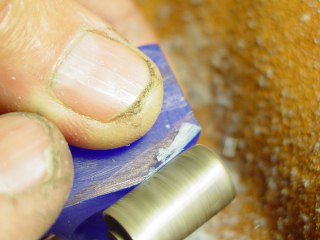
Lines are scratched on the top of the block to indicate the centerline of the ring and to indicate the edges of the top recessed area. Center lines are drawn down both sides and on the underside of the block.
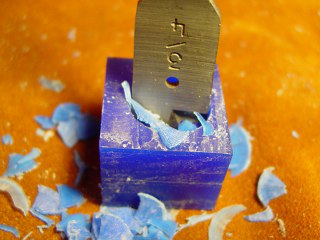
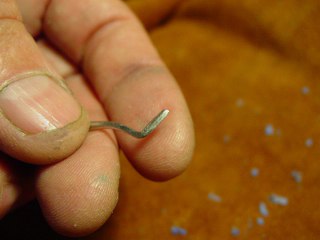
A circle the diameter of the ring finger size is scratched on the side of the ring. A pilot hole will be drilled in the center of the circle. The hole will be enlarged to the desired ring size.

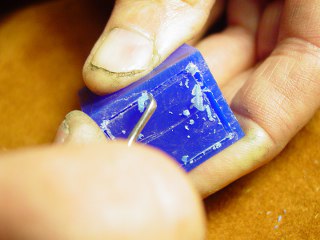
A 1/8 inch pilot hole is drilled through the block in the center of the circle that was inscribed in the previous step.

There are two ways to cut the finger hole.
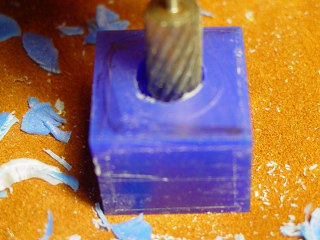
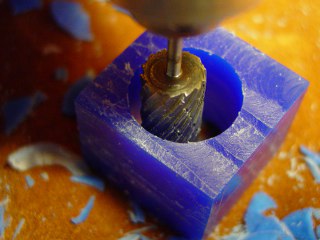
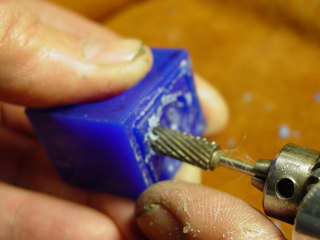
A chisel drill may be used to rough out the finger hole. The drill must be smaller than the desired ring size. The drill follows the pilot hole through the wax block. A large burr will then be used to cut the hole to the correct size.
An end cutting burr may also be used to cut the finger hole in the block. In any case the burr will be used to cut the hole to the final finger size.
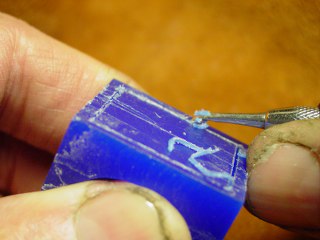
The boundary lines of the recess for the top stone are incised by the modified dental tool. A description of the actual process is available in a separate paper.
The incised lines are cut deeper with the line engraving tool.
The inside edges of the stone channel are cut with the background edge tool. Note the angle of the tool to the line. This prevents the tool from cutting into the edge wax.

This photo shows the results of the use of the edge scraping tool.

The background of the stone recessed area is removed with a larger scraping tool.

An end cutting burr may also be used to remove the wax in the center of the stone recess area. Care must be taken when using the tool near the edge of the stone recessed area.
This photo shows the stone recessed area after the center is cut away.

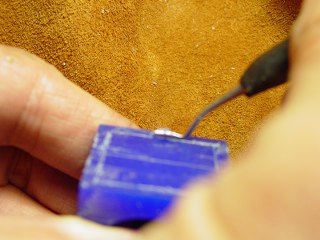
The rough shape of the ring may be cut with a large metal working burr. The shape may also be cut with a file. The final shape of the ring will be formed with a file. The wax is sanded with 600 grit wet sandpaper after the ring is filed to size.

Once the stone channels are cut the design on the rest of the ring is engraved into the wax.

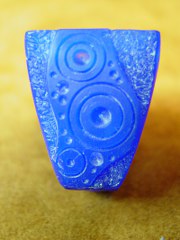
The round holes in the wax will be filled with coral and turquoise stone.
leessilver
Latest posts by leessilver (see all)
- CASTING PAPER UNDER CONSTRUCTION - October 30, 2010
- CASTING PAPER UNDER CONSTRUCTION - October 30, 2010
- PAPER NO 4 CREATING LARGE JUMP RINGS - October 15, 2010

You must log in to post a comment.